Adding categories and subcategories will help you to organize your products for your store. The instructions below will show you how to create new categories (and subcategories) from within your osCommerce admin interface.
Adding a new category in osCommerce
- Log into your osCommerce admin interface.

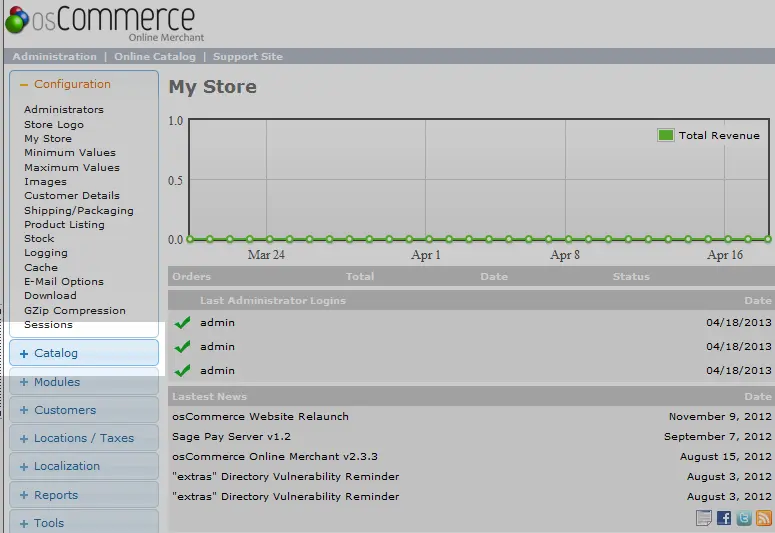
Under the left hand menu find and click the Catalog button.
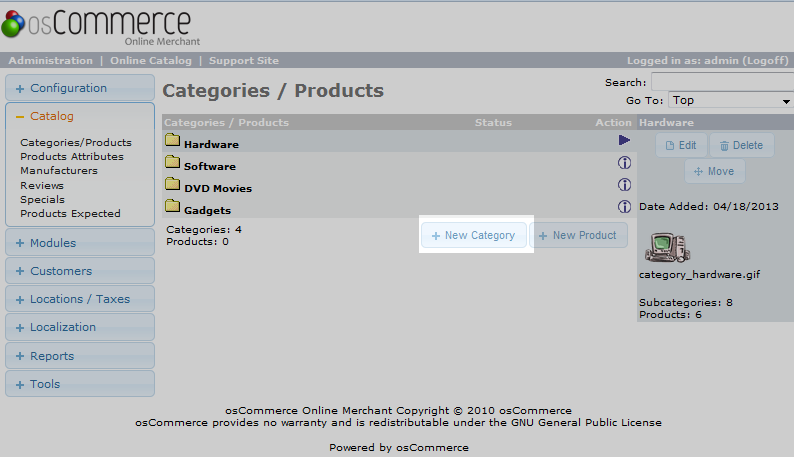
- Click on the Categories/Products.

This brings you to the Categories/Products page. From here, click on the + New Category button.
- You will see a few fields to enter data into regarding your new category.
Setting Description Category Name Name your category here. Category Image You may upload an image from your local computer. Sort Order This helps set the order in which the categories will appear, - Click on the Save button just under the data fields. This will save your category and place it in the list.
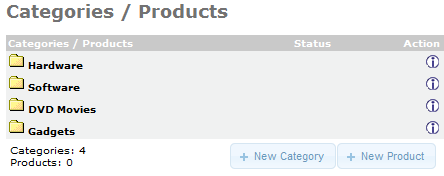
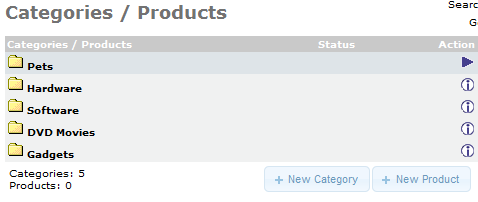
Before After 

You now know how to add categories to your osCommerce website. If you want to further organize your categories, take a look at our article on <a href="/support/edu/oscommerce/add-subcategory/">creating subcategories</a>.


