Table of Contents
After you get the background styles and the #bodyWrapper styles setup the way you need it. you can set up your Footer styles to match them. The image to the right shows what the osCommerce site looks like with the background and #bodyWrapper styled for the “Sunny” osCommerce theme.
The footer by default has the osCommerce image displayed in the footer. This article will teach you how to style the footer and remove the branding from your osCommerce site. Below are the steps on how to do this.
Create a footer.png image
In this tutorial, we will need a footer image to match the header and background images in the “Sunny” Theme. The image we will use in this tutorial is the one to the right. The image was designed to repeat across the bottom of the page. Once you get your footer image created, follow the steps below to get the footer to display at the bottom of your osCommerce website.
Steps to edit the footer
- Login into your cPanel.
- Go to the File Manager. Select your osCommerce installation directory and click Go.

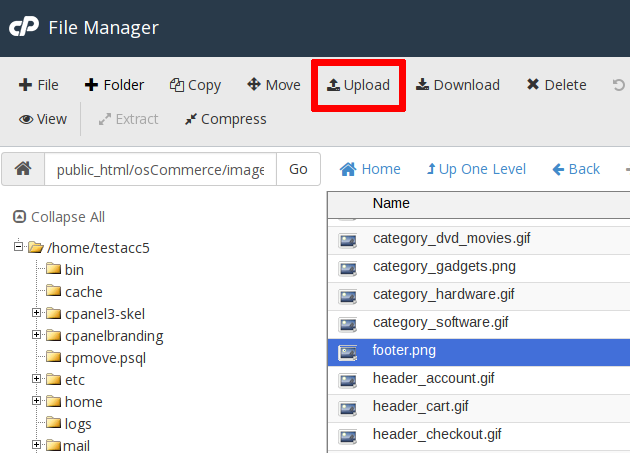
Upload your footer.png image to the images folder in your directory for your osCommerce site.

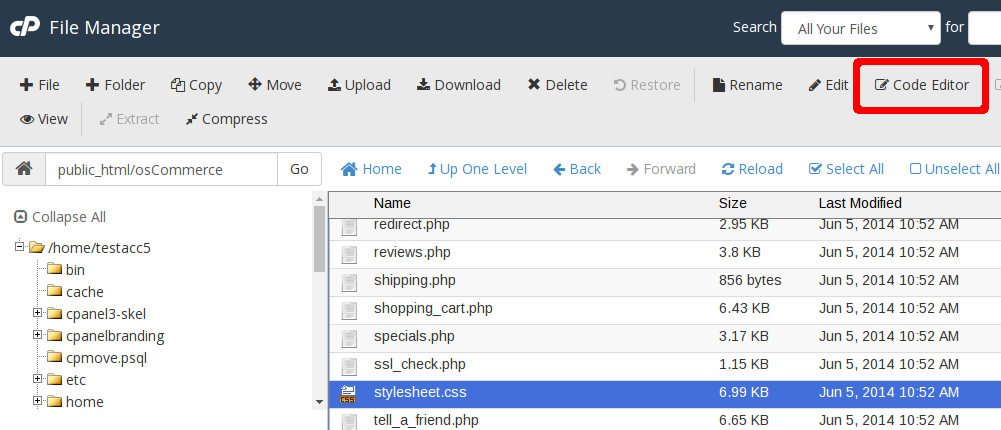
Edit the following file with the code editor.

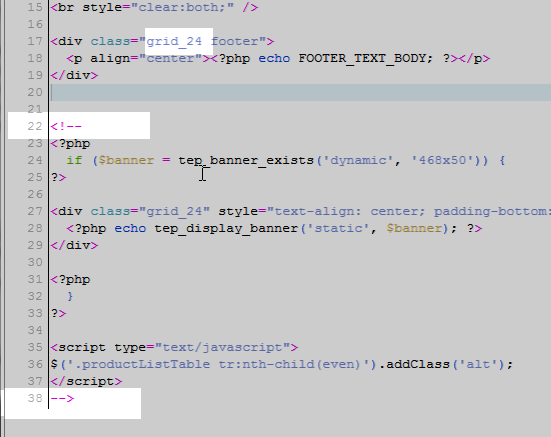
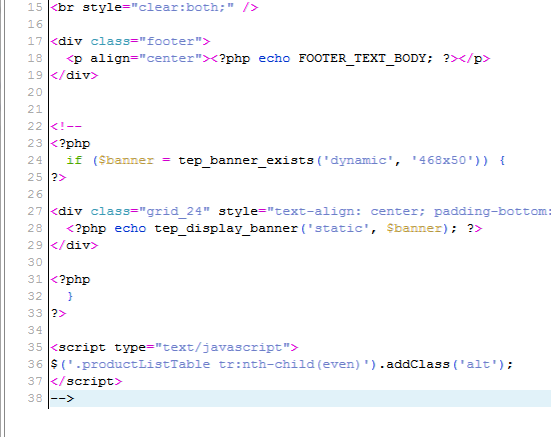
Comment lines 22 to 38 and delete the grid_24 class from the the footer div on line 17.

The code should look like the snapshot to the right.
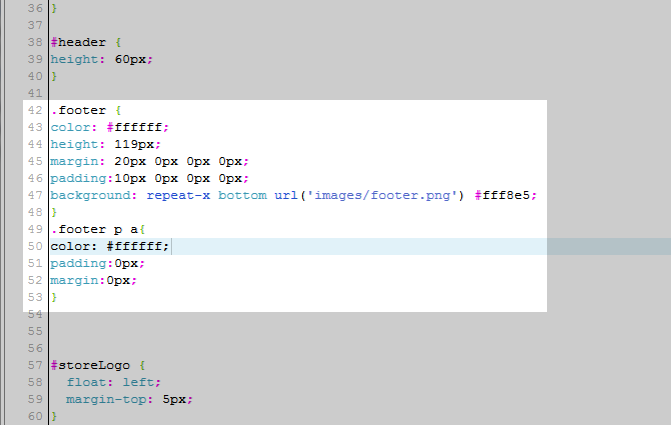
Now edit the stylesheet.css in the installation directory of your osCommerce site.
Add the following lines in the stylesheet.css:
Save the changes.
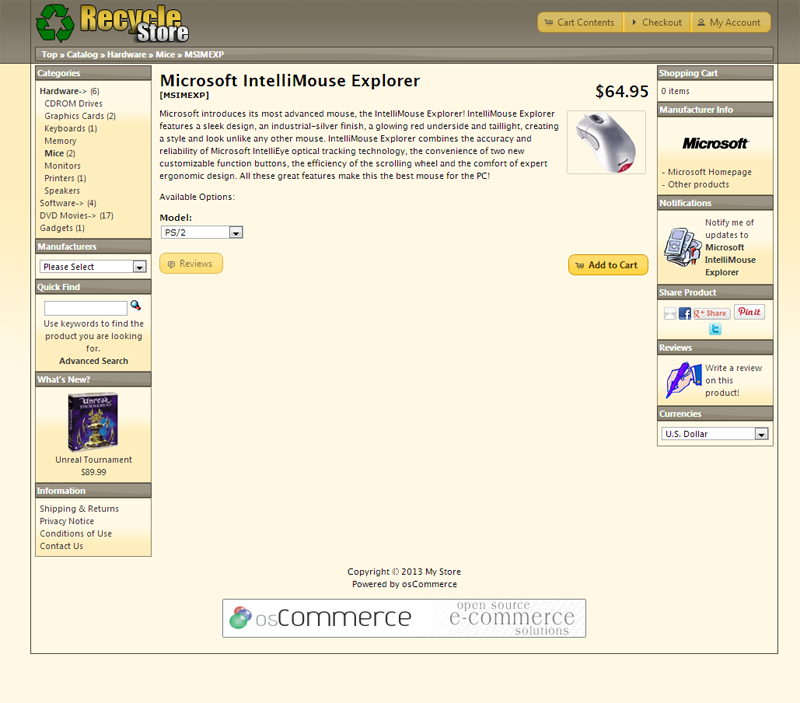
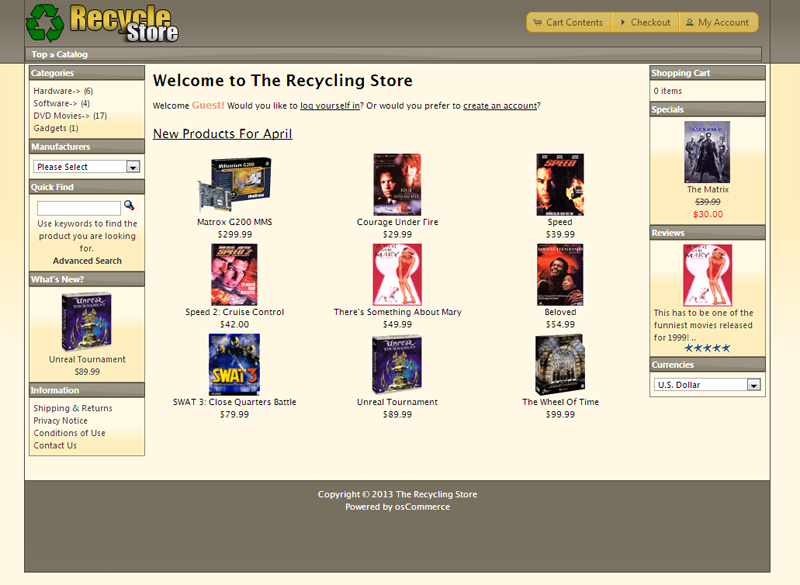
Now if you go to your site you will see the footer like the snapshot to the right.
Hi InMotion team
Simple and effective article, however step 6 is unnecessary to get the goal
Thank you
AR