Table of Contents
Setting Up and Editing Panels within PHP-Fusion
Understanding Panels
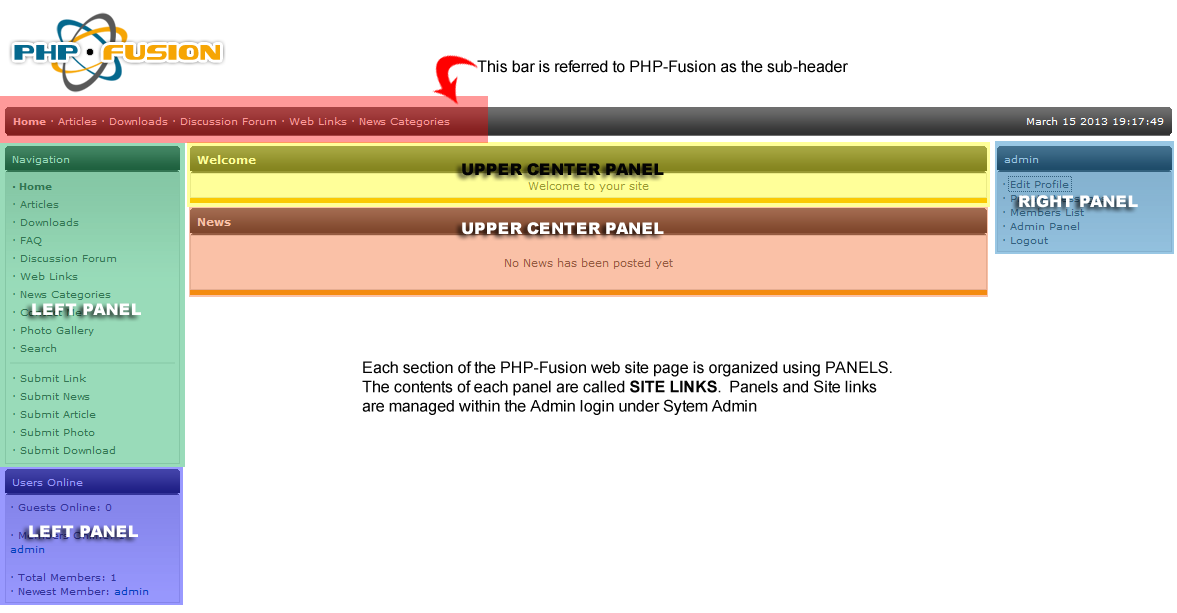
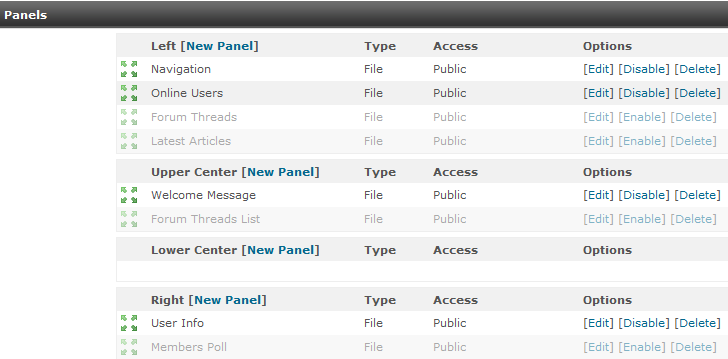
To understand the panels within PHP-Fusion review the screenshot below. Each panel section is highlighted and labeled:
Creating New Panels
- Login to the PHP-Fusion Admin Panel.

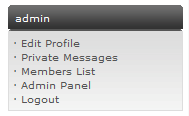
In the section labeled with the ADMIN USER name, click on ADMIN PANEL.

Click on the SYSTEM ADMIN tab and then click on the PANELS icon to open the PANELS management area.

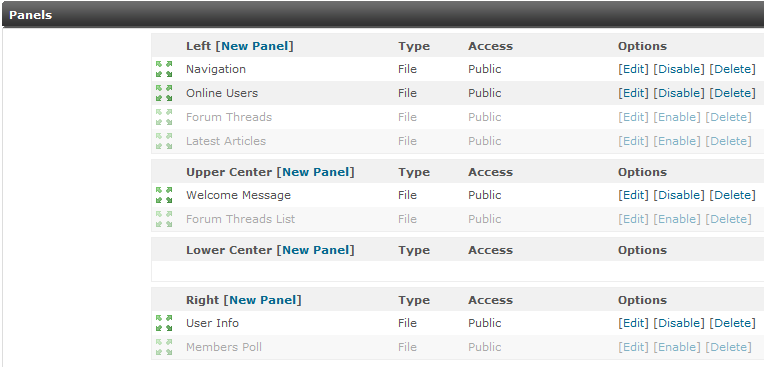
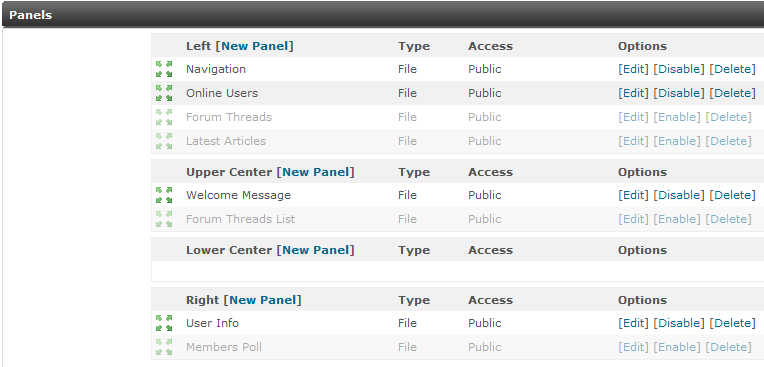
The screenshot to the right is identical to the one above and represents the Panel management area within the PHP-Fusion Admin Panel. Note that each section (Left, Upper Center, Lower Center, and Right) has an option button labeled NEW. Click on NEW button and you will see the screen for adding a new Panel.

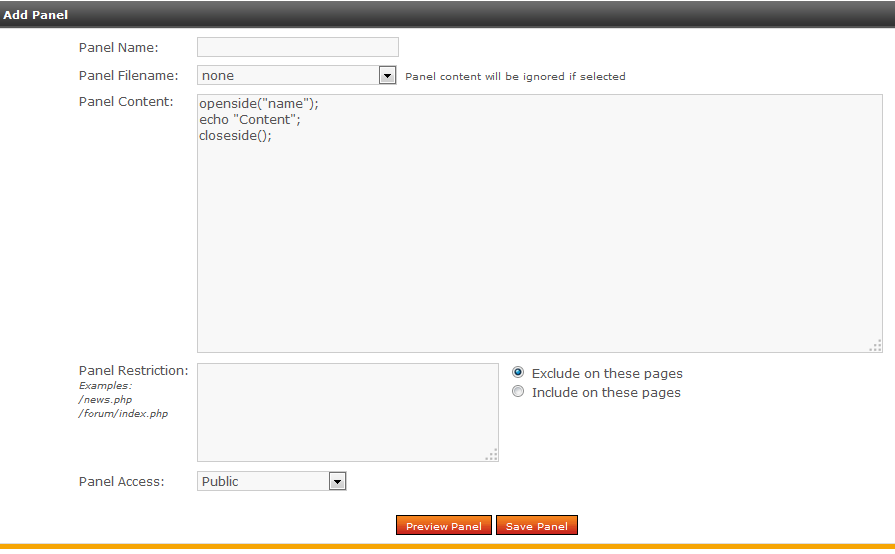
When you open the ADD PANEL dialog (by clicking on NEW PANEL), you will see the options to add a new Panel Name, selecting a Panel filename, Panel Content, Panel restrictions, and panel access. Each of the options are described below:
Panel Name Name of the panel as it will appear on the website Panel Filename Name of a file controlling the behavior of the panel; if you select an existing file, then the Panel Content will be ignored Panel Content You can use PHP code control panel behavior as it appears on the website Panel Restriction You can use the Panel Restriction to exclude or include pages on the website. The radial button for “Exclude on these pages” and “Include on these pages” must chosen on the right. Panel Access Determine who can see the panel: public, member, administrator, super administrator - Click on each field and select or program your options as per the needs of your new panel.
- Click on PREVIEW PANEL to view the panel as you have selected or SAVE PANEL to save your entries.
Edit, Disable or Delete Panels
- Login to the PHP-Fusion Admin Panel.
- In the section labeled with the ADMIN USER name, click on ADMIN PANEL.

Click on the SYSTEM ADMIN tab and then click on the PANELS icon to open the PANELS management area.
- Management actions available for the Panel:
EDIT Click on EDIT in OPTIONS column to edit panel. Make sure to click on SAVE CHANGES after making any changes to panel DISABLE Click on DISABLE to immediately disable a panel. Click on ENABLE to re-enable the panel. DELETE Click on DELETE in the OPTIONS column to delete a panel. Care should be taken when deleting as you only have the one confirmation question to delete before it actually occurs. DRAG-n-DROP As per the earlier description of this option (in the section above), there is a DRAG-N-DROP option available within the menu. Simply left-click on the green arrows the left of the Panel name, then drag to the new position and release.
