In this article we’ll go over how you can send a message to a list in phpList now that you should have a few list setup.
If you don’t have any lists setup you can read our previous article on how to manage lists in phpList, as the 2nd section covers creating a new list.
- Login to your phpList admin dashboard

From the right-hand menu, click on send a message. On the send a message page, there will be 6 tabs across the top, here is a breif description of what you can do on each:
Content Actual message content will go here, such as the Subject, From Line, the Message itself, and the Message Footer. Format Set if the message will be sent as HTML or text. Scheduling Set the Embargoed Until value, which will allow you to schedule when your message should be sent. Criteria If you have attributes setup, you can set which users with a set attribute will receive your message. Lists Set which lists your message will be sent to. Misc Set the email addresses you’d like to notify when the sending of your message starts, and when it has finished. WARNING: If you resize your browser window, or click on any of the tabs without first scrolling to the bottom of the page and clicking on Save Changes, it will refresh the page, and your changes will be lost.

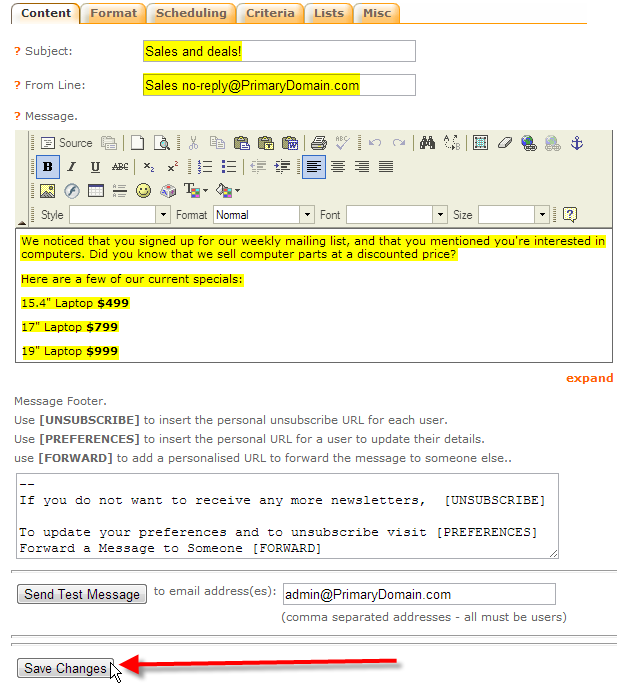
Start filling out the info on the Content tab:
Subject Sales and deals! From Line Sales no-reply@PrimaryDomain.com Message We noticed that you signed up for our weekly mailing list, and that you mentioned you’re interested in computers. Did you know that we sell computer parts at a discounted price? Here are a few of our current specials:
15.4″ Laptop $499
17″ Laptop $799
19″ Laptop $999
Then click on Save Changes

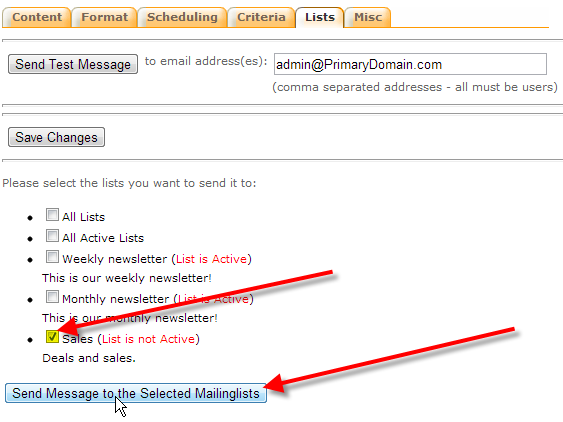
In this article we’re just going to cover the basics of message sending, so just click on the Lists tab to select a list to send to.

Select the list or multiple lists you’d like to send this message to. In this case we’re using our Sales private list that we created in our previous using private lists in phpList article.
Then click on Send Message to the Selected Mailinglists to queue the message for delivery.

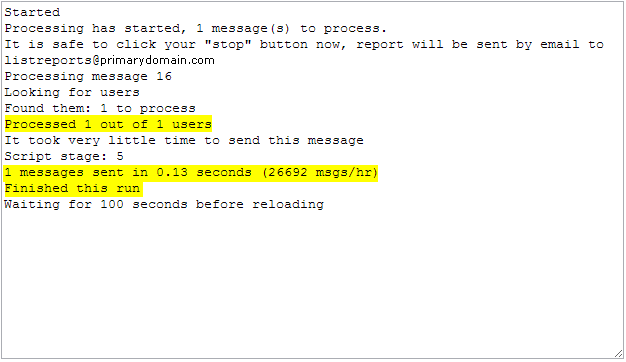
Next click on process the message queue to actually send out the message we’ve queued.

You should see that status of your list deliveries, in this case we only had 1 user on the list, so it sent very quickly.
phpList will also send a delivery report to the listreports@PrimaryDomain.com email account with the same information with timestamps and the IP address the message was sent from also included.
You should now understand how to send a basic message to a list in phpList. In further articles we’ll discuss more advanced options when it comes to sending messages to your lists.


