In this article we’ll go over how you can send a test message with phpList. This will help ensure that your phpList installation is properly functioning, and show that it’s able to send mail successfully.
Before sending a test message to a particular email account, that email account must be first added as a user in phpList.
- Login to your phpList admin dashboard.

From the right-hand menu, click on send a message.

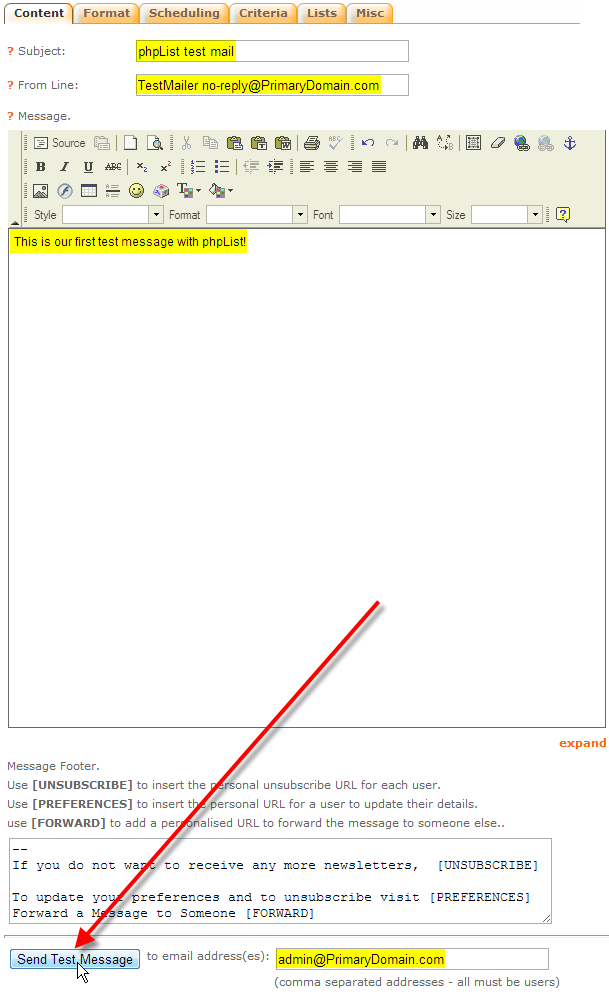
Fill out the information for your test message, we’ve used the following:
Subject phpList test mail From Line TestMailer no-reply@PrimaryDomain.com Message This is our first test message with phpList! to email address(es) admin@PrimaryDomain.com Then click on Send Test Message
The page should refresh, and then at the top it will display the following:
Message saved
Sent test mail to: admin@PrimaryDomain.com

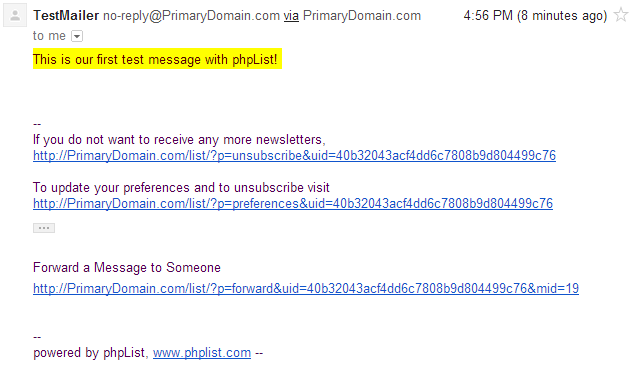
You should now be able to check the email account where you sent the test message, and see what you sent.
<
p style=”clear: both;”>You should now have successfully sent off a test message from phpList! Now that you know phpList is properly functioning and able to send mail, you can begin sending out to your mailing lists with confidence that your users with get those messages.

