Table of Contents
When working with the builder, you may want to have you own banner uploaded to your site. You can create a custom banner that can match the existing site. Below will walk you through the steps to download, edit, and upload a custom banner to your Premium Web Builder site.
Important! This article is using the “xbs-01” business template. the steps are the same for the other templates.
Steps to create your custom banner
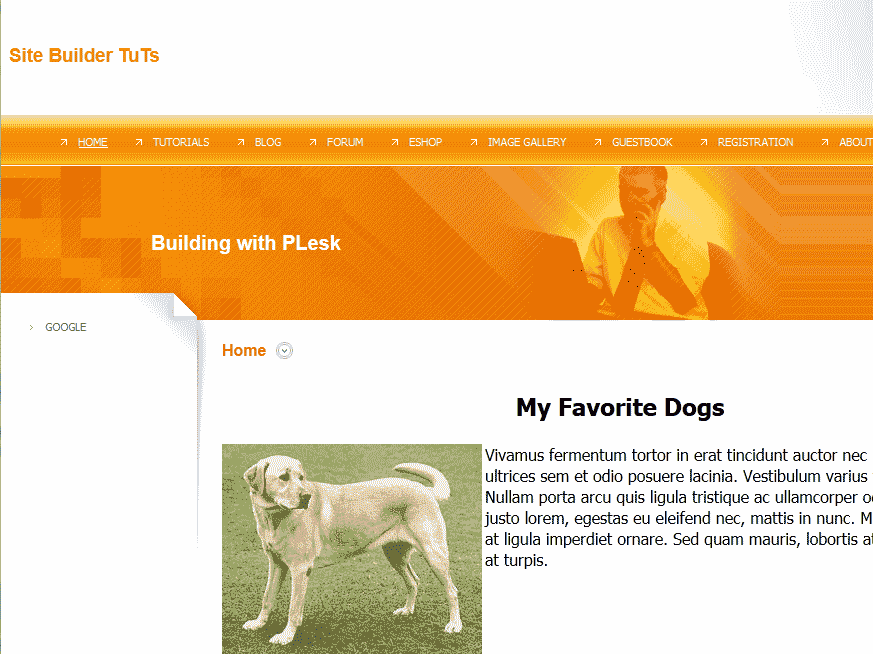
Visit your site with the default banner.
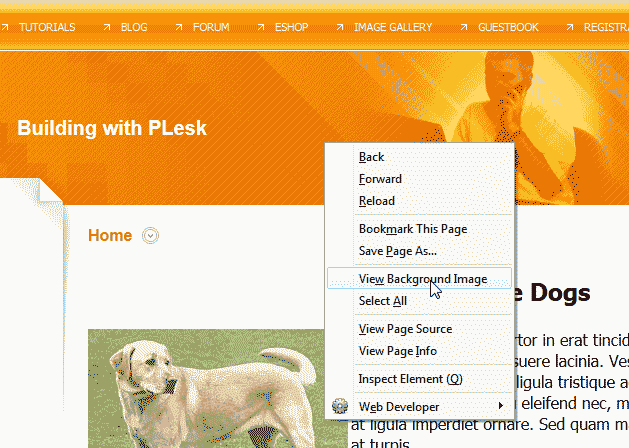
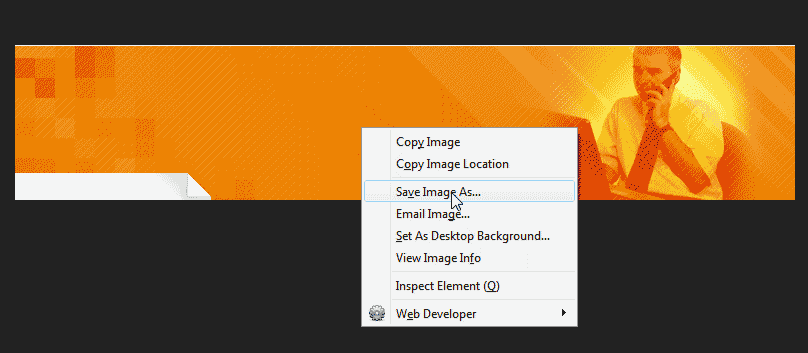
Right click the banner and select View Background Image (This is done in FireFox, This step may vary depending on the browser).

Right click the image and click Save Image As.

Save the Image to your desktop. The default banner should look like the image to the right..

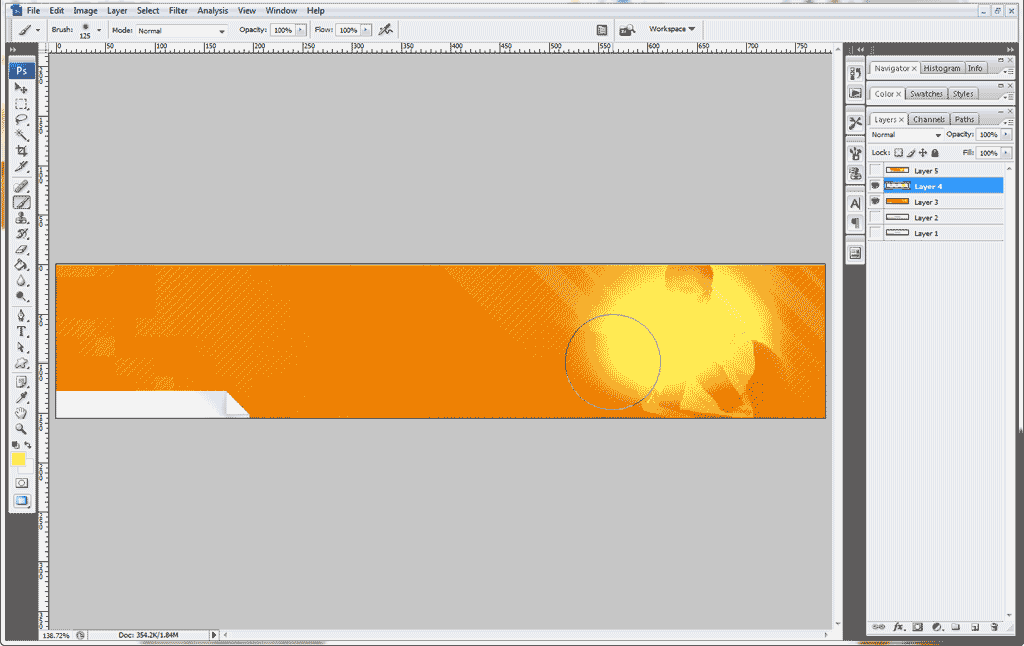
Edit the image in PhotoShop or another image editing program. In this case we are using PhotoShop.
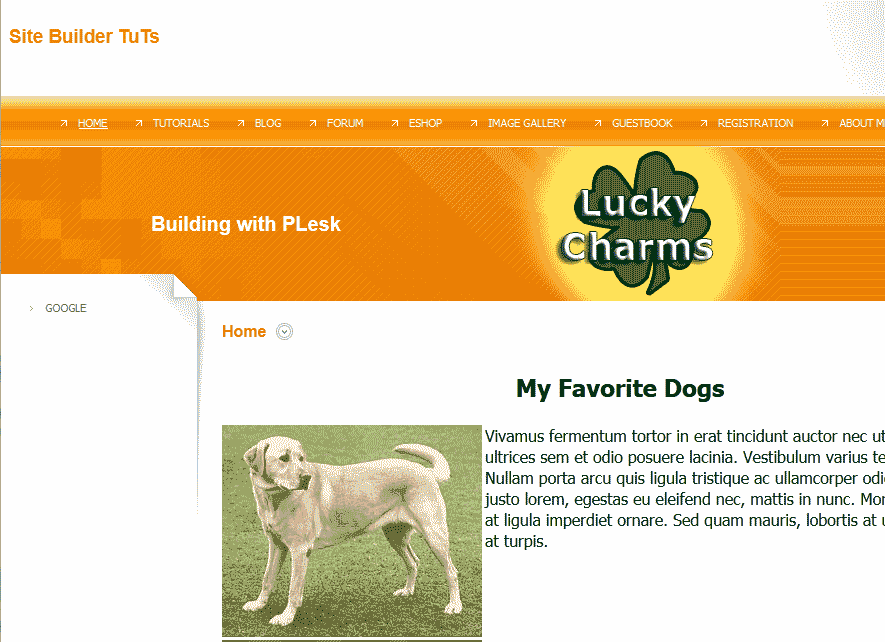
You should have a finished banner that covers the old image like the image to the right.
- Log into the web builder.

Go to the design tab. In the banners section to the right, Browse your computer for the new image you made. Click Upload.

Publish the site and you will see the new banner match with your site.
