This article will demonstrate how to create a new geographic zone in your PrestaShop 1.5 store. While providing a strong list of default zones, you may want to customize your PrestaShop 1.5 store by adding a new zone. This may be a custom zone that matches delivery specifications for your carriers, or maybe you will be subdividing a larger area into smaller districts. Follow along below as you learn how to add the new zone in your PrestaShop 1.5 dashboard.
Creating a new Zone in PrestaShop 1.5
- Log into your PrestaShop 1.5 admin dashboard.
- Using the top menu bar, hover over the Localizations tab and click on the Zones option.
- This will lead you to the Zones list screen. In order to create a new zone, click on the green Add New button in the upper right corner.
- Now you are on the zone creation screen. This is a very simple screen with only two fields, the Name field and the Status field. Name your new zone and then ensure the Status field is enabled in order to use this new zone.

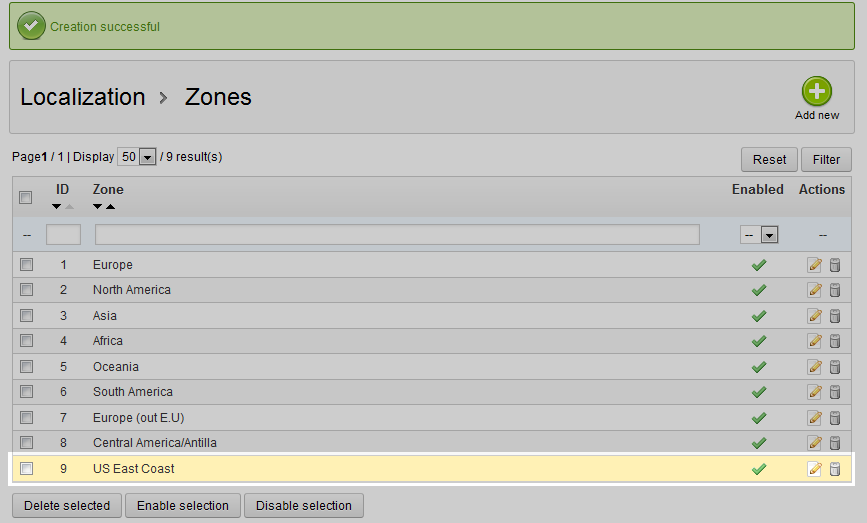
- Once you have named your new zone and confirmed its status, click on the green Save button in the upper right corner. This will save your new zone and return you to the Zones list screen. You will now see your new zone in the list. Remember to follow up and edit or delete other zones affected by your new addition.

