Our last articles taught you how to add and manage your warehouses. This article will continue the Advanced Stock Management course by explaining how to add a product to a warehouse. This allows you to indicate where each product or product combination is stored. Follow the instructions below to learn how to add a product to a warehouse in PrestaShop 1.5.
Adding products to a warehouse in PrestaShop 1.5
- Log into your PrestaShop 1.5 dashboard.
- Using the top menu bar, hover over the Stock tab and click on the Warehouses option from the menu.
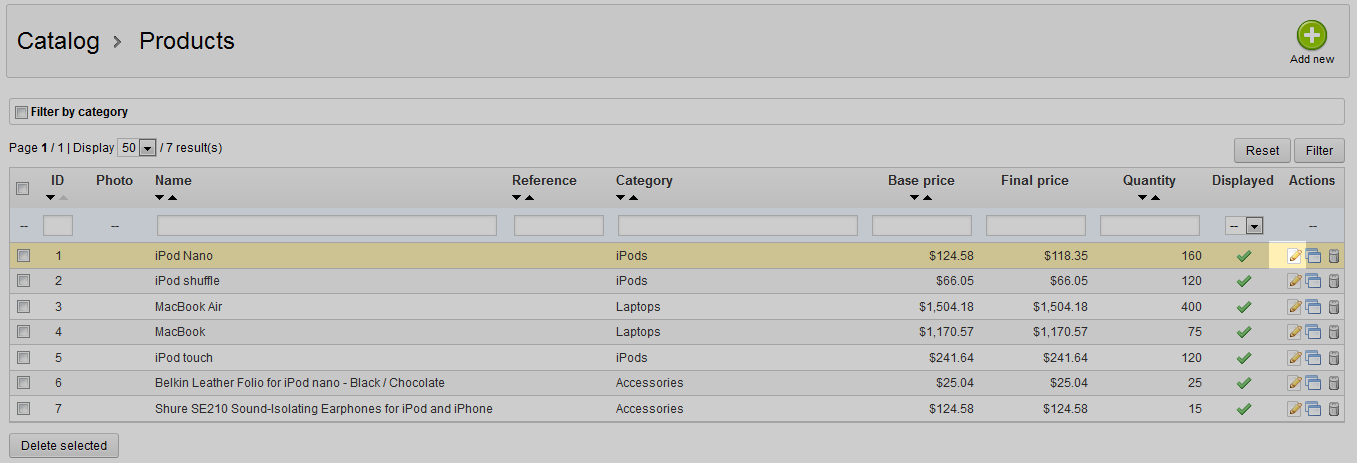
- This brings you to the Products list page. The table in the center of the page will list all products that you have for your store. Locate the product you want to work with and click on the Edit button on the far right of its row. The icon appears as a paper with a pencil on it. In this example we are choosing the iPod Nano.

- Once you are on the Edit screen for the product, look to the left sidebar and click on the Warehouses tab. This brings you to a screen where you can select which product combinations are in the selected warehouses. Be sure to start off by selecting the correct warehouse. In the example below, we selected Warehouse 1

- Once you have selected the appropriate product combinations for the warehouse, click the green Save button in the upper right corner.

