Following our PrestaShop getting started guide? Your next step is to learn to configure payment modules.
So far we have set up the basic information, prices, attached categories, and added images to your products. Now it is important to set up shipping information for your products in PrestaShop 1.5. This sets up the dimensions of the product such as width, height, and weight. Here is also where we enter the additional costs for shipping.
To set up shipping for a product in PrestaShop 1.5:
- Log into your PrestaShop 1.5
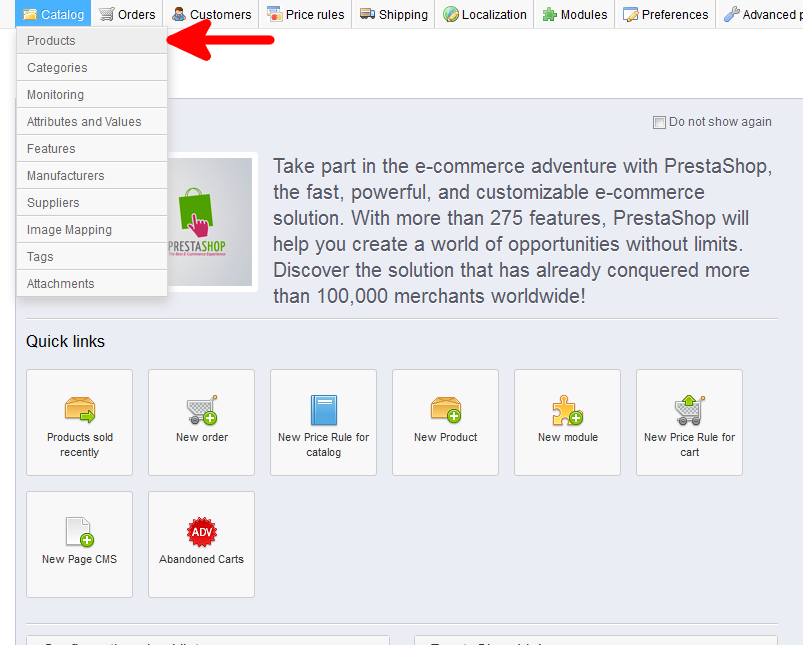
- Using the top menu bar, hover over the Catalog tab and click on the Product selection.

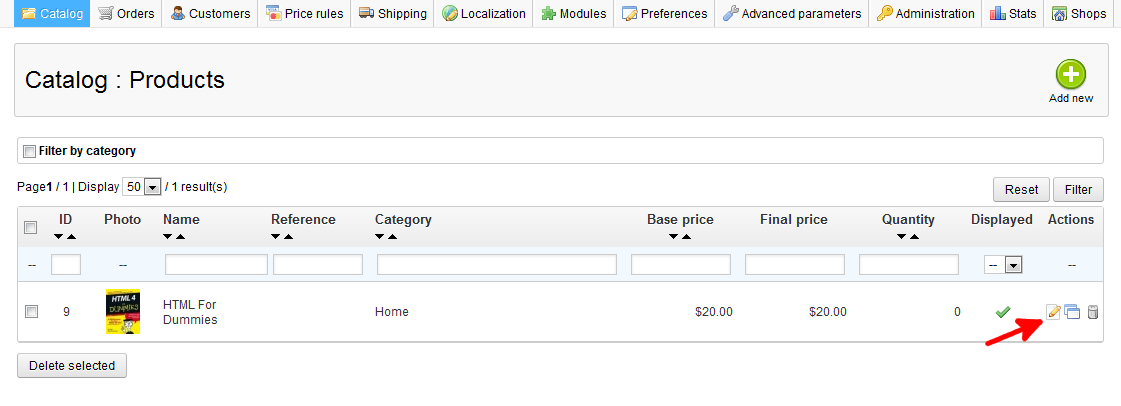
- You are now on the Catalog: Products list page. From here, select the Edit icon (it looks like paper andpencil) on the right for the product you want to edit.

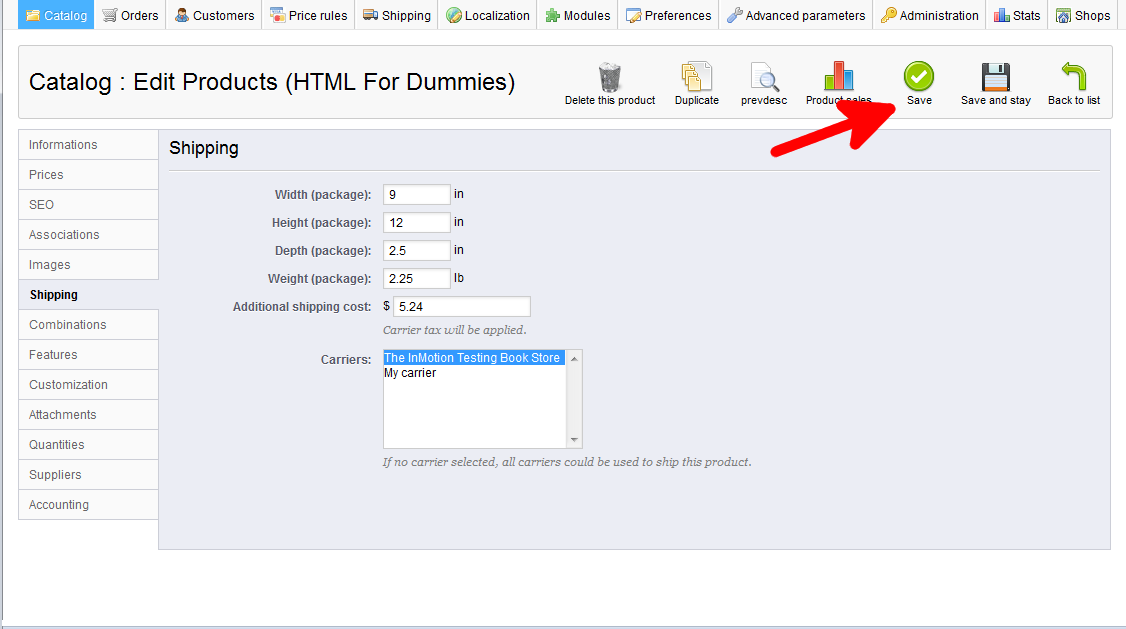
- You are now on the Catalog : Edit Products page. From here click on the Shipping tab on the left sidebar.
- On the Shipping page are several dimensions for the shipping package you need to enter width, height, depth, and weight. There is also a field named Additional shipping cost for you to add your shipping charge.
The Carriers list allows you to select the desired shipping carrier. Carriers are the package companies such as UPS or Fedex that delvier the product to the customer’s doorstep. If one is not selected, any of them could be used to send the package. Once completed, select the green Save button in the upper right corner.

You have now successfully added shipping information to your product in PrestaShop 1.5 , in our next article, you will learn how to add a shipping carrier to your store.


