If you’ve added multiple images to a product in PrestaShop 1.5, you may want to change the ordering the images are displayed.
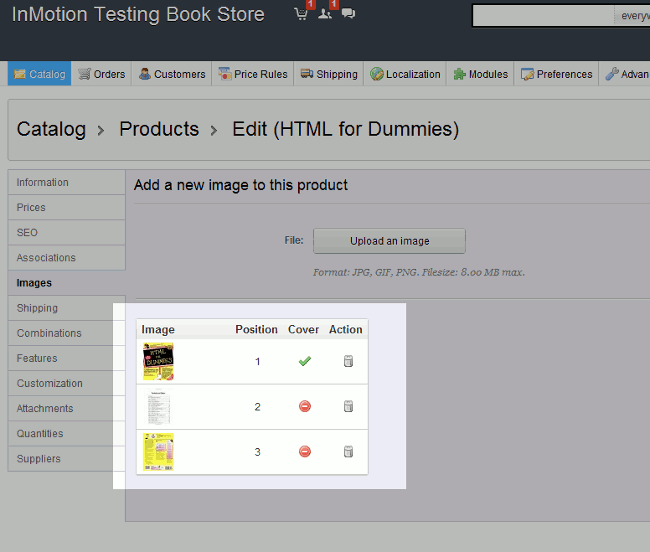
For example, so far in our testing we have added a test product to our store – a book named HTML for Dummies. In the screenshot to the right, you can see that we have three images: the front cover of the book, the back cover, and a picture of the table of contents.
In this example, we want to have the back cover of the book image be the last image in the list. It is easy to change the position of the images, and we’ll show you how to do this now.
To change product image positions in PrestaShop 1.5:
- Log into your PrestaShop 1.5 dashboard
- In the top menu, hover over Catalog and then click Products
- In the list of products, click the Edit button (pencil icon) to the right of the product you want to edit
- In the left menu, click the Images tab
- Towards the bottom of the page you’ll see a table with all of the images you’ve uploaded for this product (as seen in the screenshot below). When you hover over any of the images, your cursor will turn into a crosshair. From here, you can click and drag and drop the image either up or down to change the ordering of the images.

After dragging and dropping the image, you have successfully repositioned it! There is no need to click save to keep the changes, they have already been saved. You will also see a Image successfully moved message at the bottom of your screen for a few seconds to confirm the change.
When compared to the initial screenshot of this product’s page (found at the top of this article), you can see how the order of our product images have change:


