Prestashop 1.5 gives the ability for customers to return items. When this occurs, you will need to add a credit slip to the order. This adds the item back to inventory and credits the money back to the customer. Follow along with the steps below to learn how to make a credit slip in PrestaShop 1.5
How to generate a credit slip in PrestaShop 1.5
- Log into your PrestaShop 1.5 admin dashboard.
- Using the top menu bar, hover over the Orders tab and click on the Orders option.
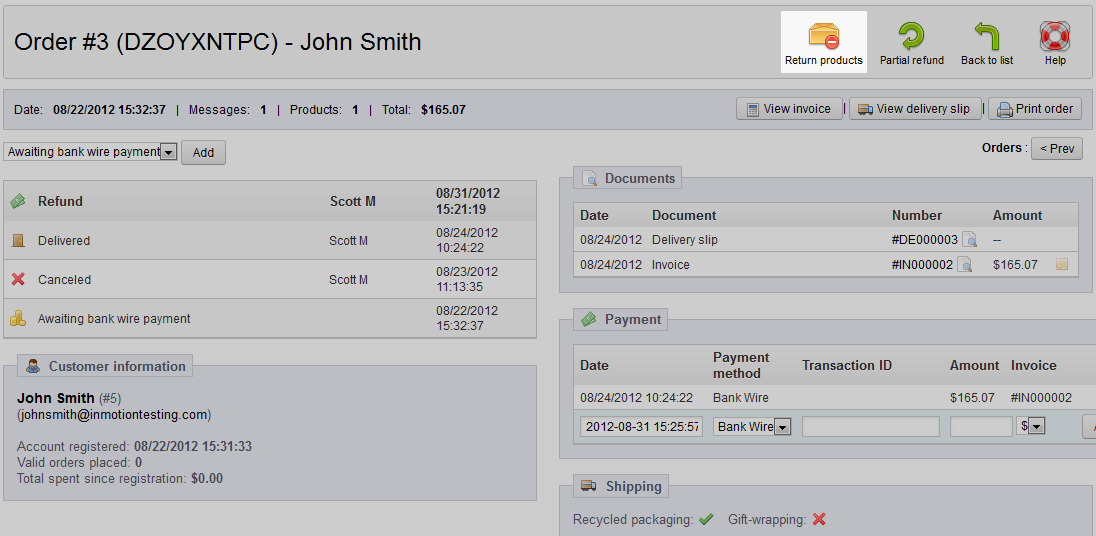
- A credit slip can only be issued for a returned product. You must issue the return from within the order itself. In the example below. J. Smith has been issued a refund and has returned his order. Click on the View button (paper with magnifying glass over it) to enter the order edit screen.

- From this view screen you will see an icon in the upper right group labeled Return Products. Click this and the screen will scroll down to the area to return the product and generate the slip.

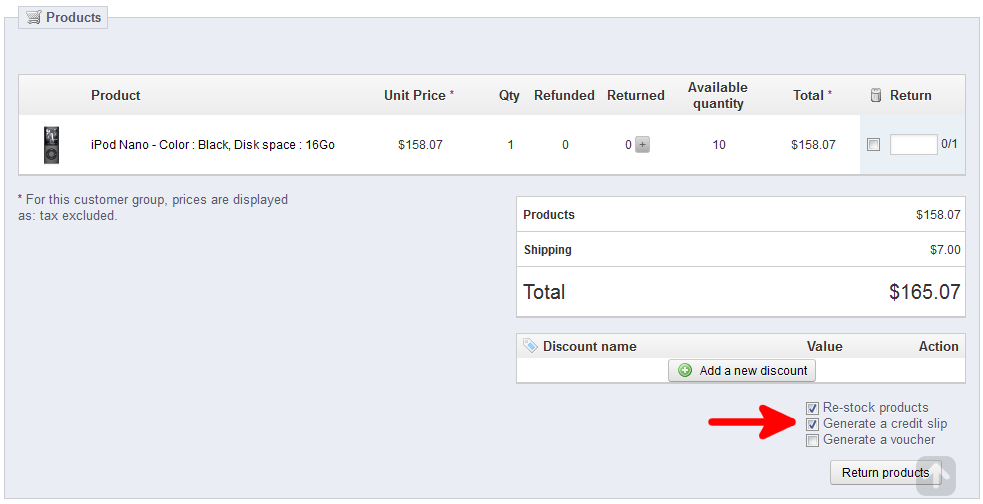
- Next, be sure to choose the checkbox for the item or items that are being returned. There are three optional checkboxes below the items. Check the one labeled Generate a Credit Slip. Click the Return Products button and the return will be issued and the credit slip created.

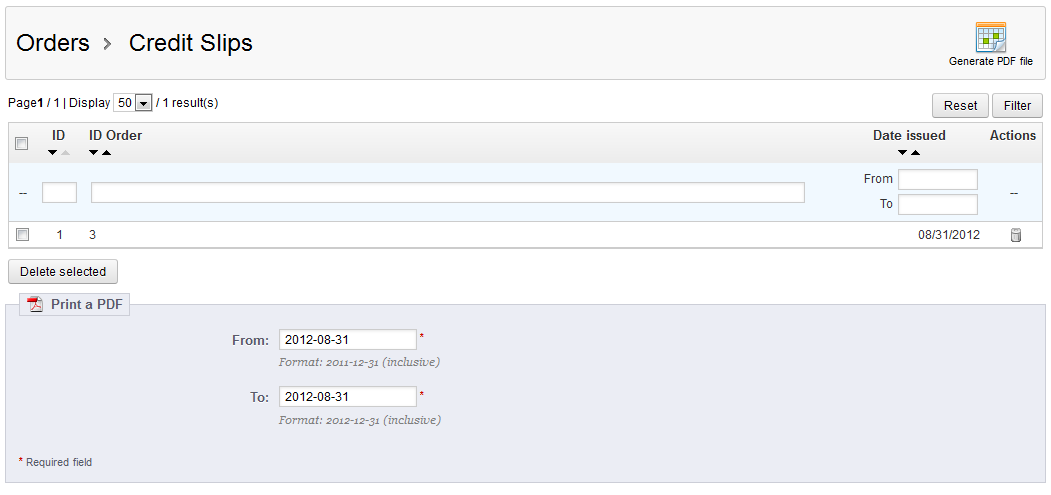
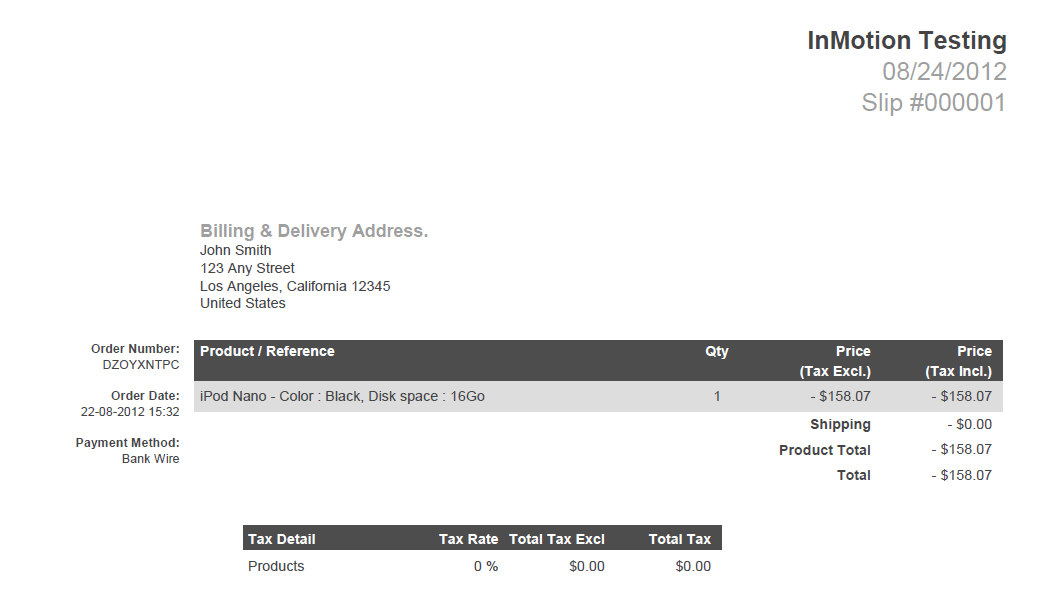
- You can now view the credit slip by hovering over the Orders tab and click on the Credit Slips option. This takes you to the Credit Slips list page. If you wish to print the slips as a pdf report, choose the date range you wish to have reported and click on the Generate PDF File button. This will generate a pdf of the credit slips issued which may be printed out for your records.


