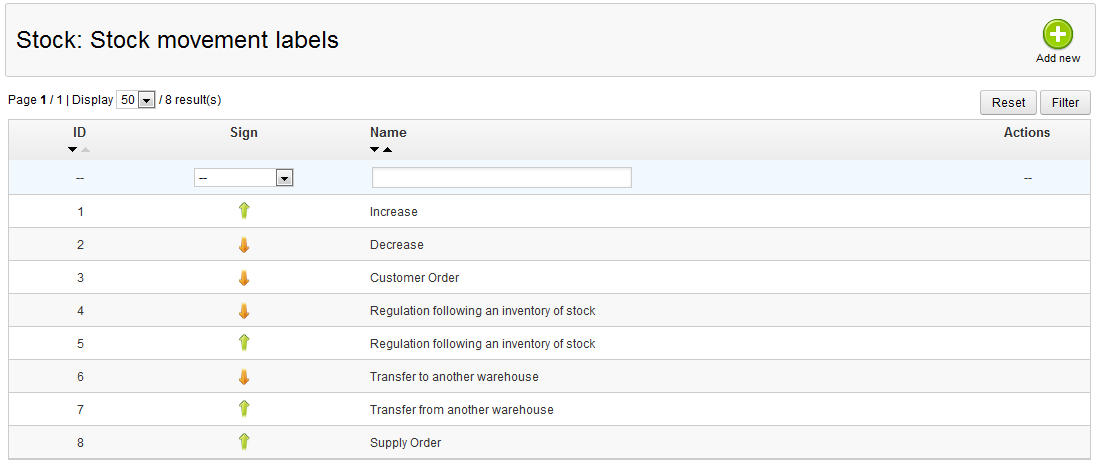
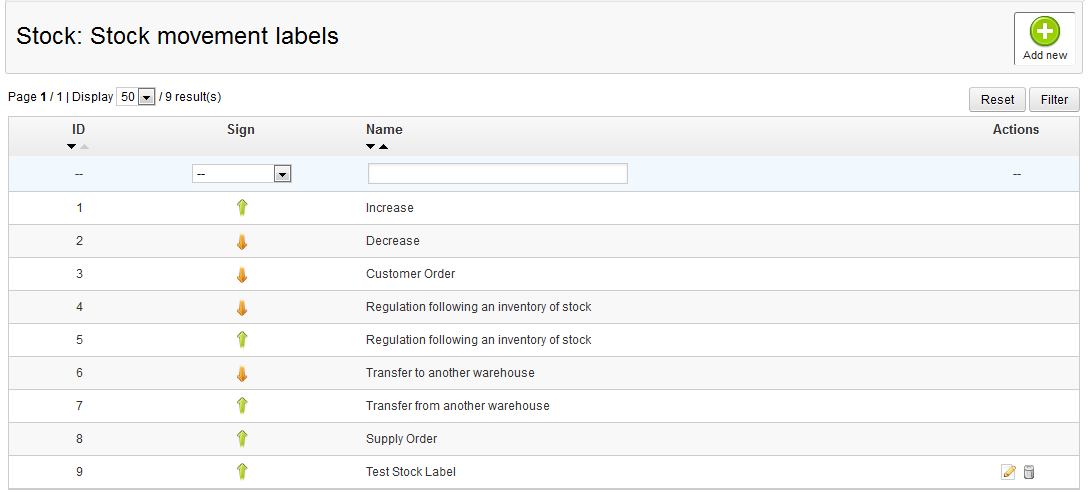
One of the configuration settings in the Advanced Stock Movement is the stock label. These detail how you moved specific stock within your warehouses. There are eight default movement labels to begin with. Creating your own custom stock movement labels will just simply help you further define how stock is moved within or between your warehouses. Below are the instructions for creating a new Stock Movement Label in PrestaShop 1.5
In order to add a custom Stock Movement Label, the Advanced Stock Management option must be enabled.
How to add a new stock movment label in PrestaShop 1.5
- Log into your PrestaShop 1.5 dashboard.
- Using the top menu bar, hover over the Stock tab and click on the Configuration option from the menu.
- This brings you to the Configuration page where there are various settings for Advanced Stock Management. Look for the Stock Movement Labels section, which is the second section from the top of the page. Listed here are the existing stock movement labels.

- To add a new Stock Movement Label, you need to go to the label creation page. Click on the green Add New button found in the upper right corner of the page to do so.
- You are now taken to the Stock Movement Label creation screen. There are only two fields to fill out for your new movement label.
Name The description of the movement of your stock within the warehouses. Be descriptive here as this is what makes your label unique. Action Whether the action will increase or decrease the stock. - Once you have accurately named your new custom Stock Movement Label and assigned the action, click on the green Save button in the upper right to finalize and save it. You will be taken back to the Stock Movement Label list where you will now see your new custom label.

Now that you understand how to create a Stock Movement Label, continue with our next article on how to edit and delete them in Managing a Custom Stock Movement Label.


