After learning how to add a new zone in the localization tab, you will want to edit any zones that may be affected. For example, if you add a zone named Canada, then you may want to alter the North America zone to be United States, to further define what is left of that zone. Follow the instructions below in order to edit a zone in your PrestaShop 1.5 store.
Modifying a Zone in PrestaShop 1.5
- Log into your PrestaShop 1.5 admin dashboard.
- Using the top menu bar, hover over the Localizations tab and click on the Zones option.
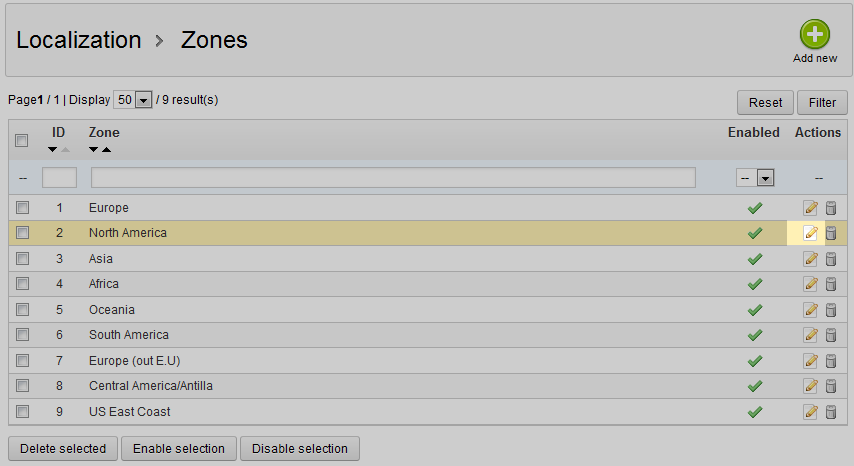
- Now on the Zones list screen, click on the Edit icon on the right hand side of the row of your selected zone. This icon looks like a pencil and paper.

- Now you are on the zone edit screen. There are only two fields here to edit. To continue our example from the zone creation article, we are renaming North America to US – West Coast.

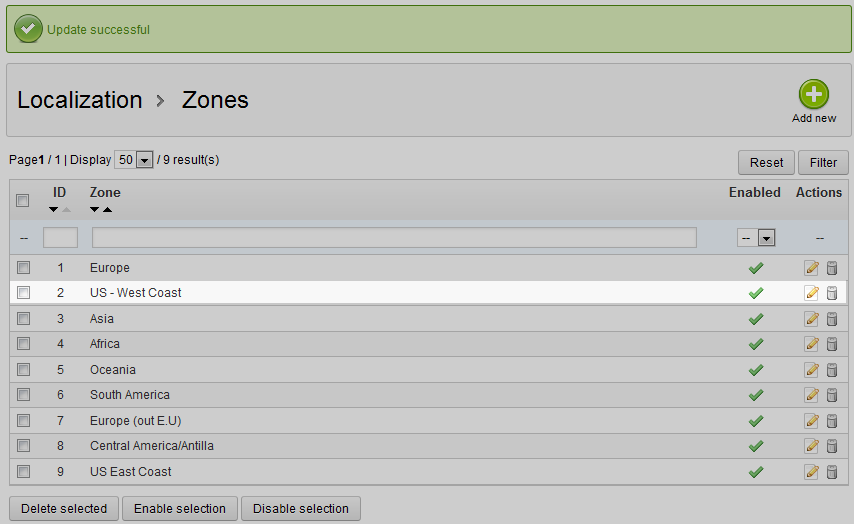
- After renaming your zone, click on the green Save button in the upper right corner. The changes will then be saved and the Zones page will return, showing your newly modified zone name.

