Table of Contents
PrestaShop is a free e-commerce solution that allows you to sell your products online. Since Prestashop is accessed via a web browser, you can manage your store from any computer that has internet access. For more information on PrestaShop, please visit their website.
How to manually install Prestashop 1.4
- Create a database for your store using cpanel.
- Download the PrestaShop e-Commerce solution software.
- Unzip the PrestaShop ZIP archive anywhere on your hard drive on your local computer.
- Upload the contents (not the folder itself) of the /prestashop folder to the root directory (e.g., https://www.mysite.com/) of your hosting server via FTP. You can also upload the files to a subdirectory you’ve created (e.g., https://www.mysite.com/prestashop/) if you wish to keep your root homepage separate.
- While you have your FTP connected to your Web hosting server, make sure the following PrestaShop folders have ‘write’ permissions (also known as “CHMOD 755”) but do not apply these permissions recursively (to their subfolders): /config, /upload, /download, /tools/smarty/compile. Then make sure the following folders have ‘write’ permissions and apply these permissions recursively (to their subfolders): /img, /mails, /modules, /themes/prestashop/lang, /translations
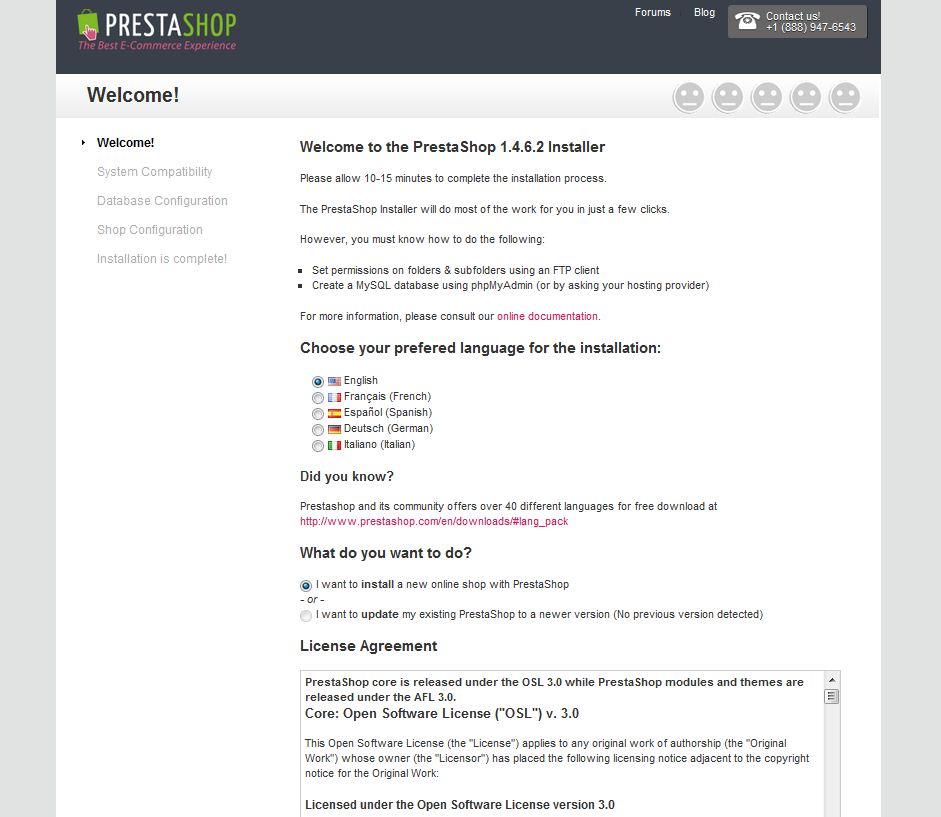
- In a Web browser, launch the Installer by adding install to your shop’s URL (e.g., https://www.mysite.com/prestashop/install).
There’s quite a few steps during the installation process during Step #6.
- Upon completing the PrestaShop Installer wizard, use your FTP software to navigate to your /prestashop folder. There, delete the /install folder and rename the /admin folder (for example, /admin123 or, even better, /xyz789). This is for security reasons. If later you forget the name you gave the /admin folder, you can confirm its name via your FTP browser.
- Now, visit your website to verify that PrestaShop has installed correctly.

If you need further assistance please feel free to contact our support department.


