Now that you have created your new custom Stock Movement Label, this article, next in our Supply Orders course, shows you how to manage it. This involves editing and deleting the movement label records. Below are the instructions to assist you with each of those tasks.
How to edit, view, and delete warehouses in PrestaShop 1.5
- Log into your PrestaShop 1.5 dashboard.
- Using the top menu bar, hover over the Stock tab and click on the Configuration option from the menu.
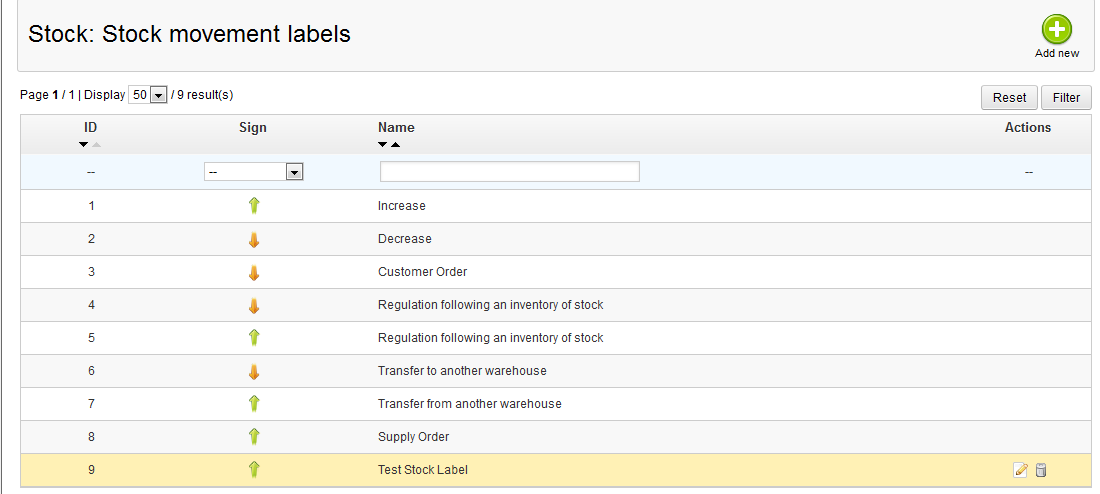
- This brings you to the Configuration page where there are various settings for Advanced Stock Management. Look for the Stock Movement Labels section, which is the second section from the top of the page. Listed here are the existing stock movement labels. You will notice there are no action icons for the default Stock Movement Labels. These cannot be altered.

Editing Stock Movement Labels
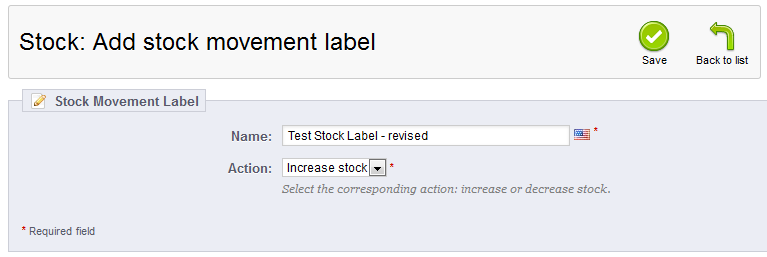
To edit a custom label, find the one you want to edit in the list. On the far right of that particular label’s row is a set of icons. Click the Edit icon. This will bring up the Stock Movement Label Edit page. As in the creation stage, there are only two fields to edit. Once you have edited either field, click on the green Save button to complete the edit. You will be taken back to the Stock Movement Labels list where you will see the changes.
Name The description of the movement of your stock within the warehouses. Be descriptive here as this is what makes your label unique. Action Whether the action will increase or decrease the stock. Deleting Stock Movement Labels
To delete a custom Stock Movement Label, first locate the label you wish to remove. Next, click the Delete icon on the right side of the respective row for the movement label you are wanting to delete. You will then be met with a confirmation pop-up window. Select the OK button to confirm the deletion.
 Now you have learned how to manage your custom Stock Movement Labels by editing the data and by deleting a label record. Continue with our course as we discuss Supply Order Status Options.

