Now that you have learned how to validate a supply order, our next article in our Managing Supply Order course explains the next step of the supply order sequence. This is essentialy the second phase, as we have created the order with the last two steps. In this phase the order is awaiting shipment from the supplier. Below are the steps to take for recording the awaiting and reception of your inventory for a Supply Order in PrestaShop 1.5.
Working with a Supply Order in PrestaShop 1.5
- Log into your PrestaShop 1.5 dashboard.
- Using the top menu bar, hover over the Stock tab and click on the Supply Order option from the menu.
- You are now on the Supply Orders screen. The existing Supply Orders appear in the table in the middle of the screen. Your Supply Order should initially be set to
 . As you are awaiting shipment, click on the Change State
  button to the right of the Supply Order‘s row.
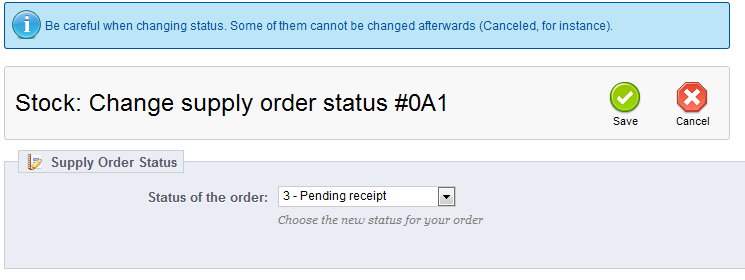
 - Now you are on the Change state screen. Depending on the status of your order, you can select from one of two reception statuses:

Order confirmed, but no product has been received. 
Some of the order has been received. 
All of the order has been received. - If your order has only been partially received, you will want to update your Supply Order to reflect what portion of the order you did receive so far. Under the Actions column is a truck icon
 . Clicking this will allow you to update your supply order for the partial shipment by taking you to a special screen.
- To update the supply order, simply enter the amount received in the Quantity Received Today field. Afterwards, click on the Delete Selected button underneath to save the new data. You are now taken to the Supply Order list screen.

Now that you have learned how to deal with pending shipments and partial reception, continue with our next article on completing the Supply Order.


