Table of Contents
In this tutorial we will show you how to install Percona DB server via SSH. This will allow you to replace MySQL with Percona DB Server.
Installing Percona
- SSH into your server as the root user.
- Run the following command to download the Percona package:
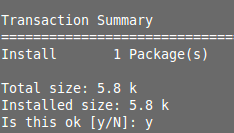
 You will see the following message, type ‘y’ for yes then click the enter key. Total size: 5.8 k
Installed size: 5.8 k
Is this ok [y/N]:You should then see a “Complete!” message.
- Run the following command to install epel. This will allow you to install libev, which is required.
 You will see the following message, type ‘y‘ for yes then click enter.
Installed size: 22 k
Is this ok [y/N]: y- Run the following command to install libev.
- You will see the following message, type ‘y‘ for yes then click enter.
Total download size: 113 k
Installed size: 151 k
Is this ok [y/N]: y - Run the following command to install Percona XtraBackup. This will allow you to revert the changes if necessary.
 When you see the following message, type ‘y‘ for yes then click enter. You should see this message twice. Is this ok [y/N]:
- Create a backup by running this command:
Then, run this command:
- Stop and remove MySQL by running the following commands:
Then, run this command:
- Run the following command to install Percona Server:
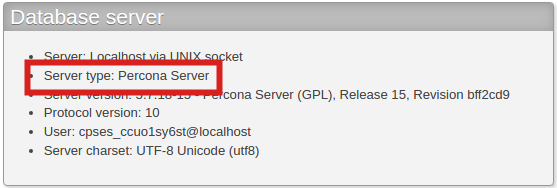
 At this point Percona DB Server has been installed. You can verify this by logging into cPanel, clicking phpMyAdmin, then viewing the Database Type in the Database server section.
Congratulations, now you know how to install Percona DB Server on your server!


