Table of Contents
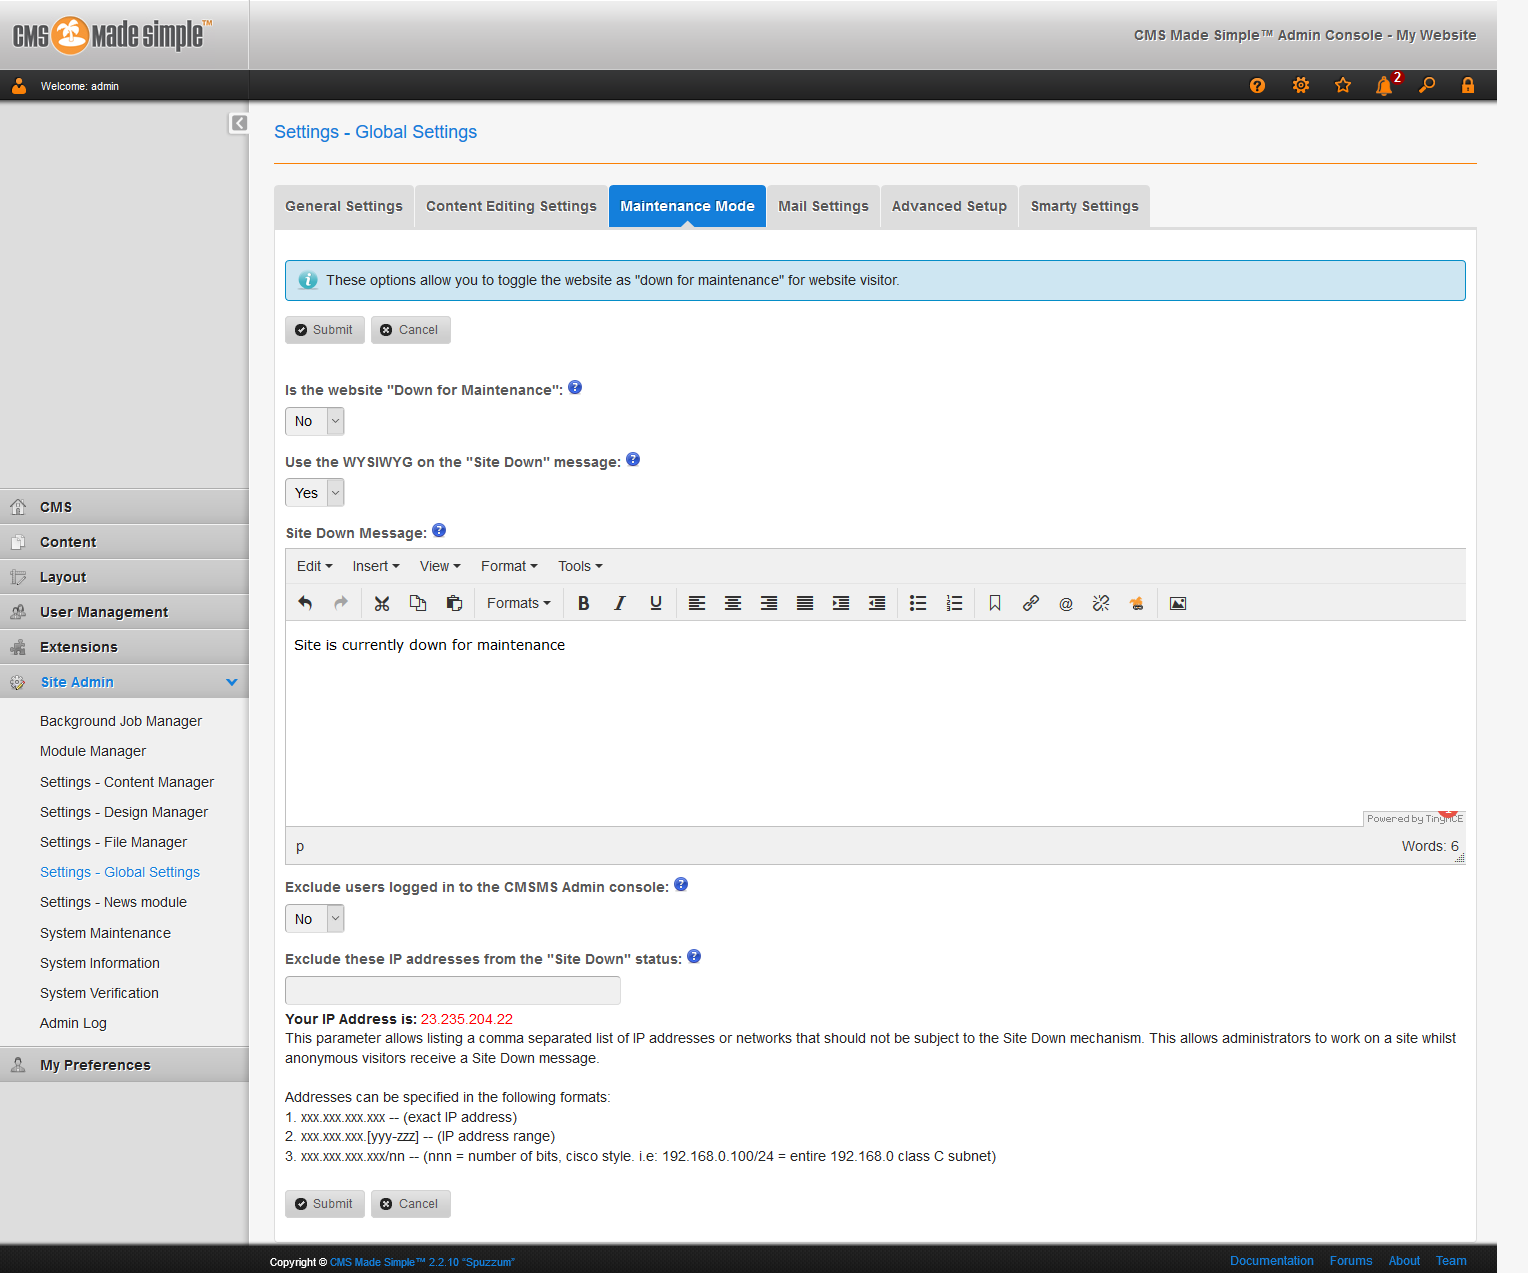
When starting out, you may not want the world to see your progress yet. Below we cover how to set your CMS Made Simple website to maintenance mode.
Need a new domain? Buy a domain name or get one free when you purchase one of InMotion Hosting’s Shared Hosting Packages.
Maintenance Mode
- Log into CMS Made Simple.
- Click Site Admin, then Settings – Global Settings.

- Locate “Blocks HTML output” in the list of cache types. Select it, and from the “Actions” dropdown menu, choose “Enable.” Click the “Submit” button to apply the changes.
- Click on the “Blocks HTML output” tab to access configuration settings. Customize block caching settings, including cache lifetime and granular control over block caching. Once configured, click “Save Config” to implement changes.
Exclude Users From “Site Down” Status
- Select “Yes” under Exclude users logged in to the CMSMS Admin console and insert IP addresses to exclude.
- Click Submit, then Yes.
To find more ways to enhance your website, check your system information. Learn more about CMS Made Simple in our Support Center.
