Table of Contents

ProjeQtOr (short for Quality based Project Organizer) is a versatile PHP project management software with functions supporting customer relationship management (CRM) and enterprise resource planning (ERP). Below we’ll cover how to build a ProjeQtOr kanban board connected to your internal projects.
1-click ProjeQtOr downloads are available via Softaculous Instant Installer, free with our cPanel shared and VPS hosting plans. Check official documentation to learn how to install ProjeQtOr manually.
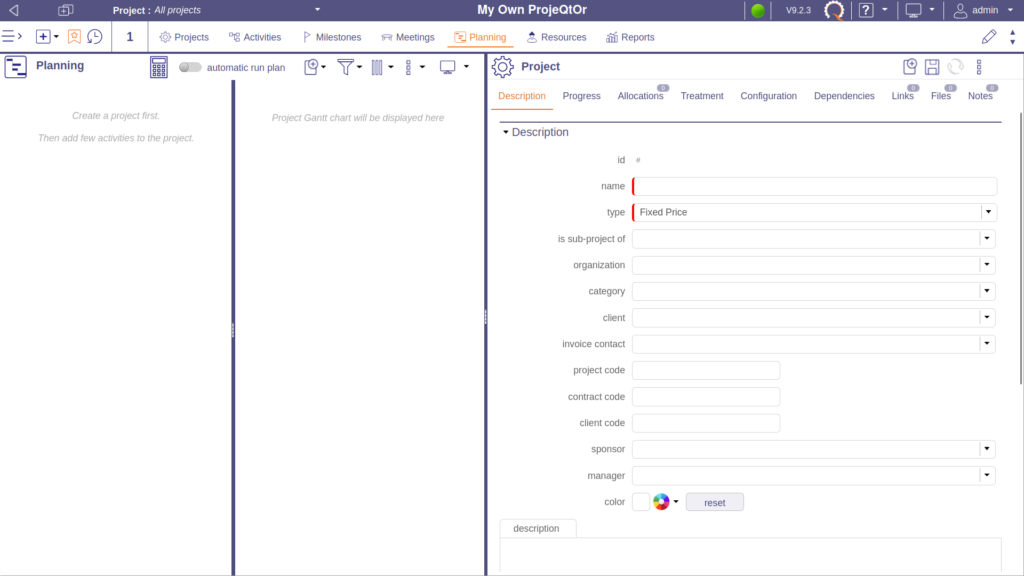
Create a ProjeQtOr Project
- Visit your ProjeQtOr instance and login.
- Select the “+” (
 ) icon near the top and “Project.”
 - Add a project name to categorize the type of tasks you’ll later add. The project name is separate from the kanban board name.
- Select a project type. We recommend “Internal” or “Administrative.”

- Select the floppy disk (
 ) icon near the upper-right corner to save the project.
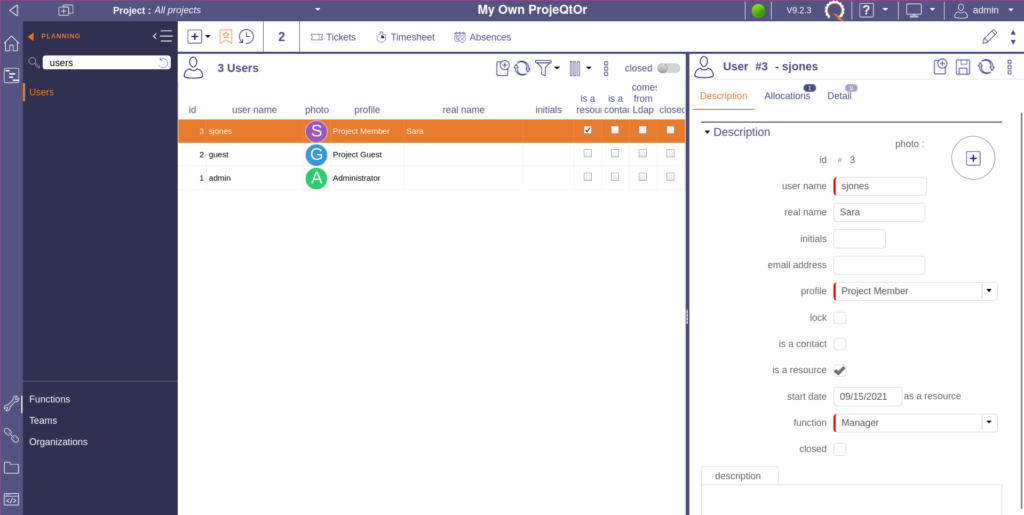
Create ProjeQtOr Users
- For full kanban functionality you’ll need to configure your admin user account as a possible assignee (not recommended for security) or create a regular user with. On the left, select “Environment,” then “Users.”

- Select the (
 ) icon.
 - On the right, specify username, real name, and profile (user permissions type). Select the “is a resource” checkbox for the ability to mark the user as “responsible” (assigned) for kanban tasks. This is required to complete kanban tasks.

- Select the floppy disk () icon near the upper-right corner to save the project.

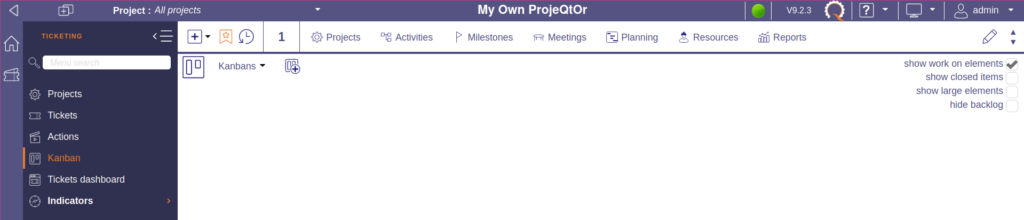
Create a ProjeQtOr Kanban Board
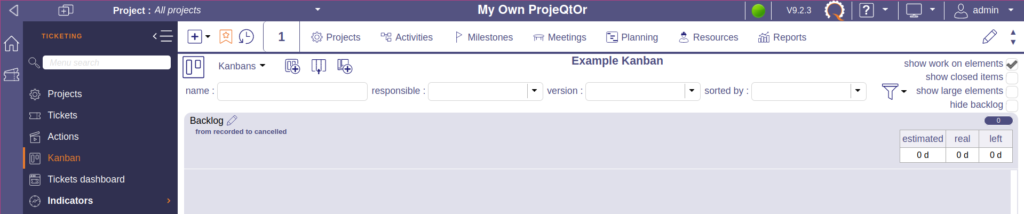
- On the left, select “Environment,” “Ticketing,” and “Kanban.”

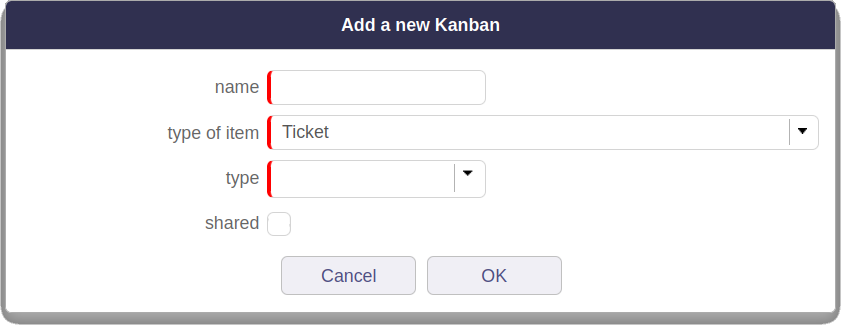
- Select the (
 ) icon to create a new kanban.
 - Type a kanban name, “type of item” (we recommend “activity”), and select “OK.”

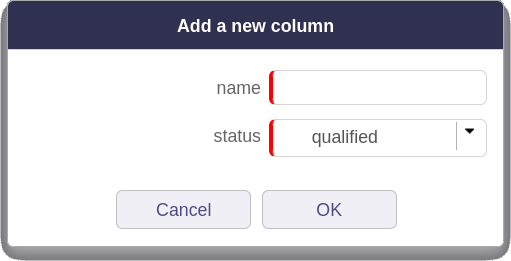
Afterwards you can select “Kanbans” and the pencil icon in the drop-down menu to change the Projeqtor kanban name. - There will only be a backlog column (or swimlane) present. Select the (
 ) icon near the top to create a new column.
- Add a name and a relevant status for the column. Then select “OK.”

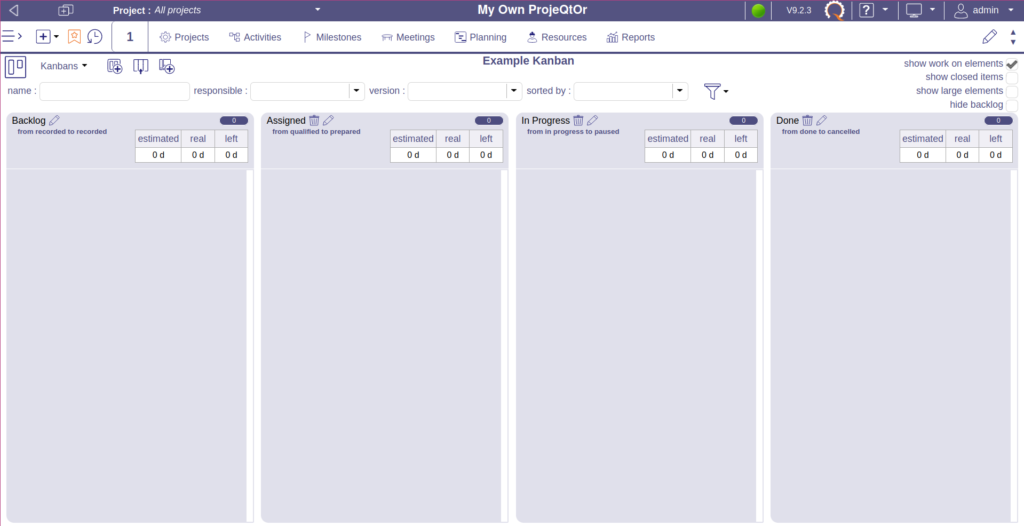
Add as many columns as you feel necessary. Kanbans generally include four columns – backblog, assigned, in progress, and done – as seen in the screenshot below.
- Select the (
 ) icon to add a new activity (task).
 - Add a task name, select the affiliated project, and additional information as desired. Add an user for “responsible” (assignee) to prevent issues closing kanban tasks later.

- Select the floppy disk () icon near the upper-right corner to save the activity. The task will populate under the backlog by default.

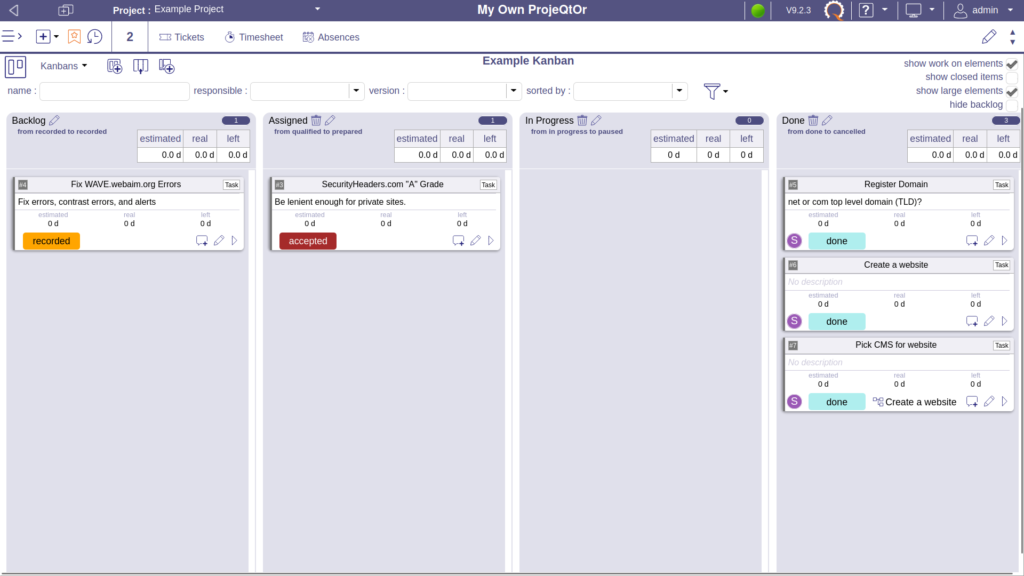
You can drag and drop tasks to successive columns. You cannot move tasks backwards by default. To progress a task to “in progress” and further columns, you must assign a “responsible” user. To mark a task “done” you must add a description for the end result before selecting “OK.”
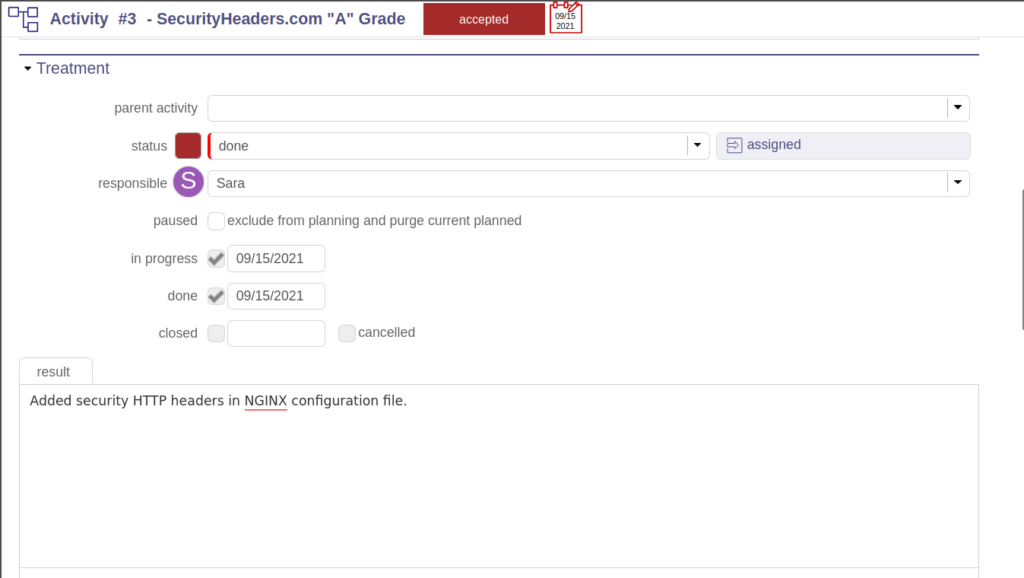
If you encounter problems with this, edit the task to assign a user. Under “Treatment,” you can also type the “result” and change the status. Don’t forget to save changes.
What Next?
Unrelated, you should determine a backup solution before updating lesser known web applications. This provides some reassurance in case anything goes wrong. Although there are paid ProjeQtOr plugins available, native server backup solutions will suffice:
- cPanel and MySQL database backup features
- Tar and Zip file compression terminal
- Server snapshots
![]() Enjoy high-performance, lightning-fast servers with increased security and maximum up-time with our Secure VPS Hosting!
Enjoy high-performance, lightning-fast servers with increased security and maximum up-time with our Secure VPS Hosting!
![]() Linux VPS
Linux VPS ![]() cPanel or Control Web Panel
cPanel or Control Web Panel ![]() Scalable
Scalable ![]() Website Migration Assistance
Website Migration Assistance