Table of Contents
When working with your SMF community forum website, you will work hard to make it stand out. The most popular way to customize the site is to install a new theme, sometimes called a template. Themes and templates come in many different styles, so you may need to try a few to decide which is best for your site. You may even want to install more than one and use different ones seasonally. The article below will guide you on installing a new theme in your SMF 2.0 site.
Installing a theme in SMF 2.0
- Find the theme you desire. The SMF main site has an area dedicated to themes.
- Log into your SMF admin dashboard.
- From the entry page, click Admin from the upper menu. This will reveal a second menu just underneath the first. Hover over Configuration and click on Themes and Layout from the popup submenu.
- A new third menu will appear under the second related to Themes. Select the first option, named Manage and Install to continue to the next screen.
- This screen is the for theme management. To install the theme you downloaded, scroll down to the bottom and find the Install a New Theme section.
- Click on the Browse button to select the theme file from your local machine. Once you select your theme, click on the Install button to begin the install. A popup will appear and ask you to confirm the install, click the OK button to confirm.

- After installing, you will receive an installation success message. Click the Back button to return to the previous page so you can activate the new theme.

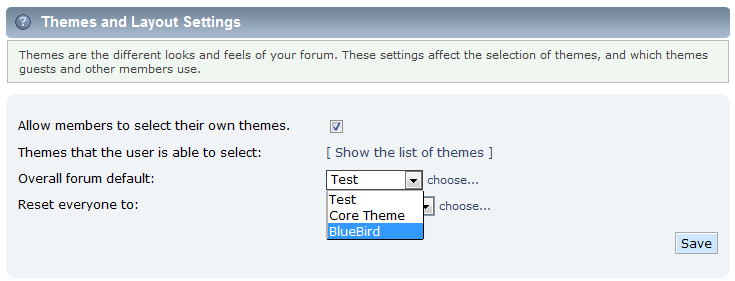
- Now that you have installed the theme, look for the Themes and Layout Settings section. There will be a dropdown entitled Overall Forum Default:. Find and select your new theme. In our example, we installed the Bluebird theme.

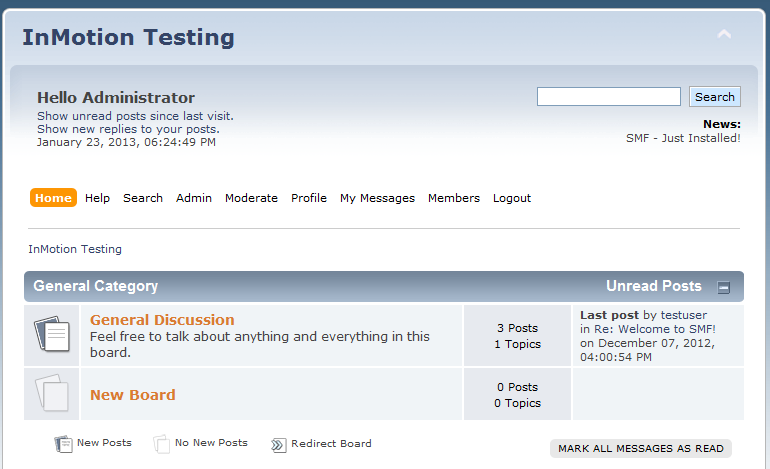
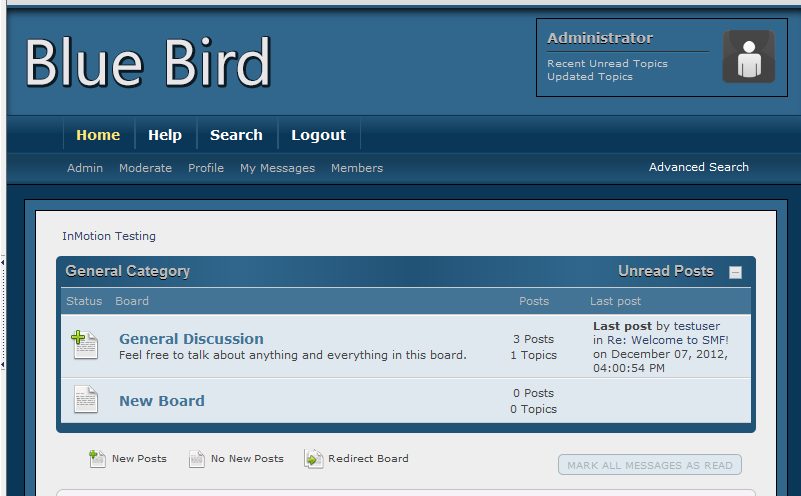
- Click the Save button to activate the new theme. You can see below how the install and activation of the Bluebird theme gives our test site a whole new look. Good luck with your own site!
Before After 


