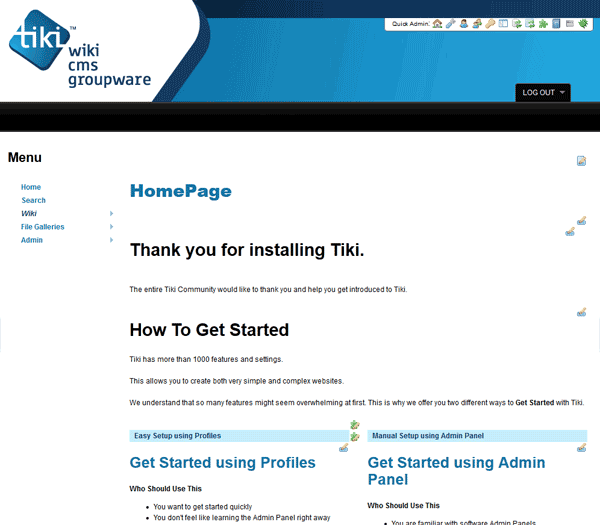
TikiWiki is a free open source program designed to make a Wiki site on your server. If for whatever reason, TikiWiki cannot be installed through Softaculous, TikiWiki can be uploaded manually and installed on your server. This article will walk through the steps in setting up TikiWiki on your server.
The version we will be using is the CURRENT STABLE 9.2 version.
Installing TikiWiki manually
- If you are not installing TikiWiki on the main domain or an Addon domain, Create a subdomain for the TikiWiki site.
- Create a database and database user. Add the database user to the database.
Important! Save the Username, Password, and Database name in a notepad or other editor to reference it later. This will be needed to set up the TikiWiki program.
- Upload the tiki-9.2.zip file through the cPanel and extract the file to the server, or upload the contents of the tiki-9.2 folder, that was extracted to your local computer, to the directory for the subdomain using ftp.

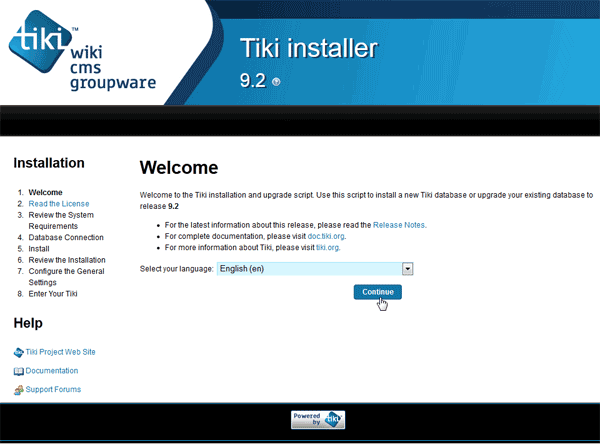
Navigate to the domain/subdomain that as created for TikiWiki. The Welcome page should load.
Select the Language and Click Continue.

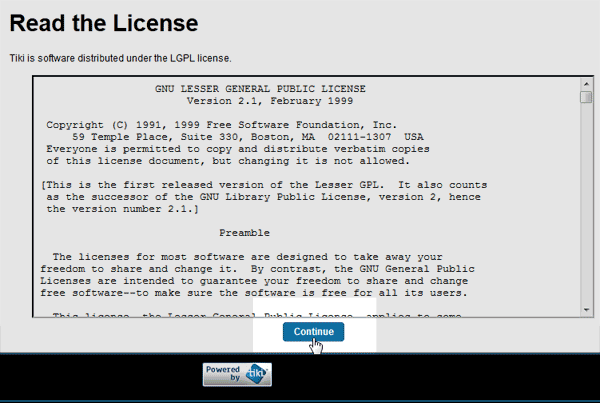
On the Read License page, read the agreement if you do not know what GNU licensing is.
Otherwise, Click Continue.

On the Review the System Requirements page, Check if there are any system requirement errors. If the server is set up correctly everything should look like the snapshot to the right.
If all the settings show green and white checks, Click Continue.

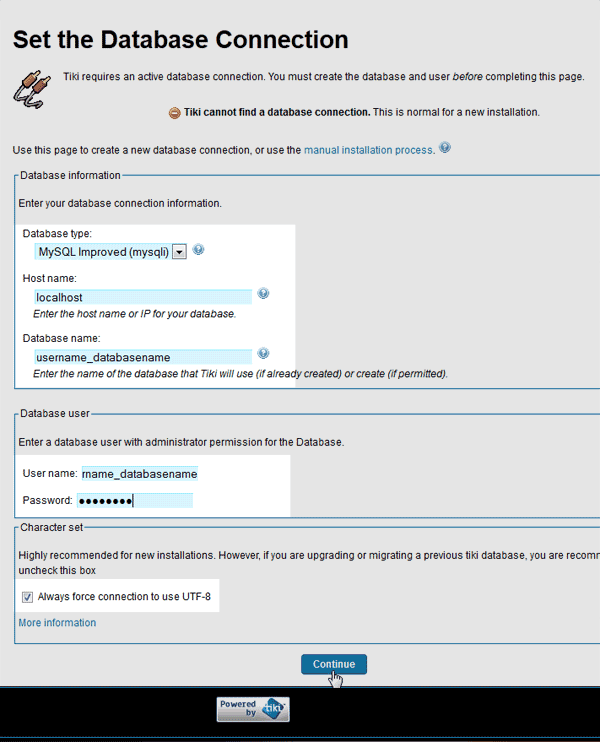
Next, the Set the Database Connection page should display. Here is where the database credentials that were save in step 2 will be entered.
Enter the Database username, password, and database name. Hostname is localhost.
Keep the Character set as utf-8.
Click Continue.

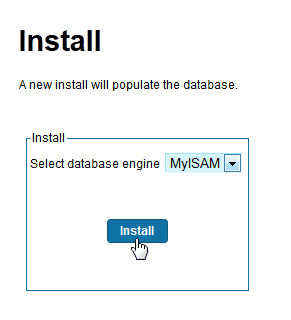
On the install screen, keep the database engine MyISAM.
Click Install.

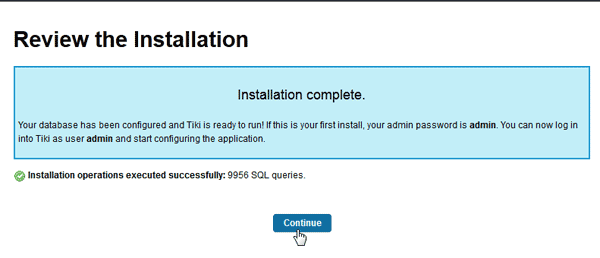
Now the Review the Installation page will load. This should say Installation operations executed successfully: 9956 SQL queries.
Click Continue.

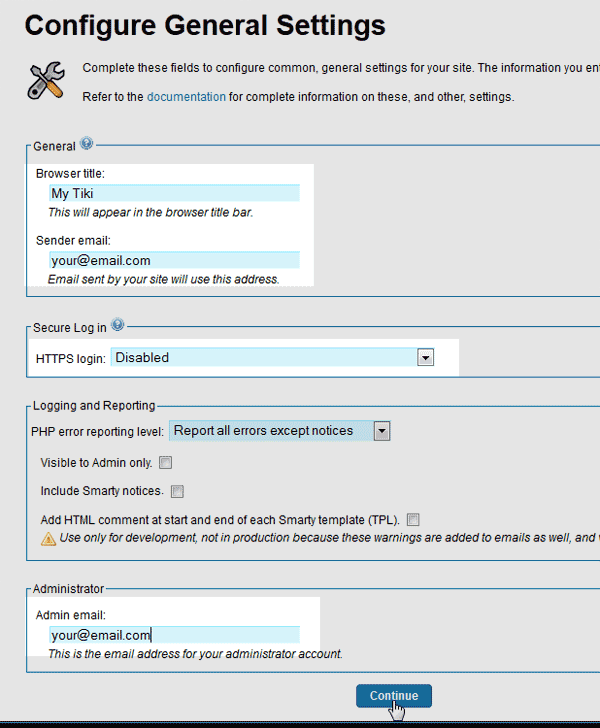
On the Configure General Settings page, enter the general information for the administrator login.
Keep the Secure login as Disabled. This is because, if you do not have an SSL, the login page will give an error when accessing it.
Enter the admin email address and Click Continue.

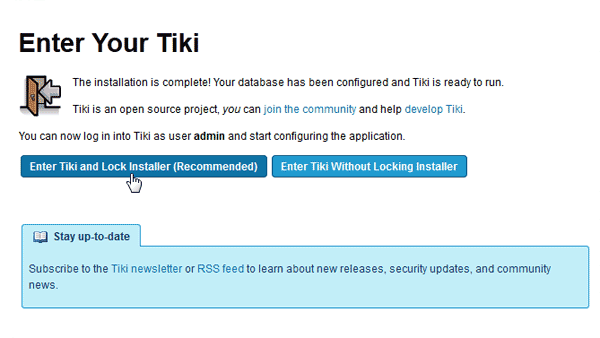
When the Enter Your Tiki page loads, click Enter Tiki and Lock the installer (Recommended).

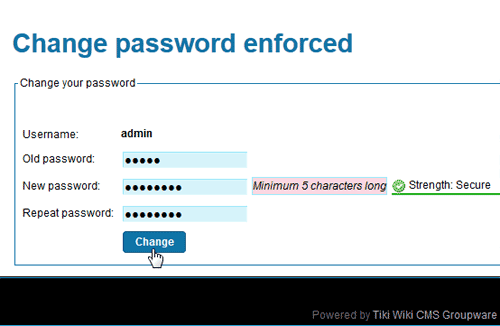
You will be directed to a Change password enforced page where you will be prompted to change your password. Leave the Old Password field as is.
Enter a new password twice and click Change.
Congratulations, TikiWiki was manually installed successfully. you can now begin creating the Wiki site.
This concludes this article on Installing TikiWiki manually. For more information on Getting Started with TikiWiki, please visit click here.
