Table of Contents
New versions of TikiWiki are being released frequently. In the event you find your Tiki web site out of date, you can always download the latest version and upgrade the installation. When upgrading TikiWiki, you will need to backup your database and files. This will prevent any loss of data during the upgrade process.
The upgrade process includes, backing up your existing database and files, uploading the new tiki files to your server, and running the install script. The following article will explain the steps to upgrade your TikiWiki from 9.2 to the 9.3 LTS version (This is the long term support version, which is supported until November of 2015).
Steps to upgrade TikiWiki
- Log into TikiWiki and click the wrench icon at the top right side.

Click the tiki.org/Download link in your TikiWiki admin section.

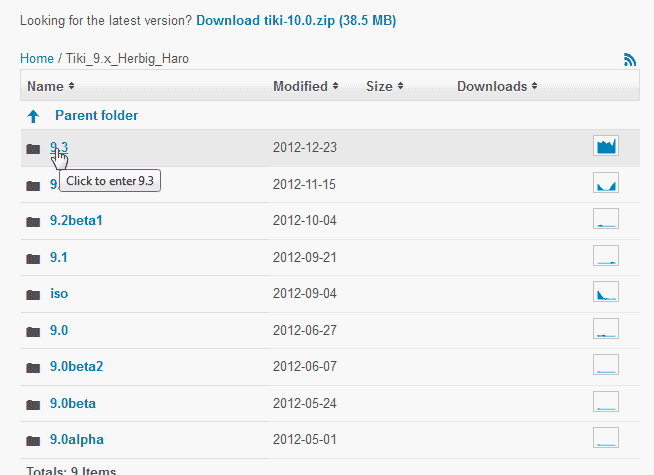
The TikiWiki download site will load. Find the latest long term support version.
The url should be the following.
https://sourceforge.net/projects/tikiwiki/files/Tiki_9.x_Herbig_Haro/
Click the 9.3 link to download the file. The file you download should be named the following:
tiki-9.3.zip

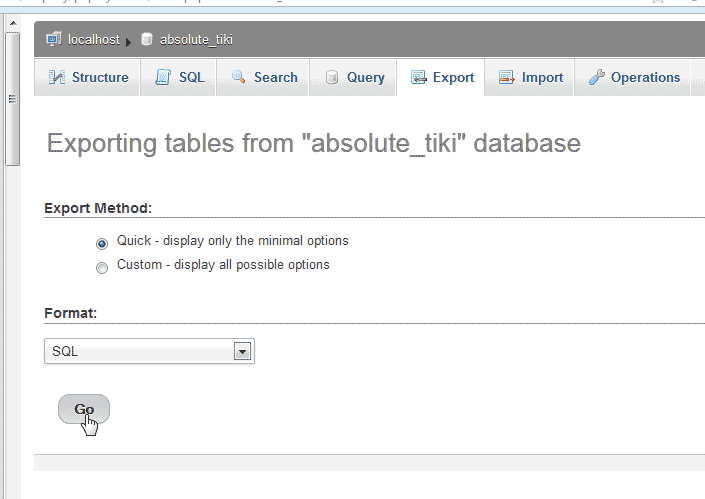
Go to PhpMyAdmin and backup your database.
- Go to the File Manager and select your TikiWiki directory and click go.
Backup your files by creating a folder and moving them to the folder you create.
Upload the tiki-9.3.zip file and Extract the .zip file.
Important! Make sure you have the files in the root folder for your TikiWiki and not in a tiki-9.3 subfolder. The installation will not work if the Tiki files are in a sub folder.

Visit your Tiki site. You should be redirected to a url similar to the following.
https://tikiwiki.example.com/tiki-install.php
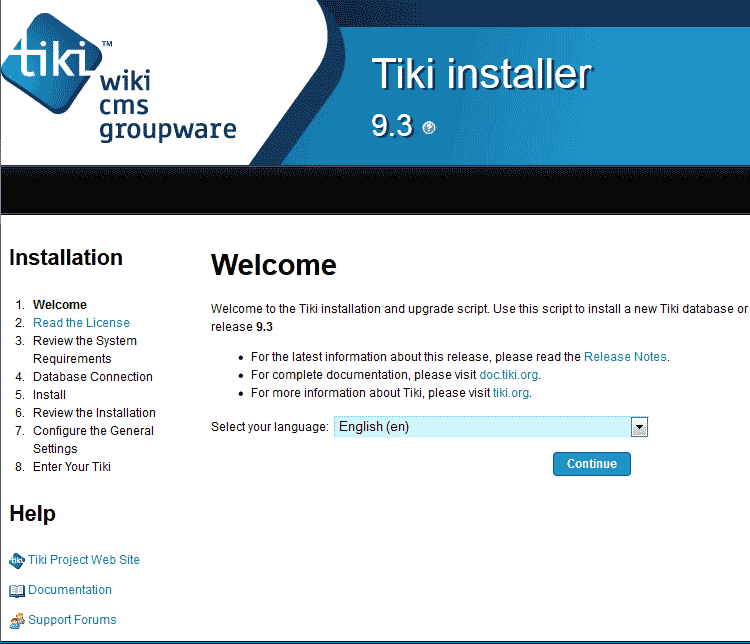
The “Welcome” page for upgrading TikiWIki will show. Click Continue.

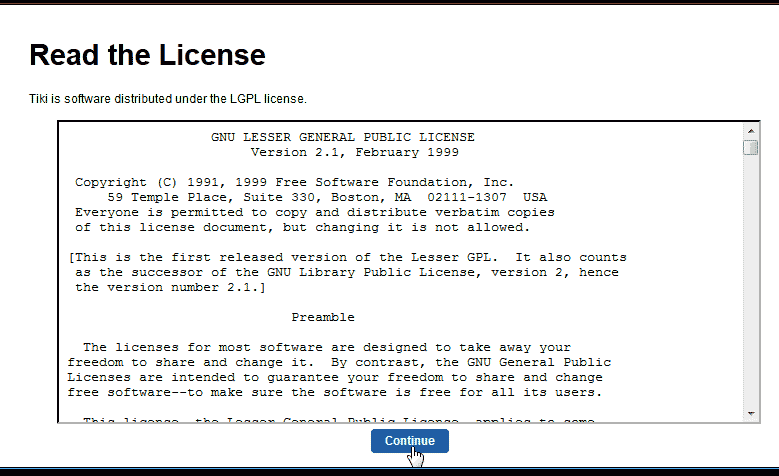
On the “Read the License” page, click Continue.

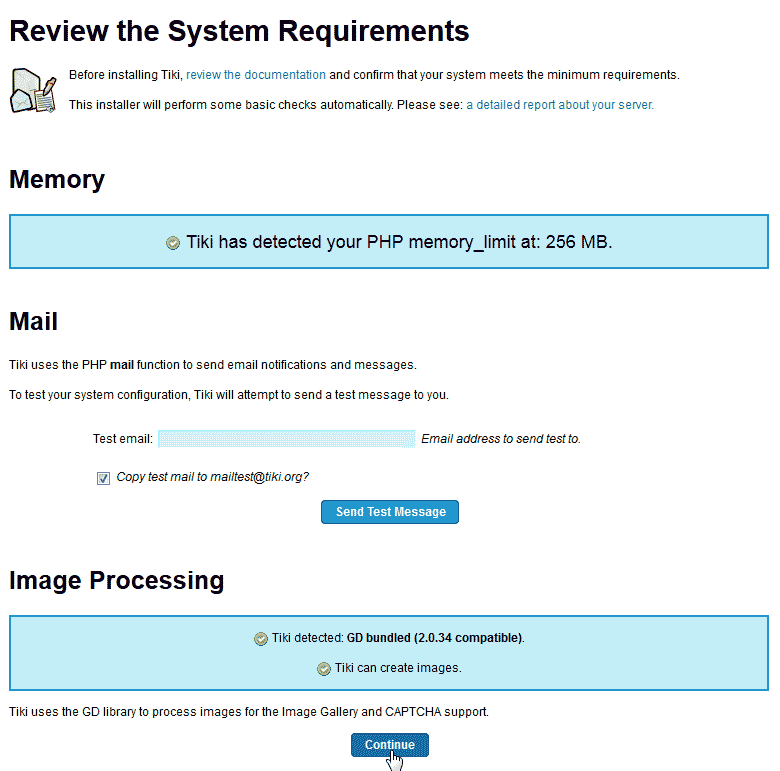
Click Continue on the “Review the System Requirements” page.

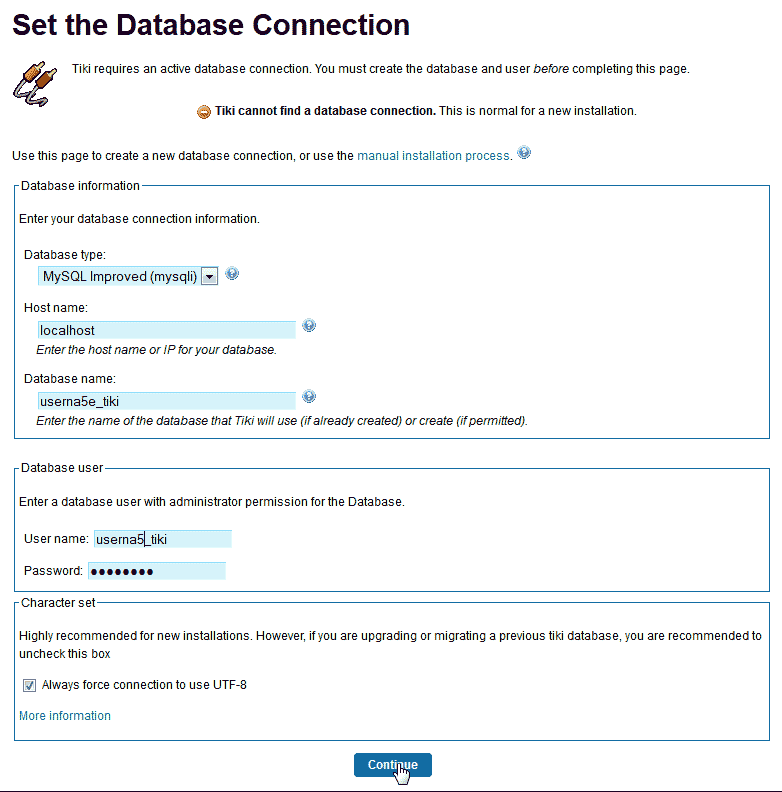
Enter the database name, database, username, and the password.
Note! If you forget the username and password, you can view the username and reset the password in PhpMyQAdmin.
Click Continue.

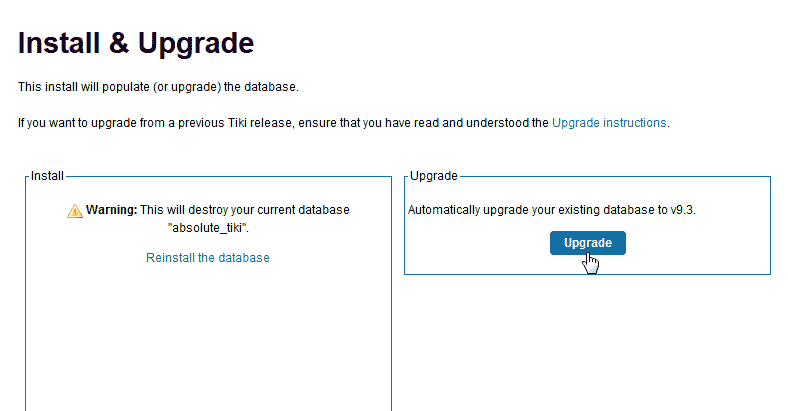
Now you should see the “Install & Upgrade” screen. Click Upgrade.

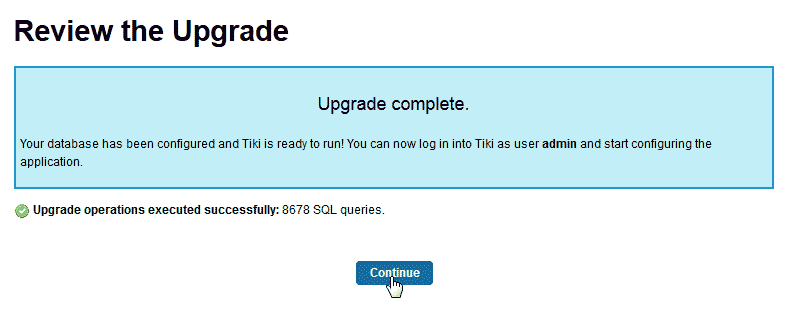
The TikiWiki site will now be upgraded. On the “Review the Upgrade” page, click Continue.

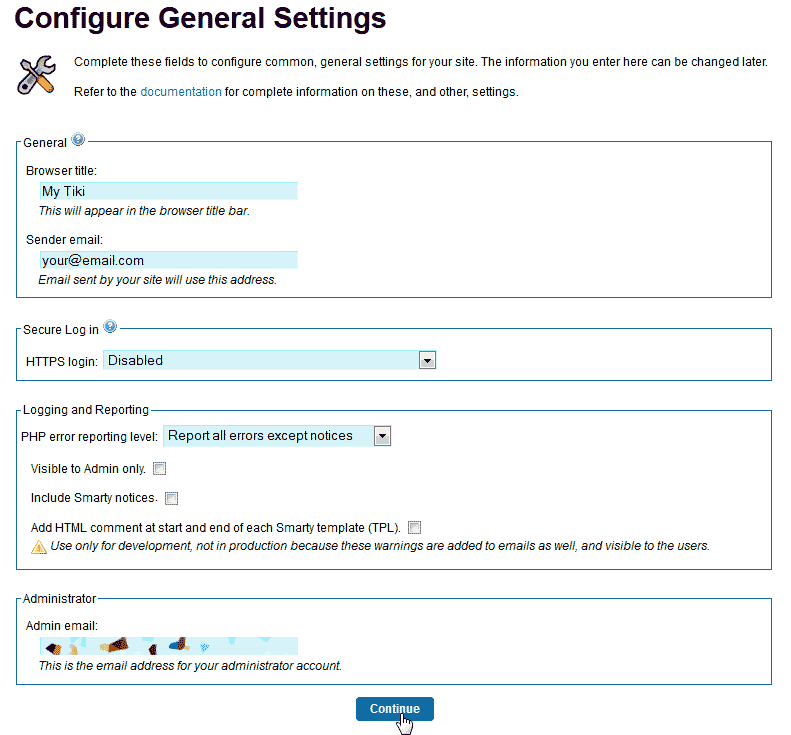
Configure the general settings. The general settings should show what you had in your database already. Double check the values and click Continue.

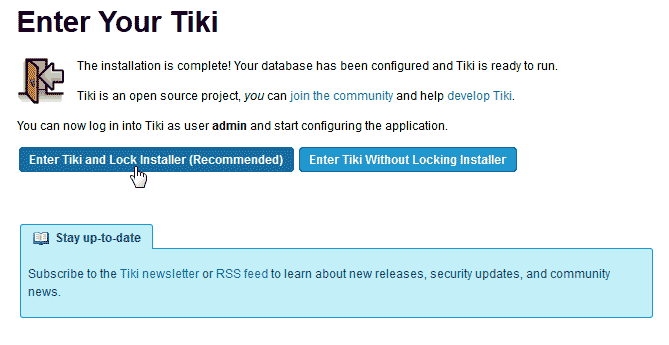
Finally, Enter your Tiki. Click the Enter your Tiki and Lock the Installer (Recommended) link to complete the upgrade.
Congratulations, the upgrade process is complete.
Thank you for the suggestions, tommail. I did clear temp internet files and tried viewing the site in multiple browsers and on multiple devices and only the old version of the pages I uploaded show up!