The Background Process Killer requires that you have root access before you can use it.
The Web Host Manager (WHM) has a number of ways that you can manage the health of your hosting server. The Background Process Killer option provided in the System Health section of the WHM allow yous to take action if there is a specific process that could leave your server vulnerable to attack. This article will describe the use of the Background Process Killer. Stopping the processes is important as they can often lead to denial-of-service attacks. If necessary, you can also create trusted users that can run these processes.
How to Select Background Processes to kill
- Log in to WHM as the Root user.
-

Find the System Health section in the menu at left or click on the icon labeled System Health on the home WHM page.
-

Click on the option labeled Background Process Killer.
-

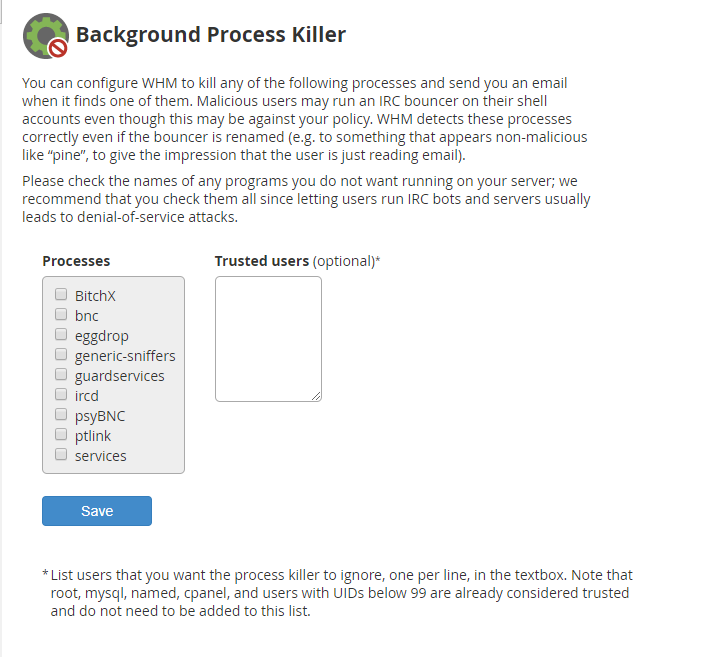
You will then see the main Background Process Killer screen. In the box labeled Processes, click on the process that you do not want running on your server.
-

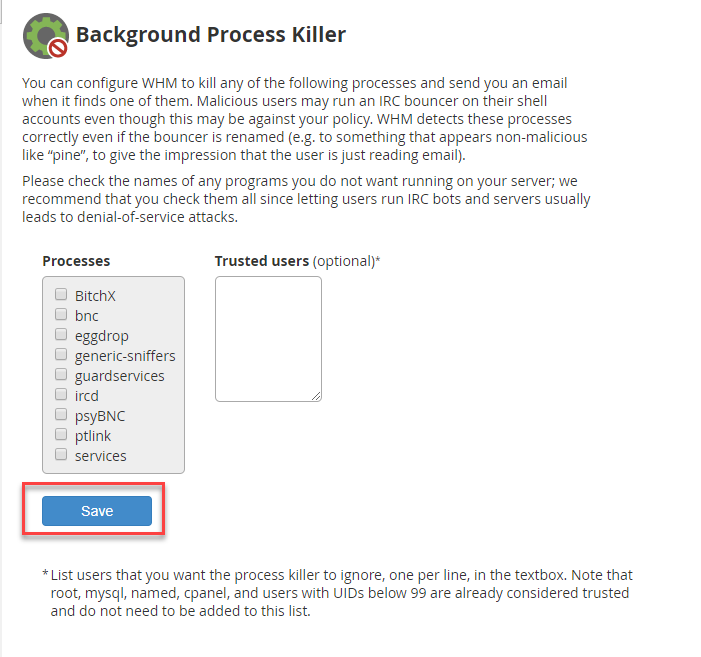
Click on Save.
How to set up Trusted Users
Note that the root, mysql, named, cpanel and users with UIDs (User IDs) below 99 are defined as trusted users and do not need to be added to the list.
- Log in to WHM as the Root user.
-

Find the System Health Section in the menu at left or click on the icon labeled System Health on the home WHM page.
-

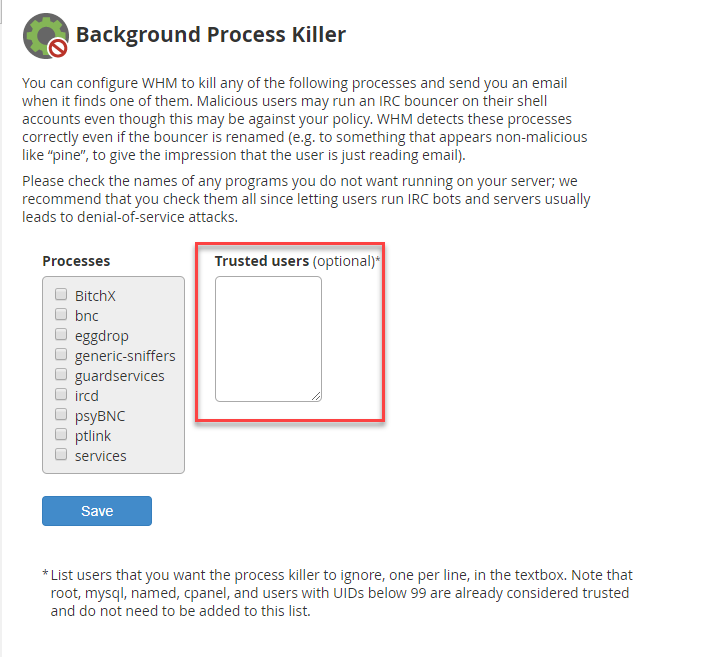
Click in the window titled Trusted Users, then type the user name for the account. You can also remove users that have been added here if needed.
- Click on Save to save your additions or removals.
That concludes the tutorials for using the Background Process killer. You should be able to select the process that you do not want running on the server, or add/remove users that have been trusted to run those processes. Learn how to monitor and trace processes in the Process Manager.


