Table of Contents
Your Mailserver is used to transmit all emails that are sent or received between you and other people. Since there are many different ways to manage a Mailserver, we will show you how to access the available options and go over some of the primary settings.
Follow along to learn how to configure your Mailserver in the WebHost Manager (WHM). This will ensure that you are familiar with how to set up and secure your server to deliver emails successfully.
You must have a VPS host or Dedicated Server account with WHM to follow this guide.
- How to Access MailServer Configuration Options
- How to Switch Mailserver Between Mdbox and Maildir
- Exim Configuration Manager
- Mailserver Security Guides
- Additional Mailserver Guides
Enjoy high-performance, lightning-fast servers with increased security and maximum up-time with our Secure VPS Hosting!
Linux VPS
cPanel or Control Web Panel
Scalable
Website Migration Assistance
How to Access MailServer Configuration Options
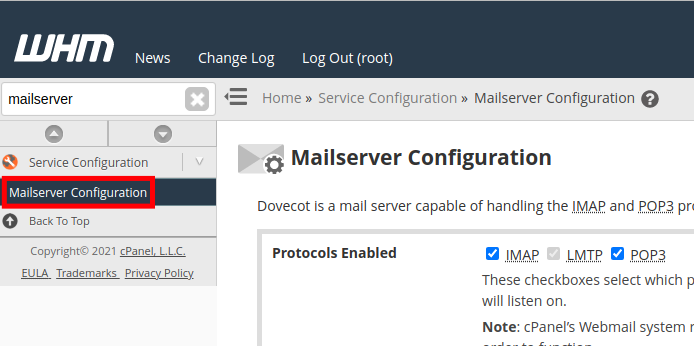
Many of the primary Mailserver options can be accessed in WHM on the Mailserver Configuration page. Here is how to get there.
- Login to WHM.
- Search for “mailserver” without the quotation marks.
- Click the Mailserver Configuration link under Service Configuration.

- You can then select your Mailserver settings as needed. For an outline of the specific options, see the official Mailserver Configuration documentation by WHM.
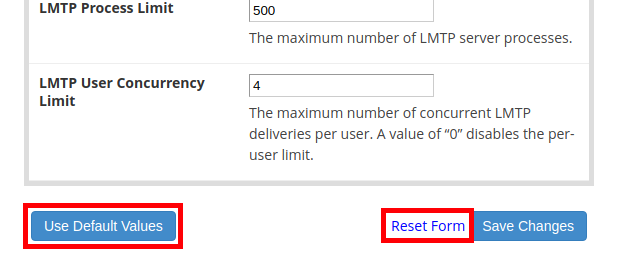
- You can also access the Use Default values or Reset Form buttons on the bottom if you have made a mistake.

- Click Save Changes on the bottom after choosing your settings.
How to Switch Mailserver Between Mdbox and Maildir
If you are running into issues with disk or inode usage, you may want to consider switching from maildir to mdbox.
Before proceeding, we recommend reading the “Warning” section on the official Mailbox Conversion documentation from WHM.
- Login to WHM.
- Type “mailbox” in the search field without the quotation marks.
- Click the Mailbox Conversion link.
- It will list how many accounts are utilizing each format. Select the appropriate one you want to utilize. Options are: Convert to maildir and Convert to mdbox.

- Click the Next button.
- Check the box next to the accounts you want to convert then click the Next button.
- Check the box next to the Keep old mailbox files option if you want to save them in case there is a problem. Keep in mind that if you check this box, the files will have to be deleted manually.
- Click the Convert Selected button. You are finished when you see a “Completed” message.
Exim Configuration Manager
First we will show you how to configure the exim settings with the basic and advanced editors. Then, we will cover how to backup, restore, and reset your settings. For more detailed information, see the official Exim Configuration Manager documentation.
Basic Editor
The basic editor is the recommended way for most people to make exim setting changes. Here are the steps.
- Login to WHM.
- Type “exim” in the search box, without the quotation marks.
- Click the Exim Configuration Manager link under Service Configuration.
- Make sure you are on the Basic Editor tab.
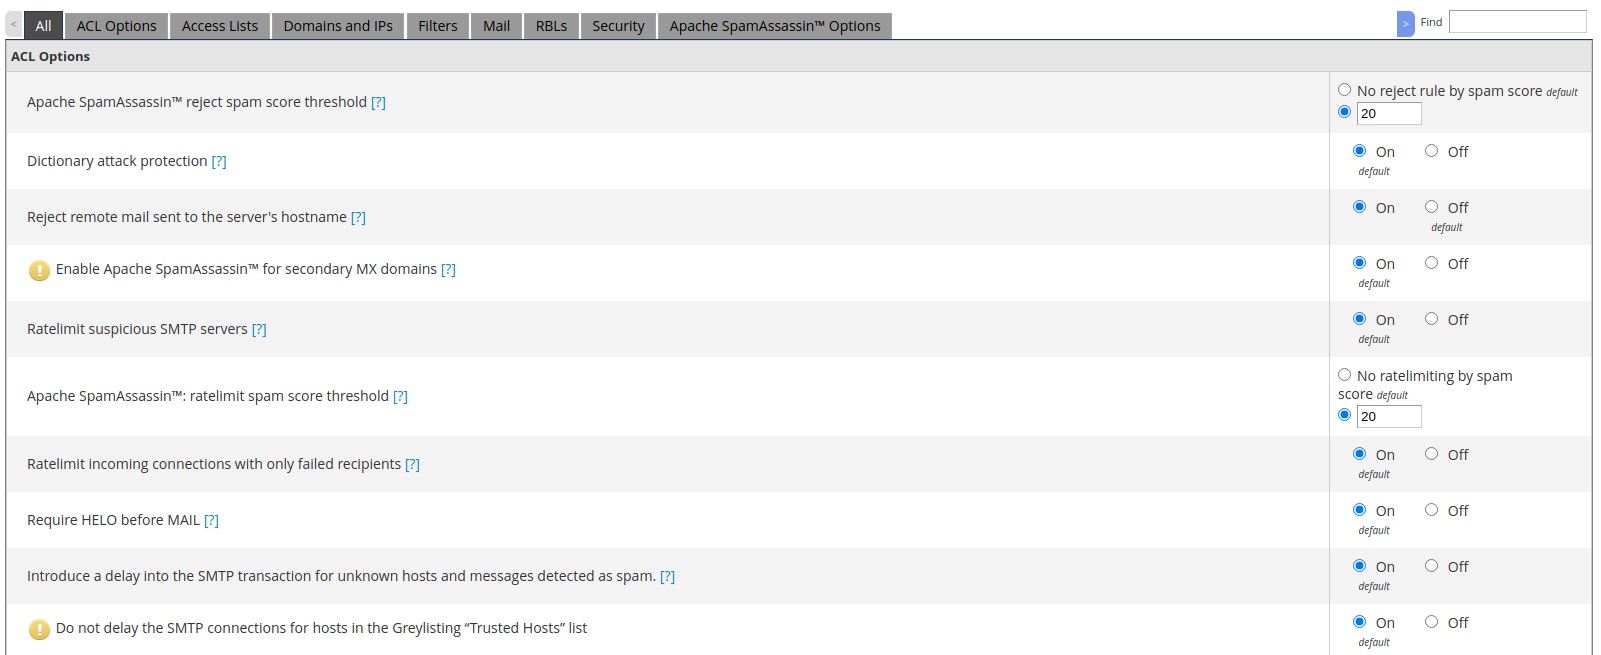
- You can then scroll down to select your settings as needed. Click the tabs to sort by the following sections: All, ACL Options, Access Lists, Domains and IPs, Filters, Mail, RBLs, Security, Apache SpamAssassin™ Options.

- Scroll all the way down and click the Save button after making any changes. You are finished when you see a message stating “Your changes have been saved.”

Advanced Editor
We do not recommend making changes to your exim configuration using the Advanced Editor unless you know exactly what you are modifying.
- Login to WHM.
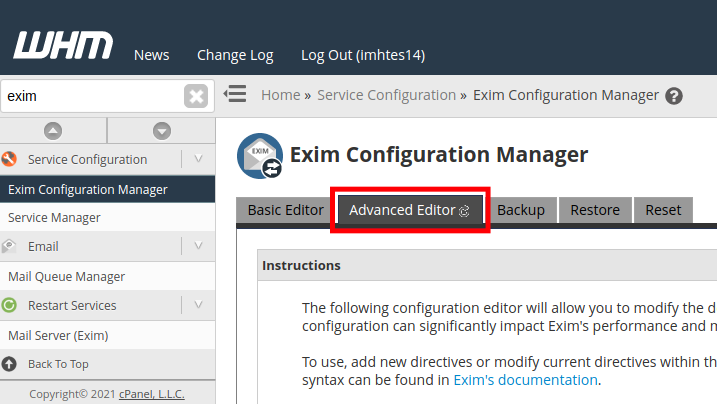
- Type “exim” in the search box, without the quotation marks.
- Click the Exim Configuration Manager link under Service Configuration.
- Click the Advanced Editor tab.

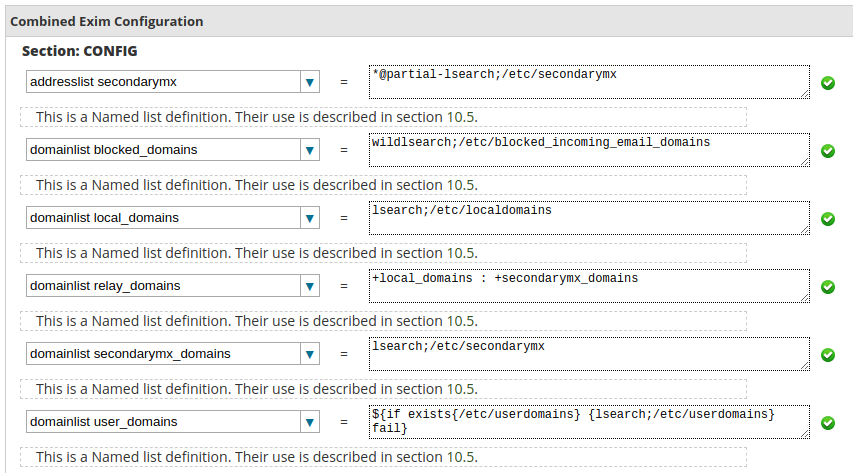
- You can then modify the exim configuration as needed.

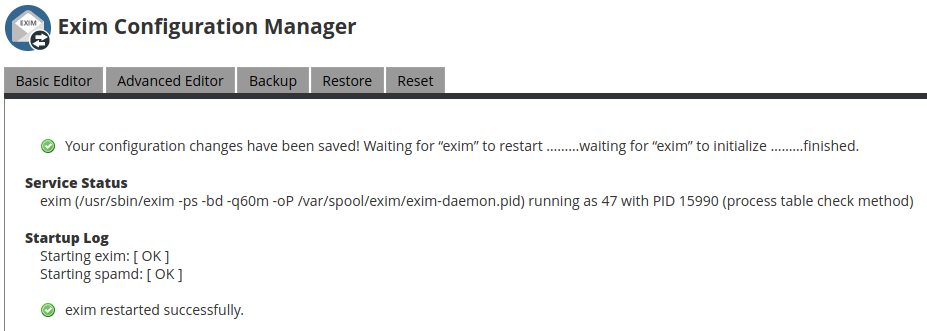
- Scroll down and click the Save button after making your changes. Your settings will then be saved and exim will be restarted.

Backup Exim Configuration
To migrate or save your exim settings you can use the backup option. Here are the steps.
- Login to WHM.
- Type “exim” in the search box, without the quotation marks.
- Click the Exim Configuration Manager link under Service Configuration.
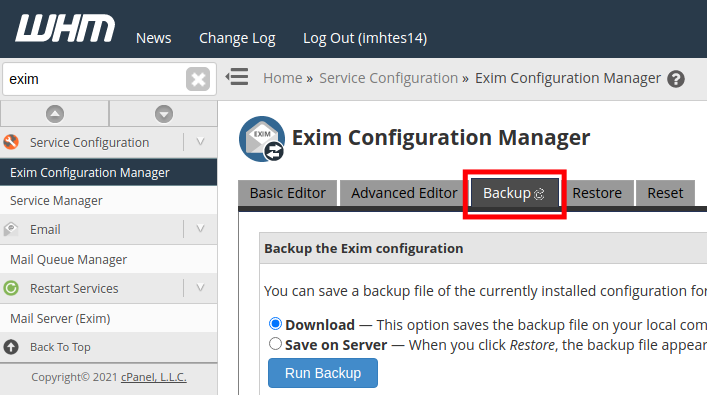
- Click the Backup tab.

- Select if you want the Download or Save on the Server option.
- Click the Run Backup button. You are finished when you see a “Backup Successful” message.
Restore Exim Configuration
Here are the steps to import exim settings that were previously exported.
- Login to WHM.
- Type “exim” in the search box, without the quotation marks.
- Click the Exim Configuration Manager link under Service Configuration.
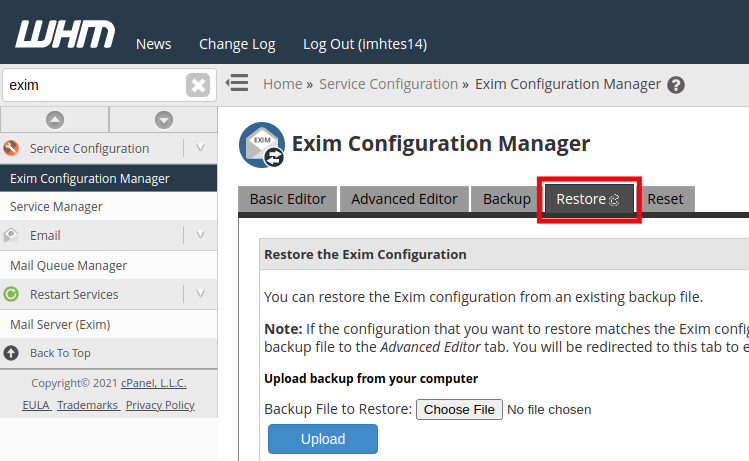
- Click the Restore tab.

- Click the Choose File button then select and open your backup file.
- Click the Upload button.
Reset Exim Configuration
There may be some times when you want to restore your exim configuration settings. Here are the steps.
- Login to WHM.
- Type “exim” in the search box, without the quotation marks.
- Click the Exim Configuration Manager link under Service Configuration.
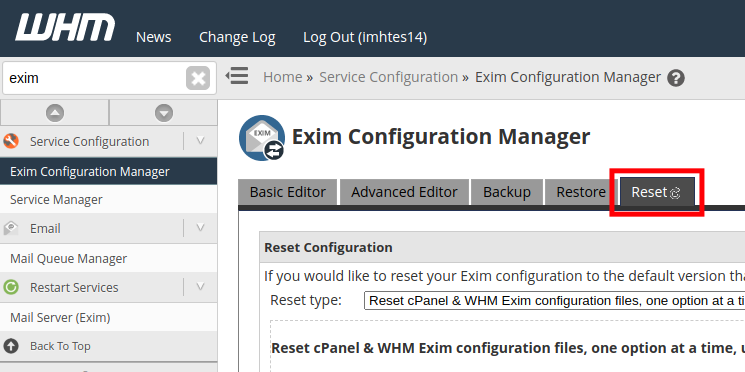
- Click the Reset tab.

- Click the drop-down menu next to the Reset type option and choose the reset option you want to use.
- Click the Reset button. The settings will then be reset and exim will be restarted.
Mailserver Security Guides
Check out the following articles to learn the best ways to secure your Mailserver.
- Real-time Blackhole Lists (RBLs) in WHM for Stronger Email Security
- How to Enable SMTP Restrictions
- How to Configure Greylisting Settings in WHM
- Force Email Exim Authentication
Additional Mailserver Guides
Here are some links to more step-by-step articles on managing email via WHM.
- Manage the Exim Mail Queue in WHM
- Disable POP3 Mail Service on a Server
- How to use WHM for Email Troubleshooting
- How to Restart Services Using WHM (Exim Mailserver, IMAP Server)
- Configuring Your VPS or Dedicated Server as a Mailserver
Now you are more familiar with Mailserver configuration options in WHM. For lots of helpful guides, visit our WebHost Manager Education Channel.
