If you are a musician, you are certainly familiar with the streaming music service, Spotify and likely would want to promote your music on there. In this article, we will show you how to embed a link your Spotify profile into WordPress using the Spotify Master plugin.
Installing the Spotify Master widget
- First, log into your WordPress admin dashboard.
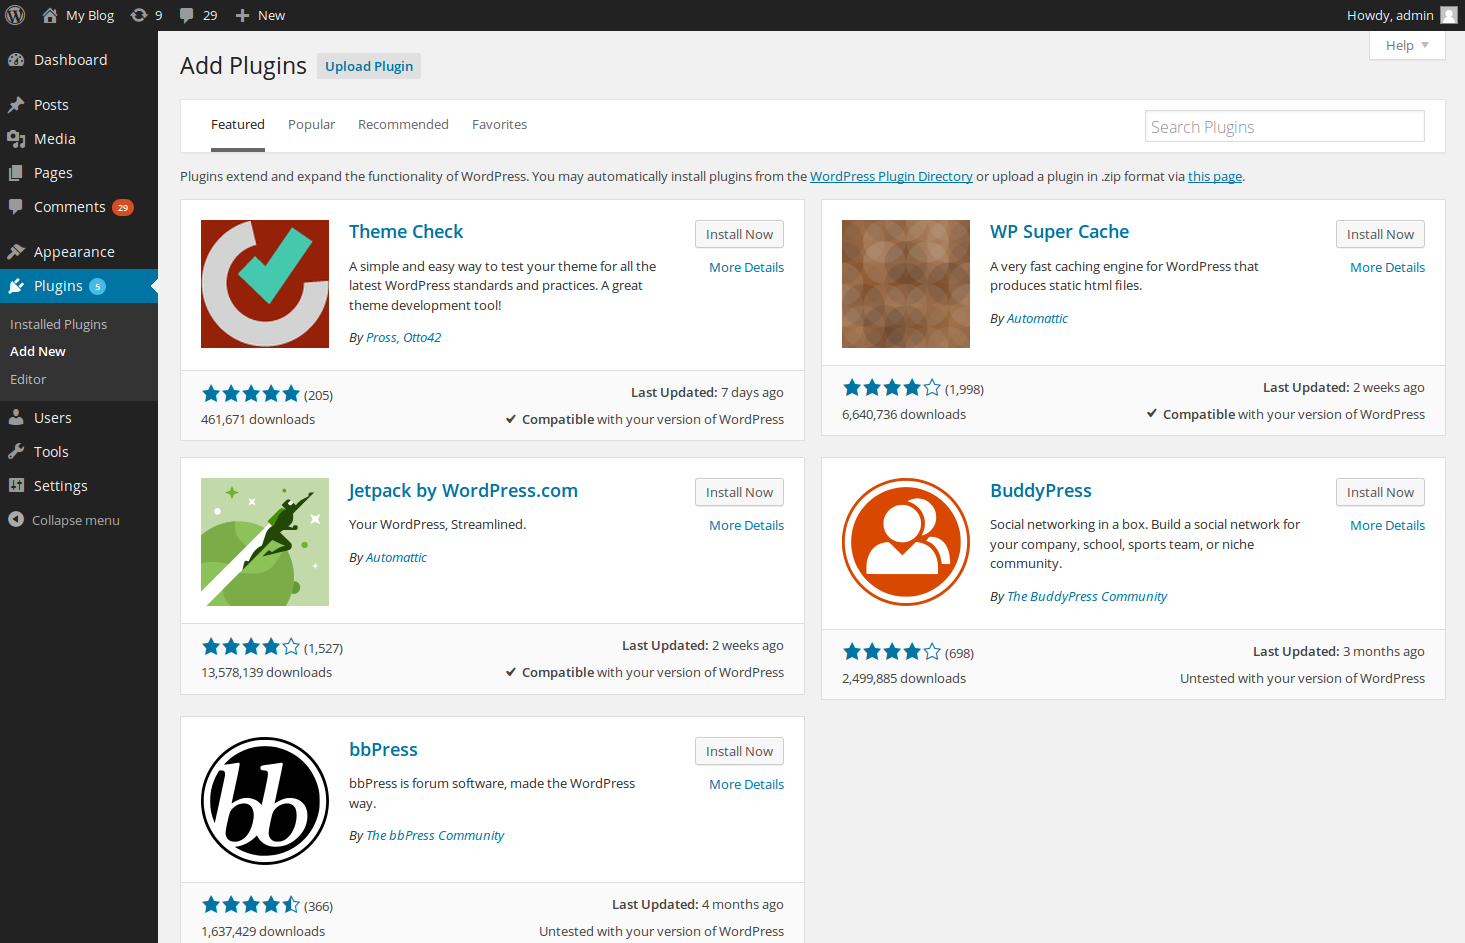
Once logged into WordPress, hover over Plugins on the left side menu, and click on Add New.

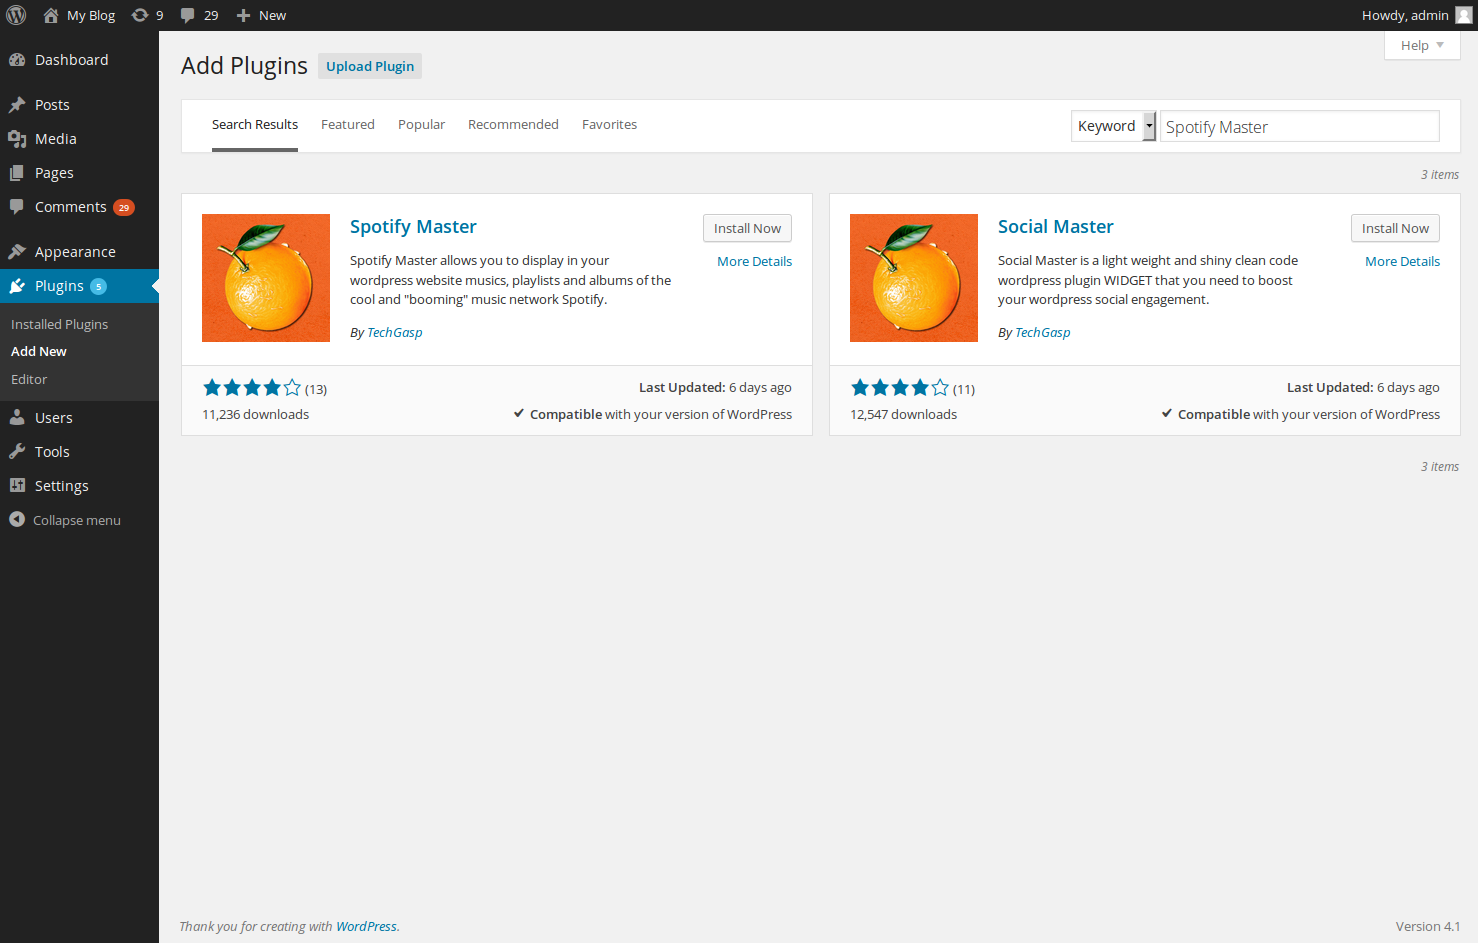
On the top right of the page, you will notice a search box labeled Search Plugins. Click on it, enter Spotify Master and press the Enter key on your keyboard to search.

You should now be presented with your search results. To begin the installation, click on Install Now next to the Spotify Master result.

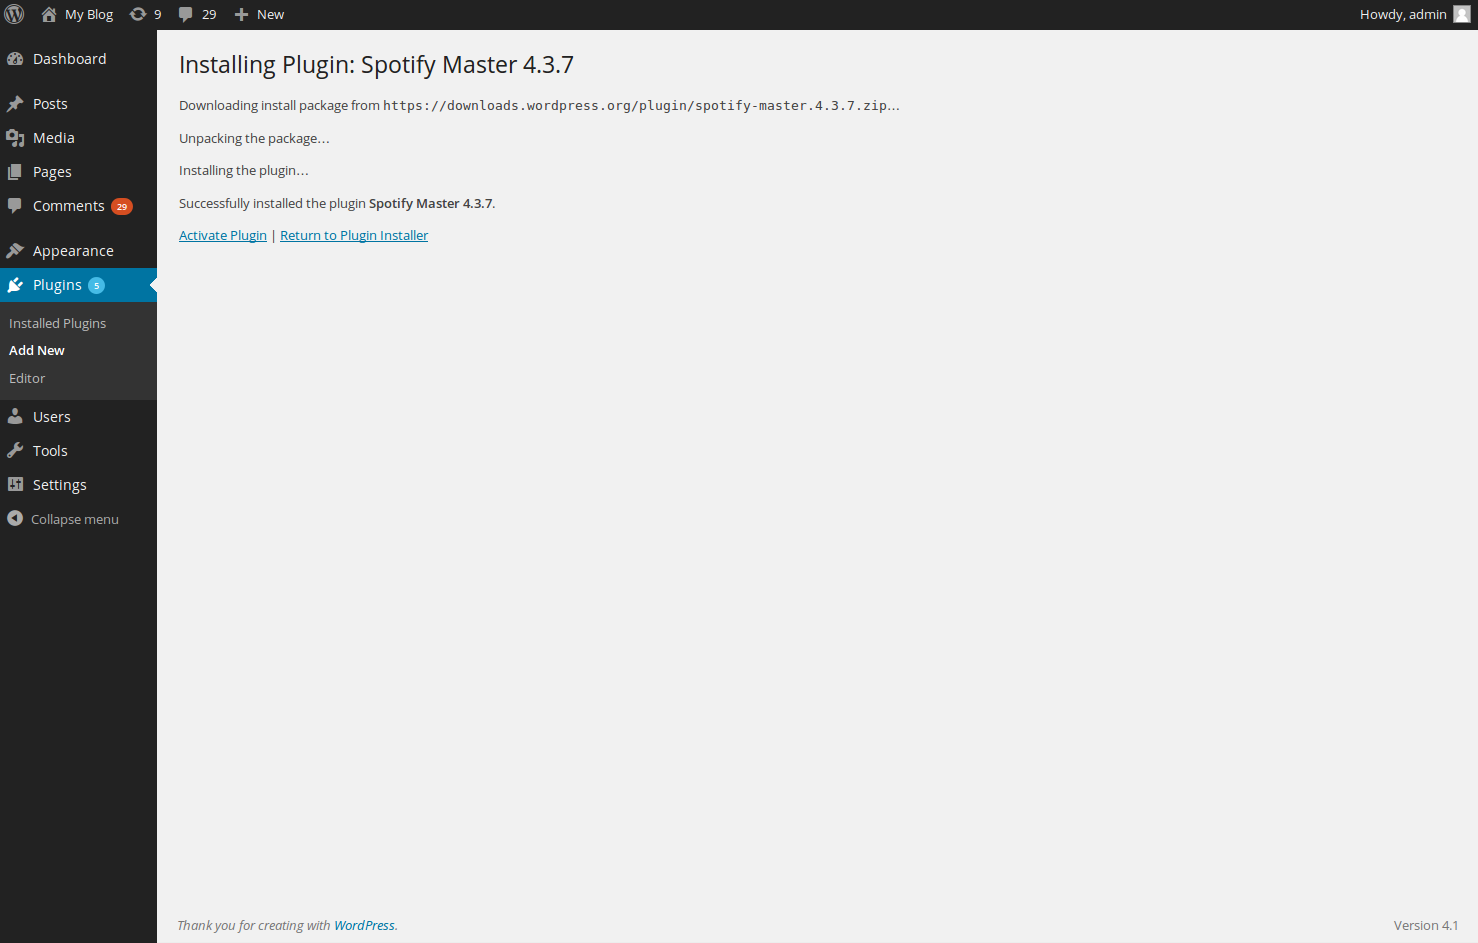
WordPress will now automatically handle the download and installation of the Spotify Master plugin. Be sure to click Activate Plugin> to activate it.
Displaying the Spotify Master widget

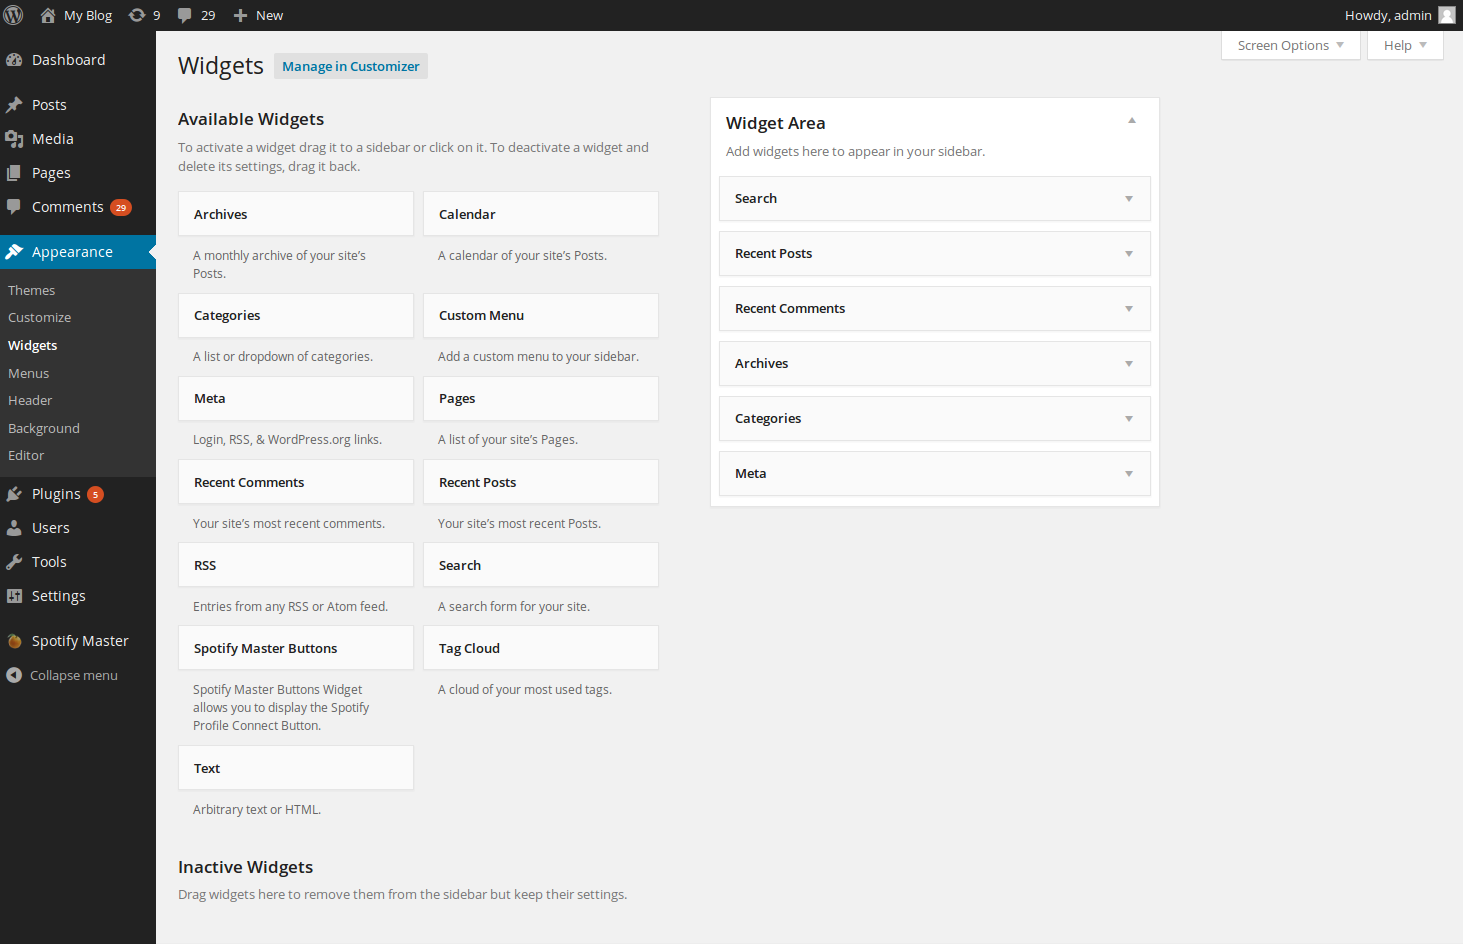
Begin by navigating to your widget configuration in WordPress. To do so, hover over Appearance and click on Widgets.

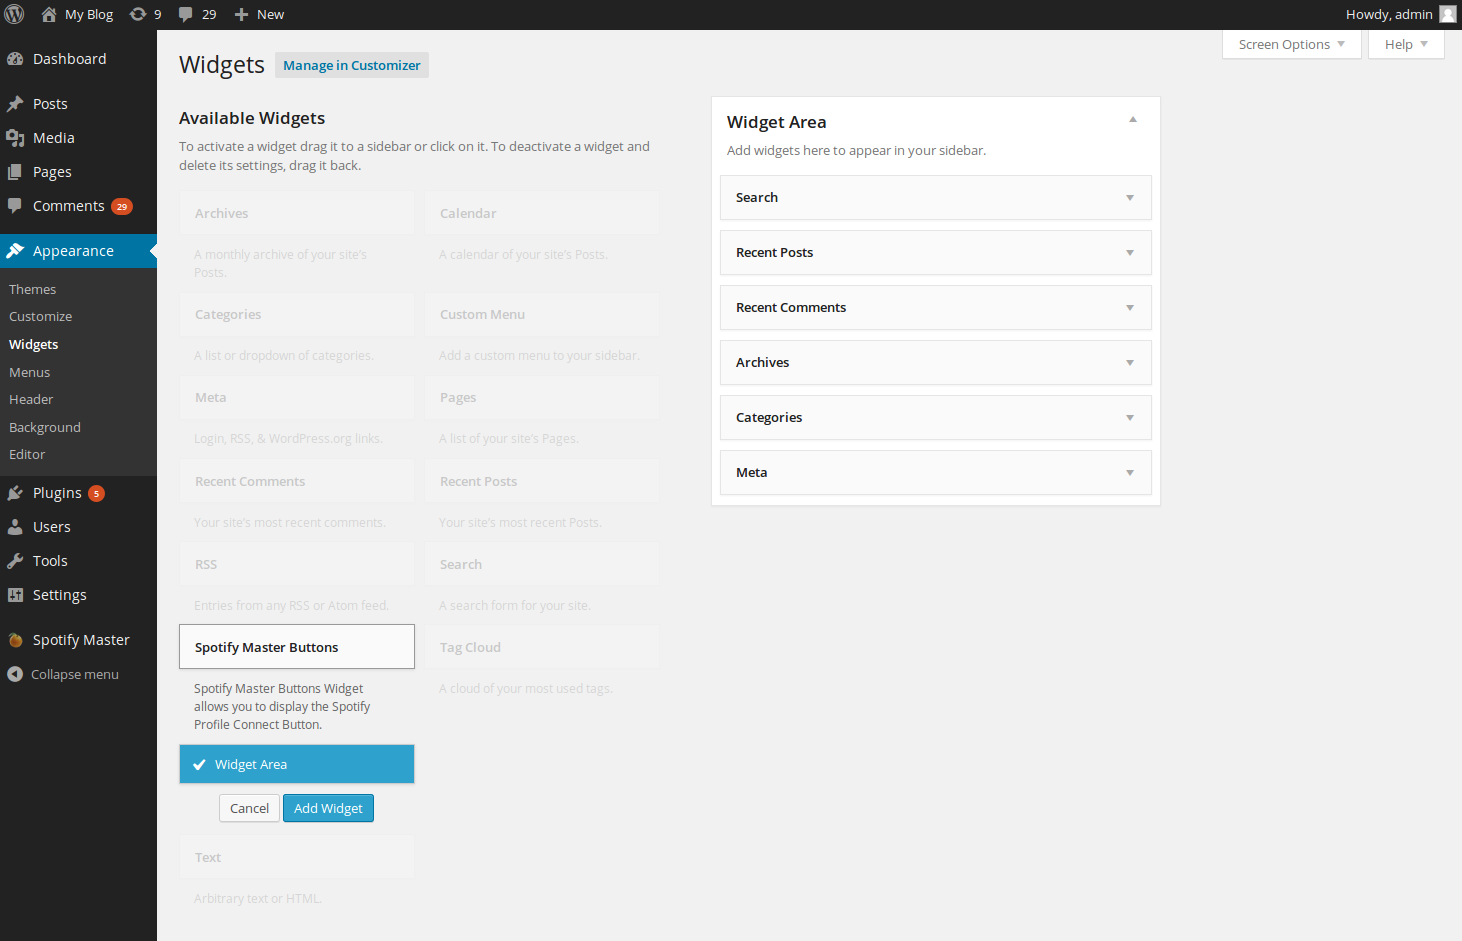
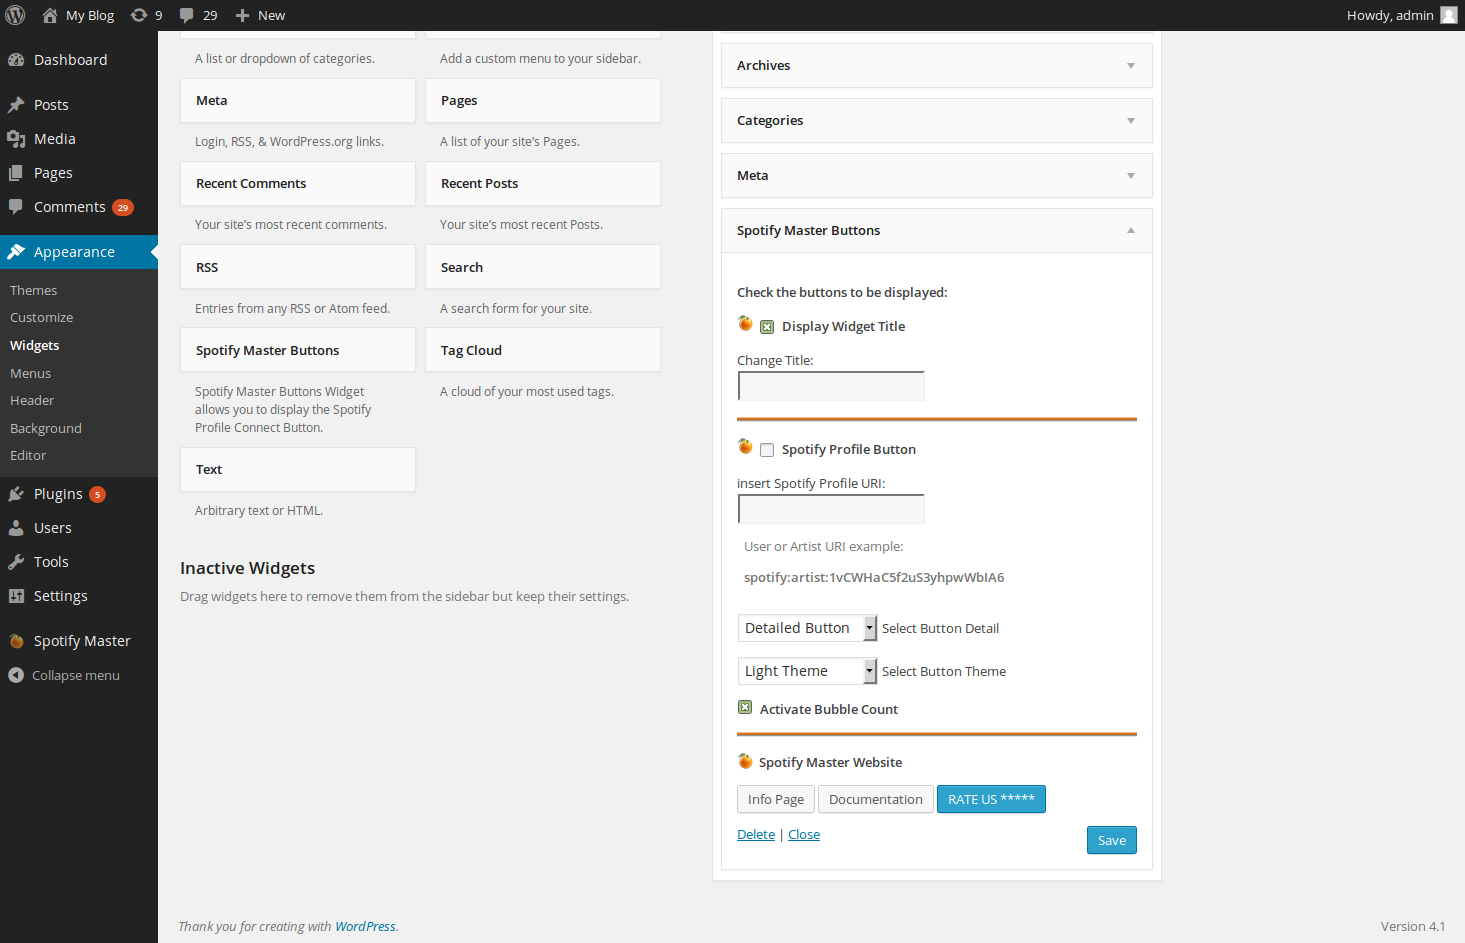
Below the Available Widgets section, you should now see a widget labeled Spotify Master Buttons. Click on it, select your desired widget area (if you have multiple widget areas), and click on the Add Widget button.

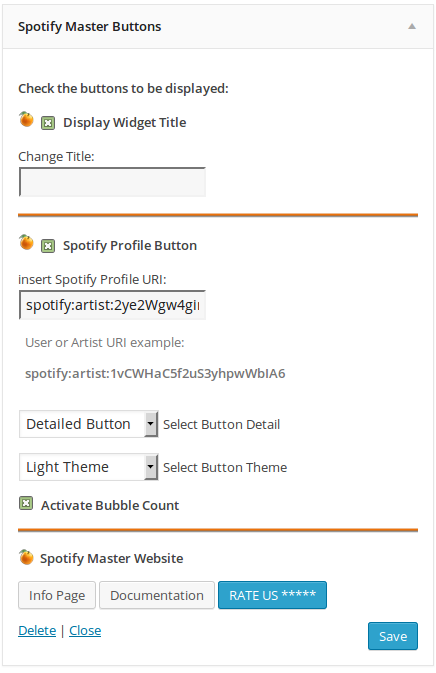
The Spotify Master widget will now be listed within your widget area. If the settings are not already opened, click on the listen to open them.

To show Spotify details, select the checkbox labeled Spotify Profile Button.

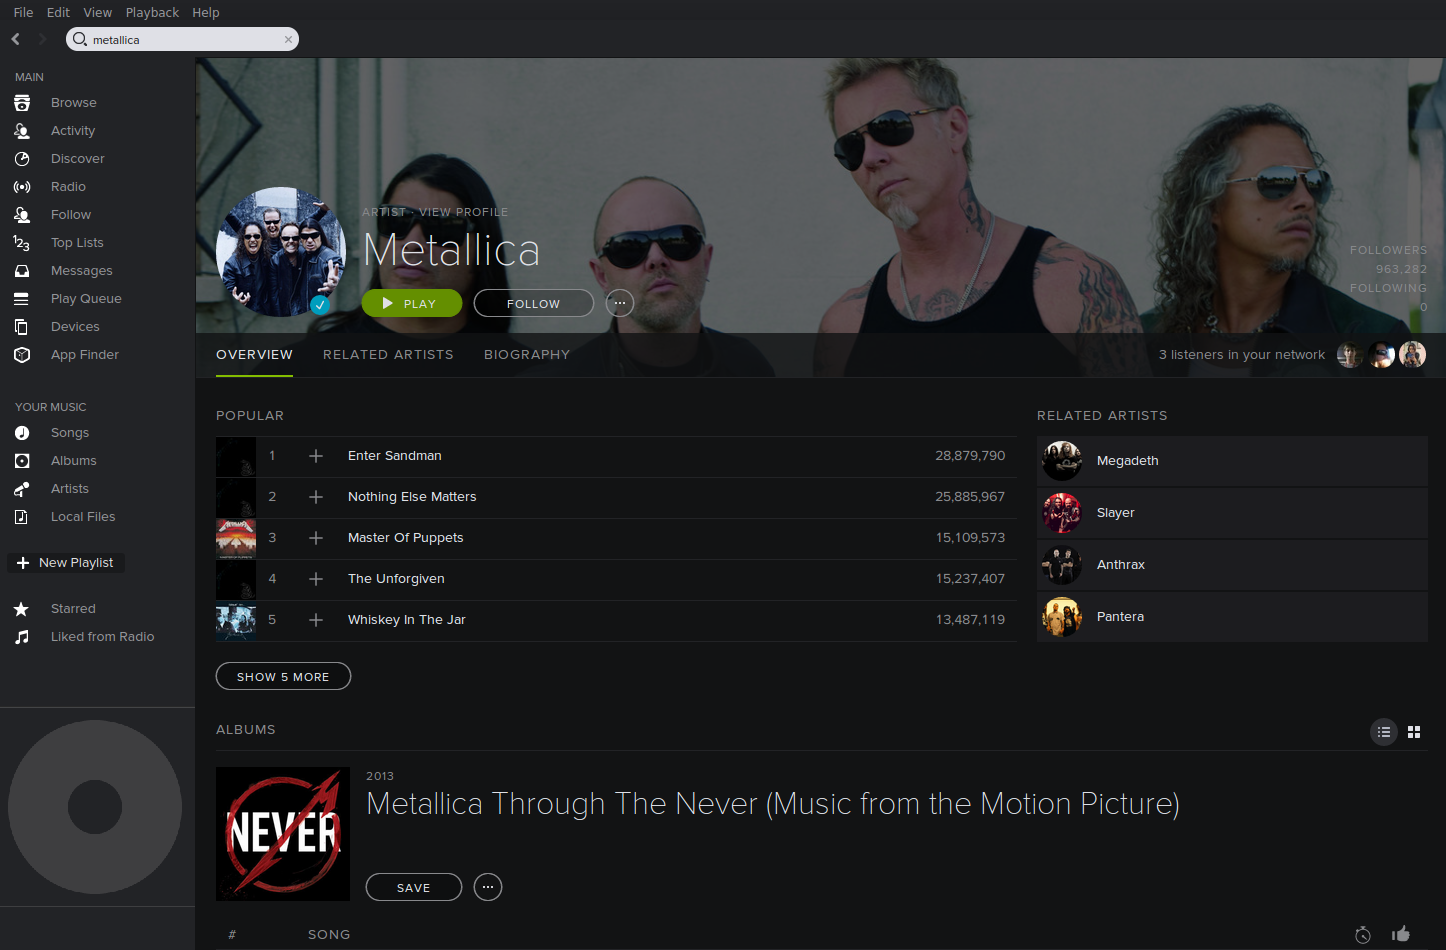
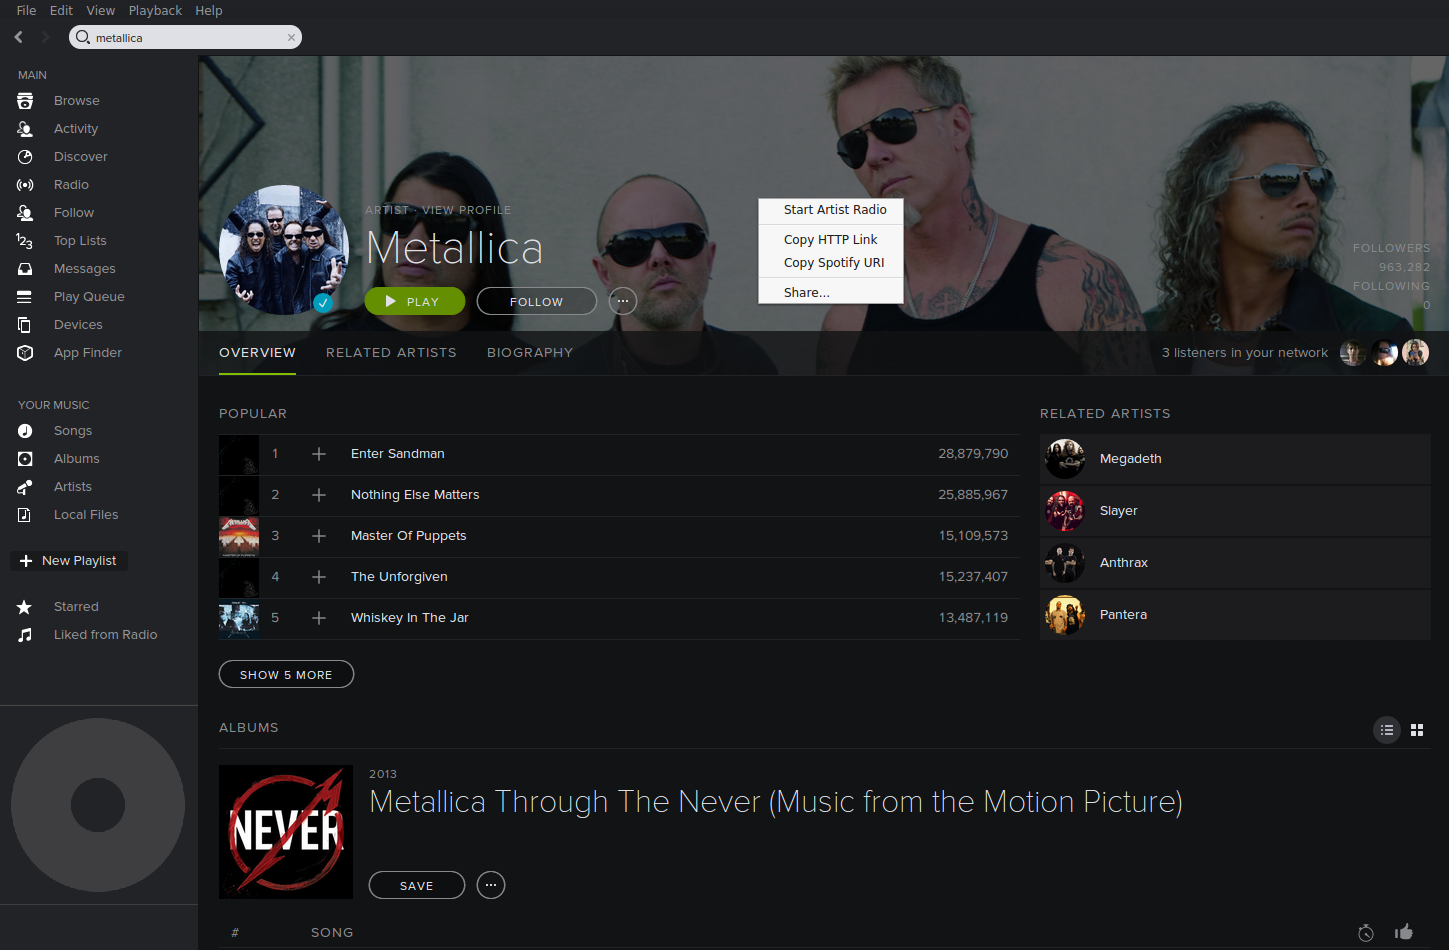
You will now need to obtain the Spotify Profile URI. To do so, first open the Spotify desktop application and navigate to the artist that you want to display information on. In this example, we will be using Metallica as you see in the screenshot to the right.

Next, right-click within the window and click on Copy Spotify URI.

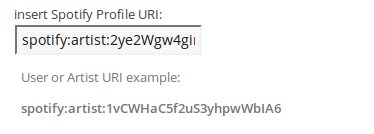
Now that you have your Spotify URI, jump back over to your widget configuration and paste it into the Insert Spotify Profile URI field.

Of course, there are various other settings such as the theme of the widget, but we will only focus on making the widget functional. Once you make the changes that you want, click on the Savebutton.
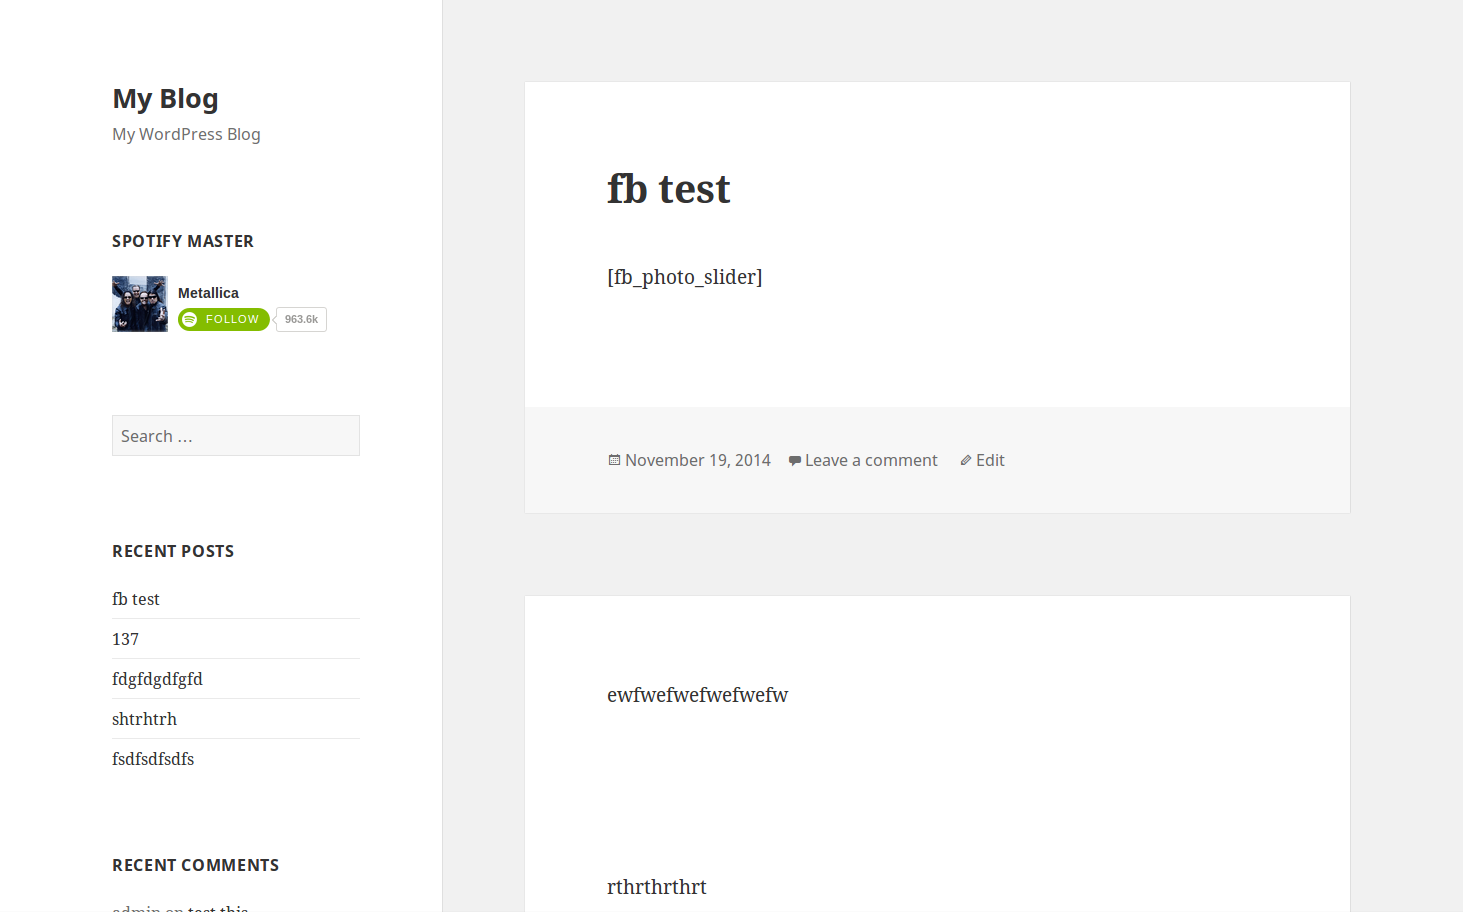
Now that you have installed and configured the Spotify Master widget, you should now see it within the widget area. In this example, we have placed widget linking to Metallica’s Spotify page within the widget area of the Twenty Fifteen theme.

