In this article:
Using different types of media for your WordPress site is a proven necessity if you are trying to catch the attention of viewers. Eye-catching media often requires that you use video, which in turn can cause viewing issues if you are not using a content distribution network (CDN). The main concern with using video media is the file size and the rate of access that a user requires to view the video. Playback with a CDN allows viewers to see a video in multiple locations over vast distances with no loss in quality. Jetpack Premium and Professional subscriptions provide access to video hosting. Use the directions below to enable video hosting feature provided by Jetpack.
Caution: Videos are uploaded to the WordPress.com Jetpack video hosting is made for videos with a file size of less than 2 GB. Files that are greater than 2 GB are not supported.
Enabling Video Hosting in Jetpack
In order to enable video hosting within Jetpack, you will need to be logged in to your WordPress Administrator Dashboard as an administrator.

- In the menu to the left of the screen, click on Jetpack, then click on Settings in the sub-menu that appears.
- In the Settings page, click on Performance in the menu at the top of the page.
- Scroll down until you find Media. Click on the slider to enable Jetpack video hosting.
Enabling video hosting with Jetpack is a fast, easy process. It’s also ad-free!
Uploading Video Files
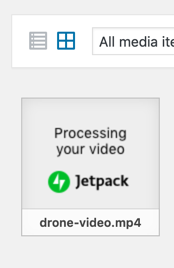
Uploading video files is the same as uploading any media file into WordPress. You simply drag-and-drop the file into the media library. There is one main difference when using the video hosting option from Jetpack. Videos are not immediately dropped into the WordPress.com site (where the videos are hosted). It takes a short period of time for WordPress to process the video. Initially, the file will look like the screenshot below when the file is being processed:

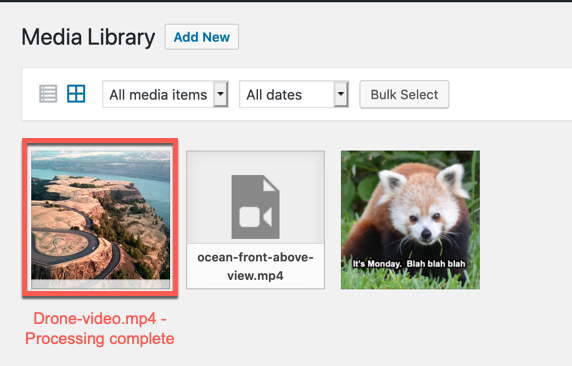
Once the processing is done, then the file will be played back from https://videos.files.wordpress.com instead of your local media library. You will also see a thumbnail of the video that you uploaded. The following screenshot shows how the video will appear after the processing is complete:

Video File Settings
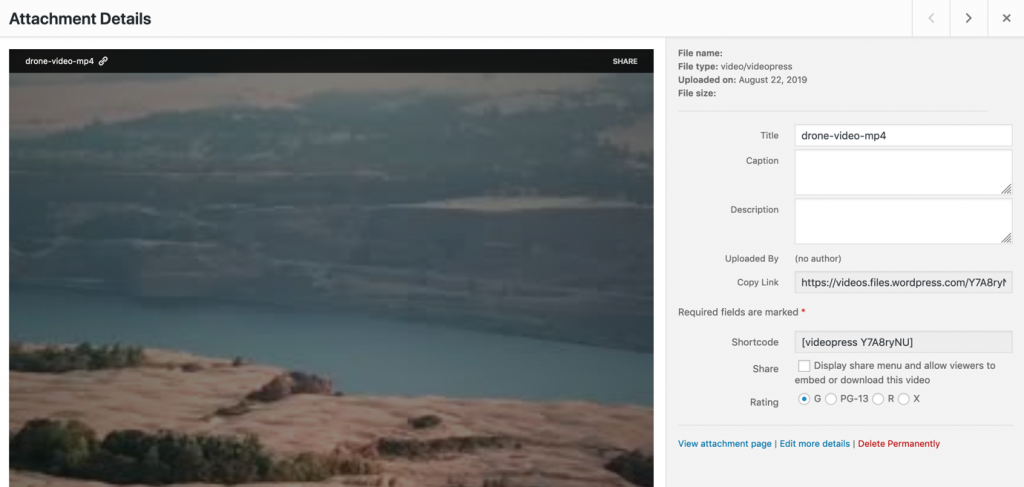
Videos that are uploaded and processed with Jetpack video hosting can be set to share and rated in the media attachment page. When a video file is processed and made available in the media library you will be able to click on it to see this page. This is an example of how the page will appear:

If you look at the column on the right, you will see the options that you can select for your video file. Here’s a list of the settings:
- Title – title of the video
- Caption – text describing the video that appears under the displayed file
- Description – More text describing the file
- Copy link – the URL for the video file
- Shortcode – shortcode for the video file embedding on a WordPress post
- Share – enable/disable option to share video
- Rating – content rating for the video
Make use of these settings to properly describe, share, embed and rate the video file for your WordPress site.
Congratulations! You can now enable video hosting through your Jetpack plugin! For more information on using Jetpack, check out How to use the Facebook Page Widget from Jetpack with your WordPress Site.
