Table of Contents
What will the WordPress auto-update do for me?
The WordPress auto-update function that has been introduced in version 3.7 is quite possibly the best feature to ever be introduced to WordPress, or any content management system for that matter. Every day, we see many sites compromised because of security flaws in older versions. Keeping your WordPress up to date at all times is critical to maintain the security and stability of your site. With the automatic update feature, you will never need to worry about updating your core WordPress installation again, ensuring greater peace of mind and thwarting attackers.
How do I get the automatic update feature?
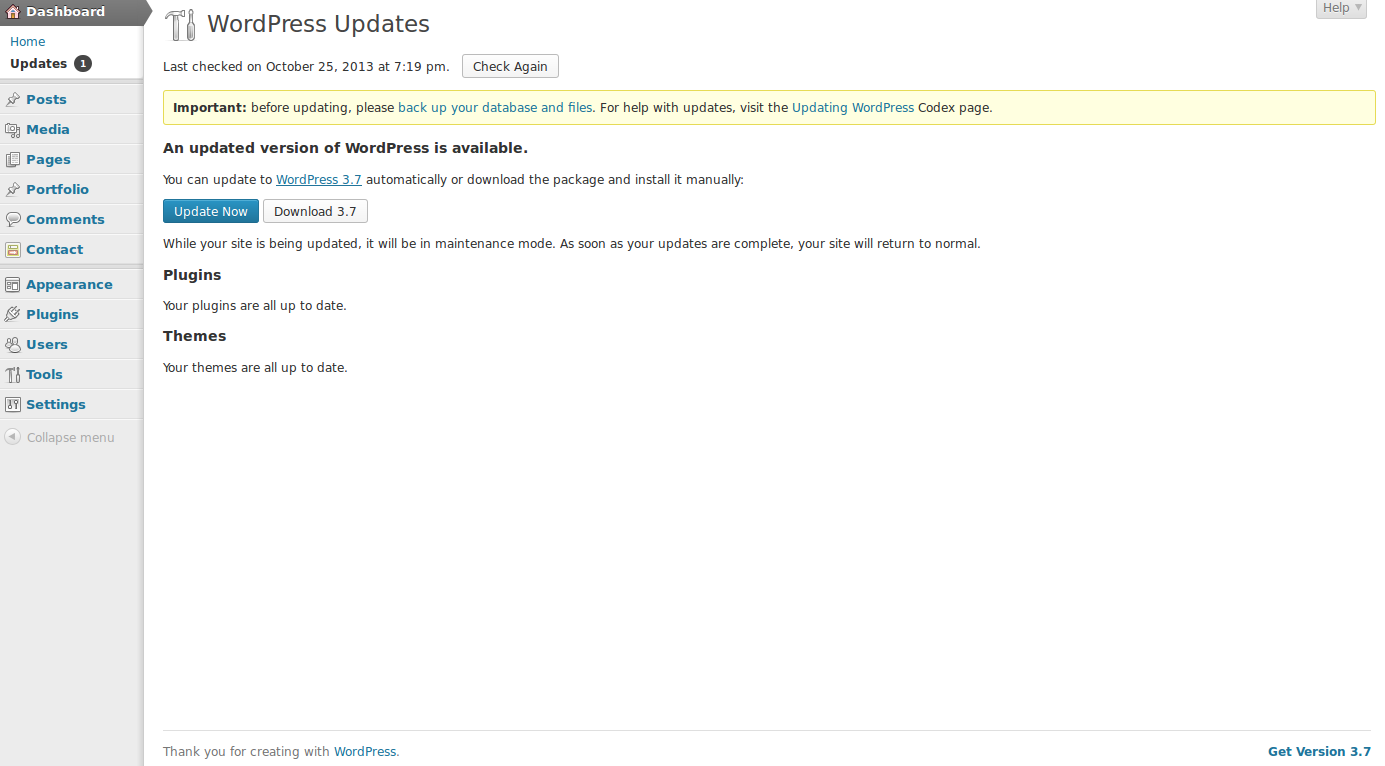
To get the automatic update feature, all you need to do is update your WordPress installation. If you have logged into your WordPress dashboard recently, you should see several notifications stating that WordPress 3.7 is now available. Simply go to your WordPress dashboard and click on “Updates”. Here, you will see any updates that are available to you. To perform the update, just click “Update Now”. Say goodbye to that button because with automatic updates, its the last time that you will need to click it.
How do I enable automatic updates?
The good news is, any minor updates are automatically now applied once WordPress 3.7 is installed. This means that smaller bug and security fixes are applied by default without touching a thing.
What if I want to enable auto-update for major releases?
The WordPress development team has thought of that as well. If you want to enable major releases to be automatically updated, you may just make a simple edit within your wp-config.php file. To edit this, you may these simple steps:
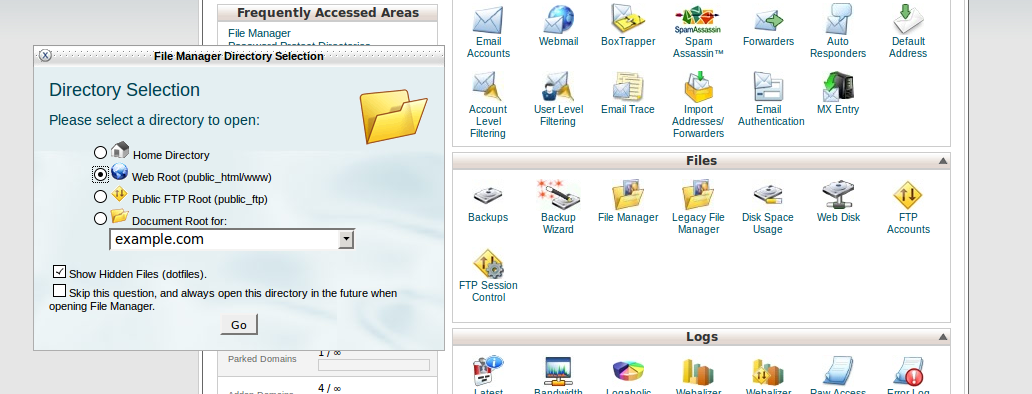
- In this example, we will use the File Manager in cPanel, but feel free to edit the file using any method you like. First, you will need to log into cPanel.

Next, click on File Manager.

Now that you are in the File Manager, navigate the the directory that you have your WordPress installation stored. For example, I have my WordPress installation being used as my main site, so it is in the public_html directory.

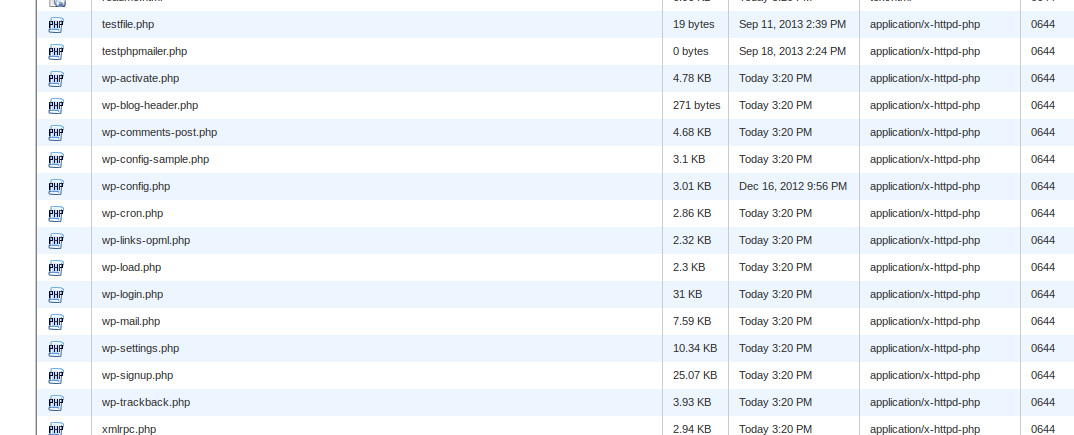
From here, right-click on the wp-config.php file and click on Code Editor.

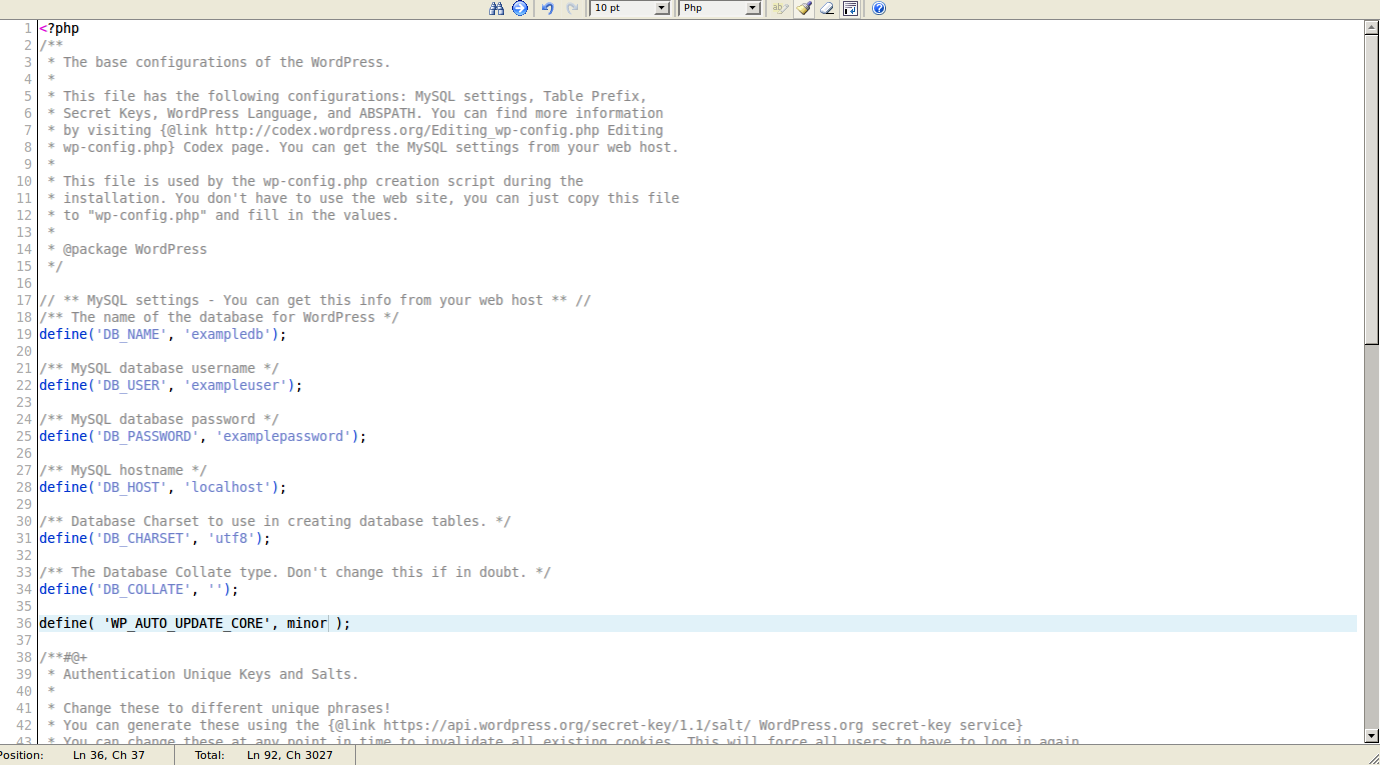
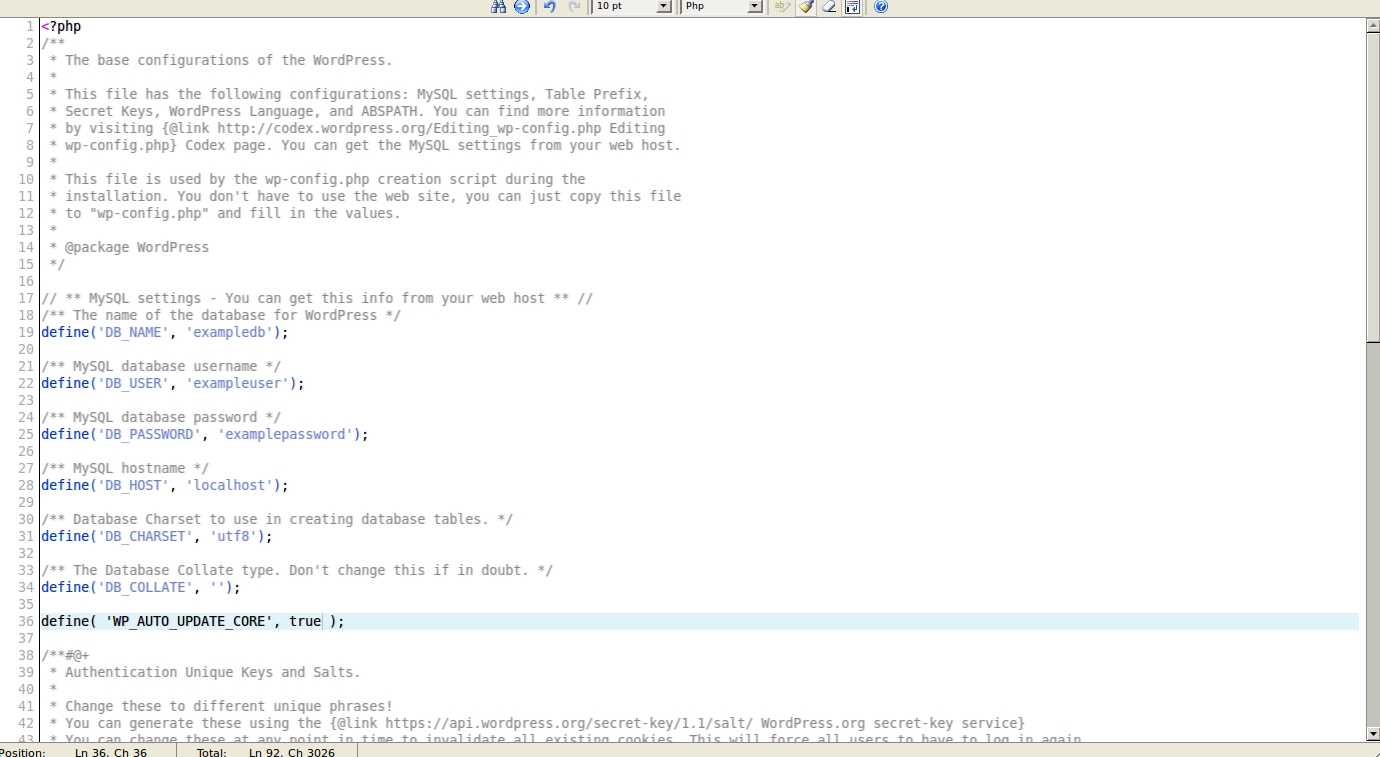
Once you have the wp-config.php file open in the Code Editor, look for a line that looks like the following. If you don’t have one it there, just continue on with the next step and place the new line within the file.
define( ‘WP_AUTO_UPDATE_CORE’, ‘minor’ );

To enable updating of major WordPress releases, change this to the following:
define( ‘WP_AUTO_UPDATE_CORE’, true );
- Once you have replaced this line, click on Save Changes. Your WordPress site will now automatically update to all versions, including major releases.
What if I want to disable automatic WordPress updates?
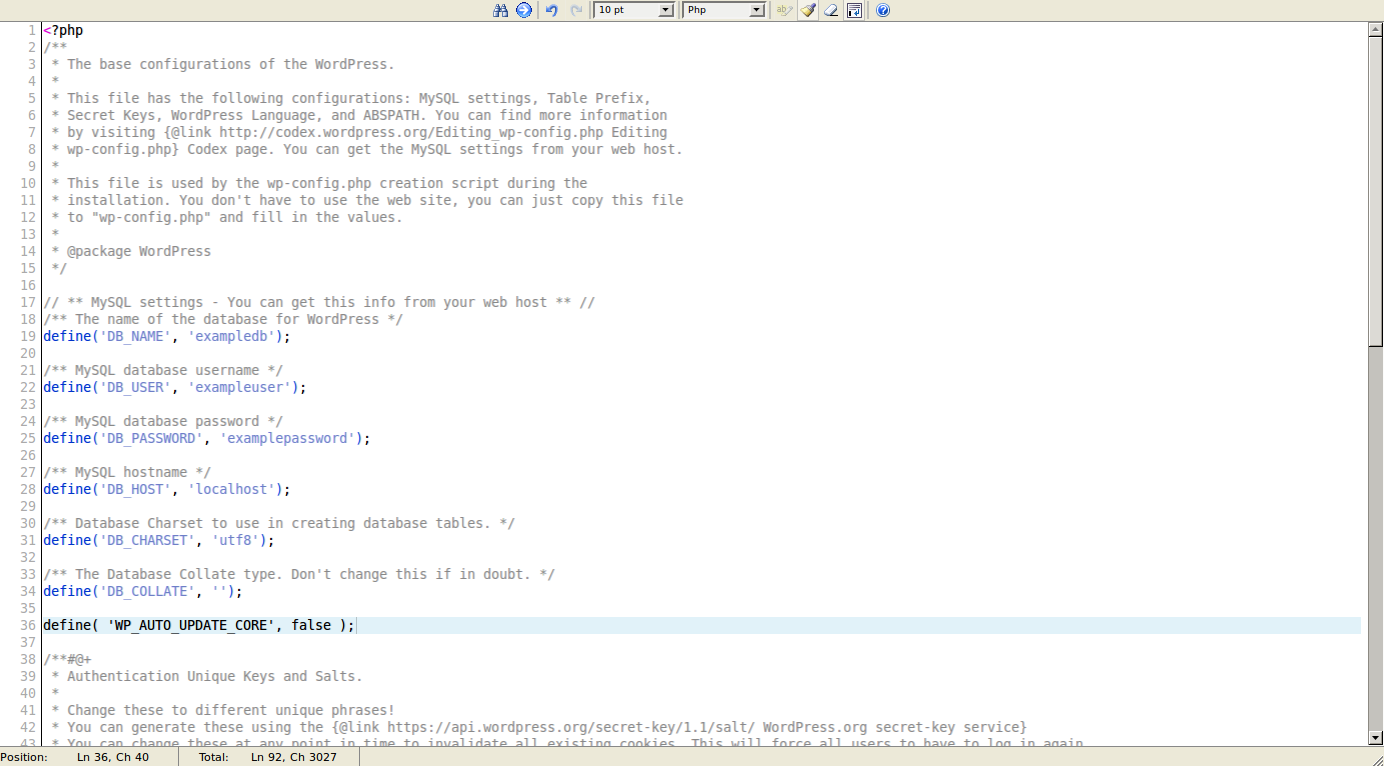
While we strongly discourage disabling automatic updates on your WordPress site due to security concerns, it can still be done if you need to. To do so, you would take the same steps as enabling major releases that you see above, but instead you will replace the line within your wp-config.php file with the following:
define( ‘WP_AUTO_UPDATE_CORE’, false );
Once this line is in place, WordPress will no longer automatically perform updates on your site. Once again, WordPress as well as InMotion strongly discourages disabling the automatic update function as even waiting 1 day after a new release of any content management system can make your site very vulnerable to potential attacks.
