In this article, we will teach you how to change your WordPress site logo when using the Cherry Framework.
General guidelines for your logo
There are a few things that you want to keep in mind when changing your logo on your WordPress site.
- First, keep in mind that this is something that will be displayed on every page so be sure that it is somethign that appropriately represents your site.
- Make sure that you have an appropriate image size. A logo that is too large can cause individuals to pull their eyes to your logo too often and take away the effect of the content itself. You want to keep your logo noticable, but not blinding your users from the content that you are trying to present.
- You will want to use transparent backgrounds in your logo. Transparent backgrounds can be accomplished using software such as Adobe Photoshop to allow any background content to seep through. This keeps your image from looking like a carelessly placed block and will allow you to easily blend in with whatever background you already have in place.
- Lastly, be sure to keep the image size as small as possible. There are several image compression tools out there to compress your image as much as possible. Software like Adobe Photoshop have fuctions such as “Save for Web” which will compress the image as well as only use particular colors. Keeping your image size small will reduce the amount of information that a visitor’s browser has to download keeping your website loading quickly.
Changing your logo in the Cherry Framework
Changing your logo in the Cherry Framework is quite a simple process and can be done within minutes.
- First, log into your WordPress dashboard.

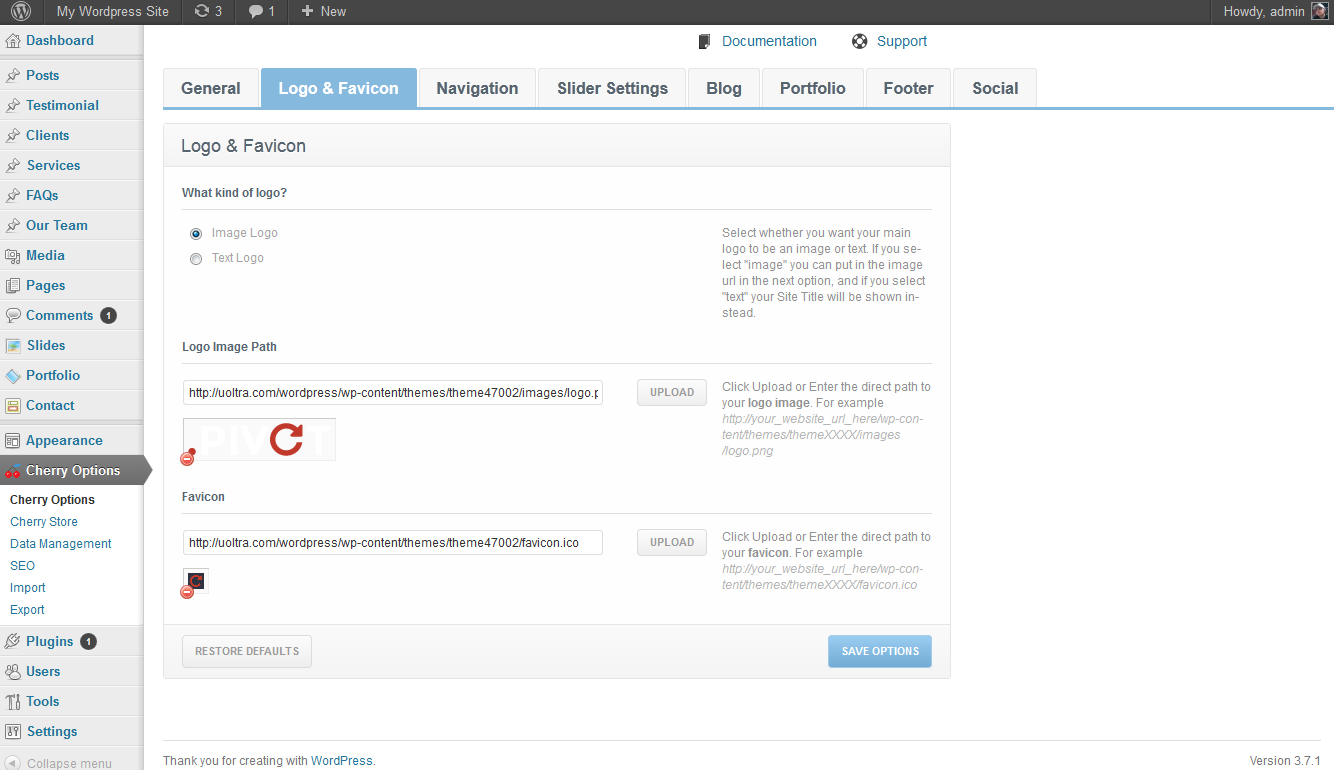
Next, click on Cherry Options on the left side menu bar. This will take you to the control panel for the Cherry Framework.

You will see several tabs up top. Click on the one labeled Logo & Favicon.

On this tab, you will see several options to use either a text logo or an image logo.
Text logos
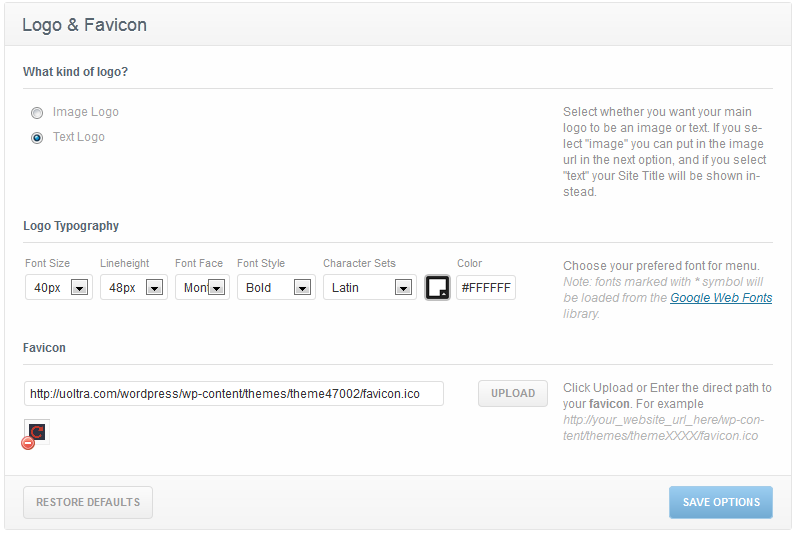
Adding a text logo is quite straightforward. To add a text logo, click on the radio button labeled Text Logo. One this is selected, you should see several text options. Here, you may select the font, size, and color that best suits your needs. If the text logo option is selected, your site title defined within your main WordPress installation will be used. Be sure to click on Save Options so that your settings will be saved.
Image logos
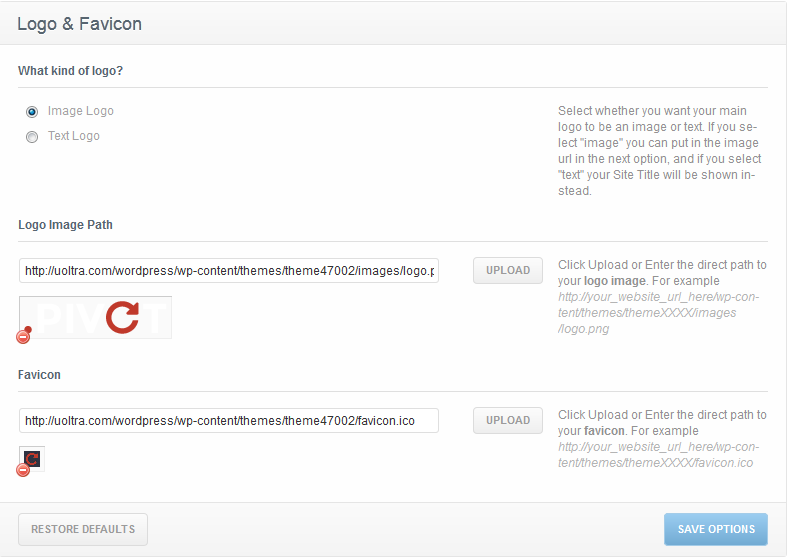
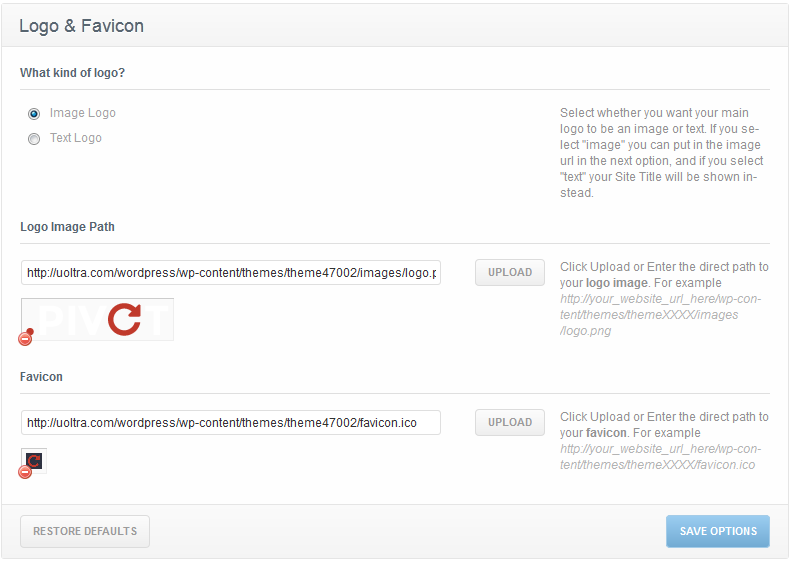
To define an image logo, select the radio button that says Image Logo. Once this is selected, you will be able to set an image to use for your main site logo. Click on the Upload button to the right of the image logo field and browse to the image you want to use. Once it is defined, be sure to click on Save Options once your logo is selected.


how can i add “alt” logo, social in cherry framework? sorry my english not good
its my side: https://benhvienlaptop.com.vn/
Hello Tello,
If you are unable to use the tutorial provided for changing the logo, then I would suggest getting in touch with the Cherry Framework Support team. We unfortunately did not develop their product, so if you’re trying to do something custom, you may need to contact their developers/support for further assistance. Here’s a link to their Forum on customization.
I hope this helps to answer your question, please let us know if you require any further assistance.
Regards,
Arnel C.
Sir,
I am not able to change anything from cherry options tab. I want to upload new logo but, when I upload new image it is uploaded and message displays “Settings saved” but when I again go into LOGO AND FAVICON tab I find old logo only. This is happening with everything I am changing from cherry options.
Reply ASAP
Thank You
Hello Tejendra,
We are happy to take a look, but we need to know the exact steps you are taking so we can attempt to duplicate your issue.
Kindest Regards,
Scott M
How can increase the width of the image it seems to be restricted 252px?
Thanks,
Dave
Hello David,
Since there are no dimension settings on the configuration page you will likely need to edit the source code and/or the css files to set the image to the size you desire.
Kindest Regards,
Scott M