Table of Contents
Among Matomo Analytics’ list of recommended plugins for customizing web analytics is the WP-Matomo (WP-Piwik) WordPress plugin. This plugin allows you to view Matomo analytics within your WordPress dashboard. Below we cover how to setup the WP-Matomo (WP-Piwik) plugin using your Matomo API code.
Make WordPress even easier than it is already with a dedicated WordPress Hosting plan. Speed and security right out of the box.
Install WP-Matomo (WP-Piwik)
- Log into your WordPress website directly or via Softaculous.
- Under Plugins, select Add New.
- Search “WP-Matomo“.
- Select Install Now to install WP-Matomo (WP-Piwik).

- Select Activate in the same location. You can also enable it from Installed Plugins on the left.

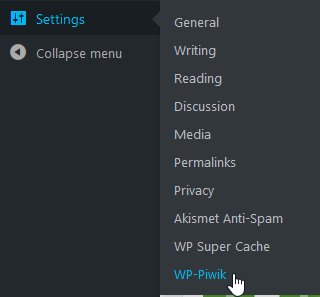
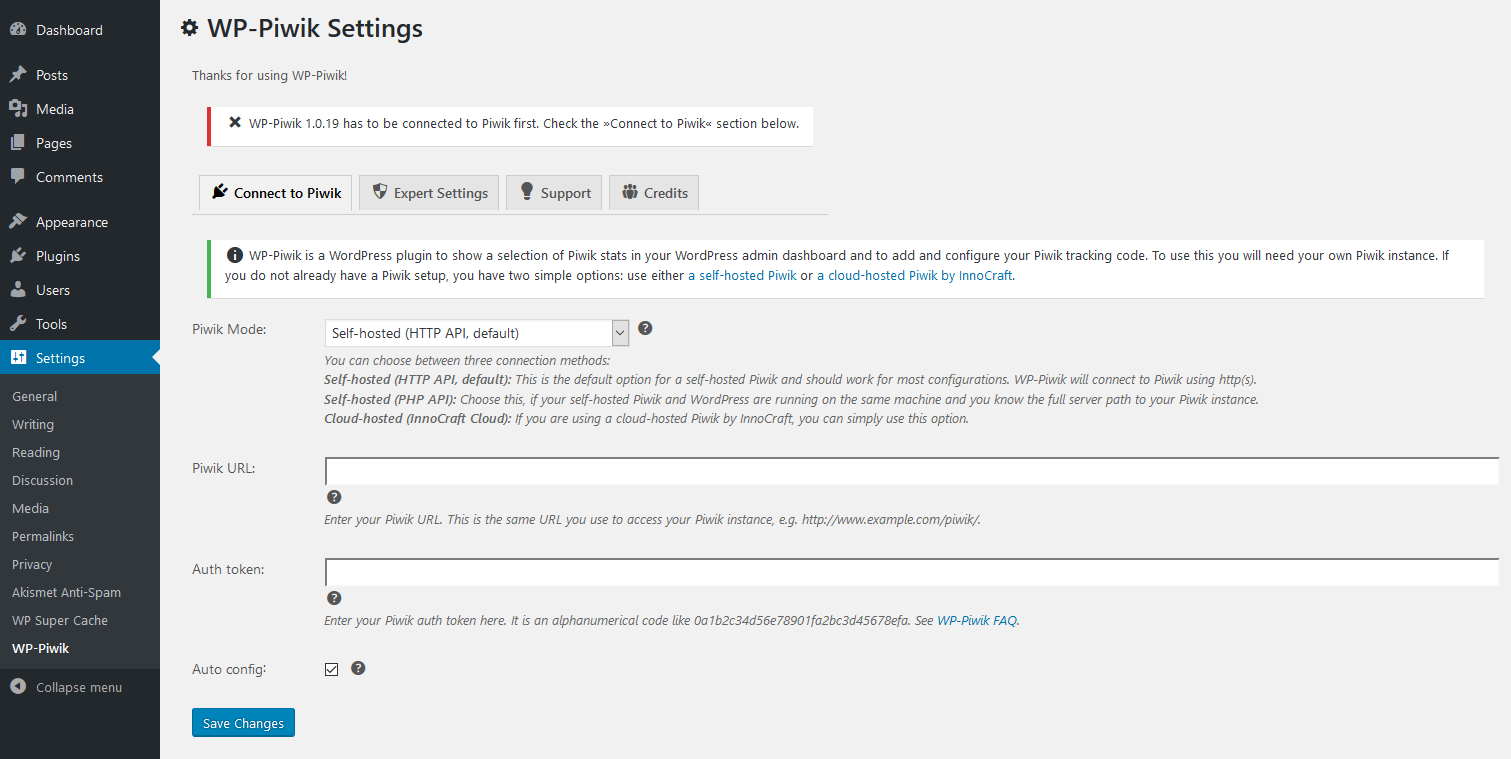
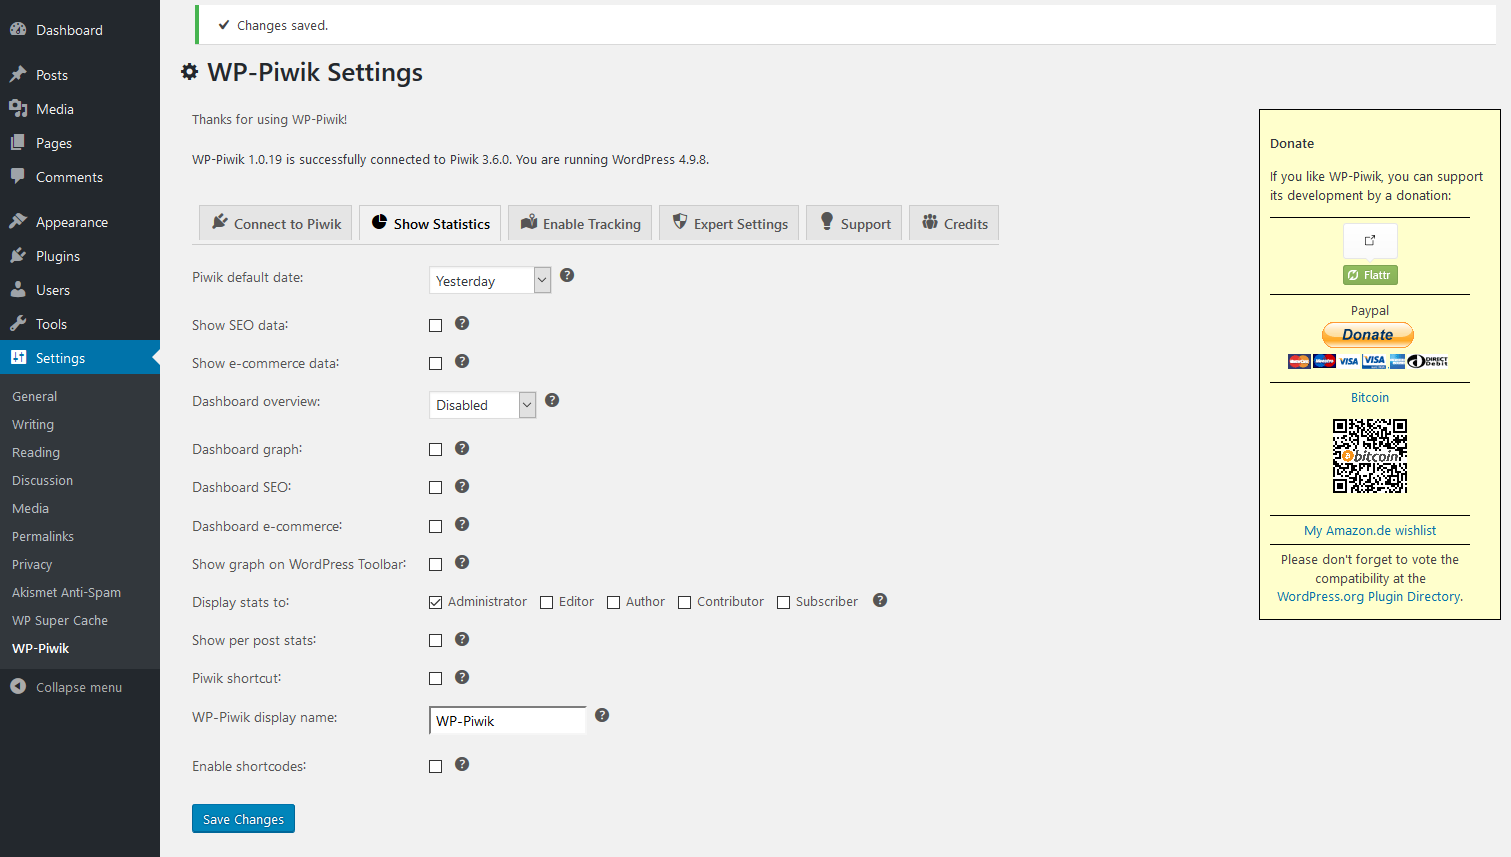
- Hover over Settings and select WP-Piwik to configure the plugin settings.

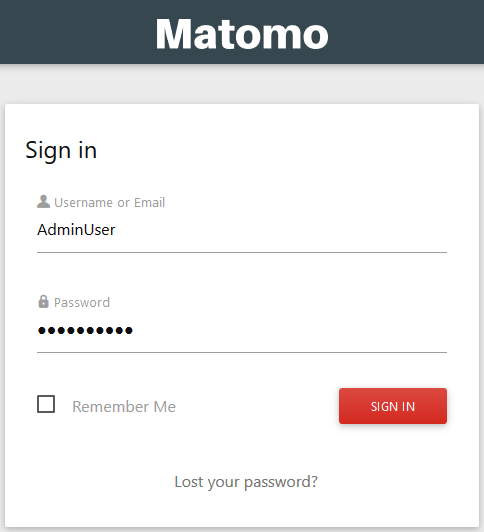
- Type your Matomo login URL beside Piwik URL.

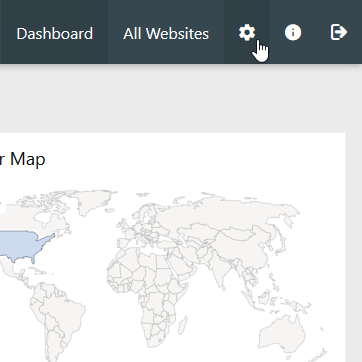
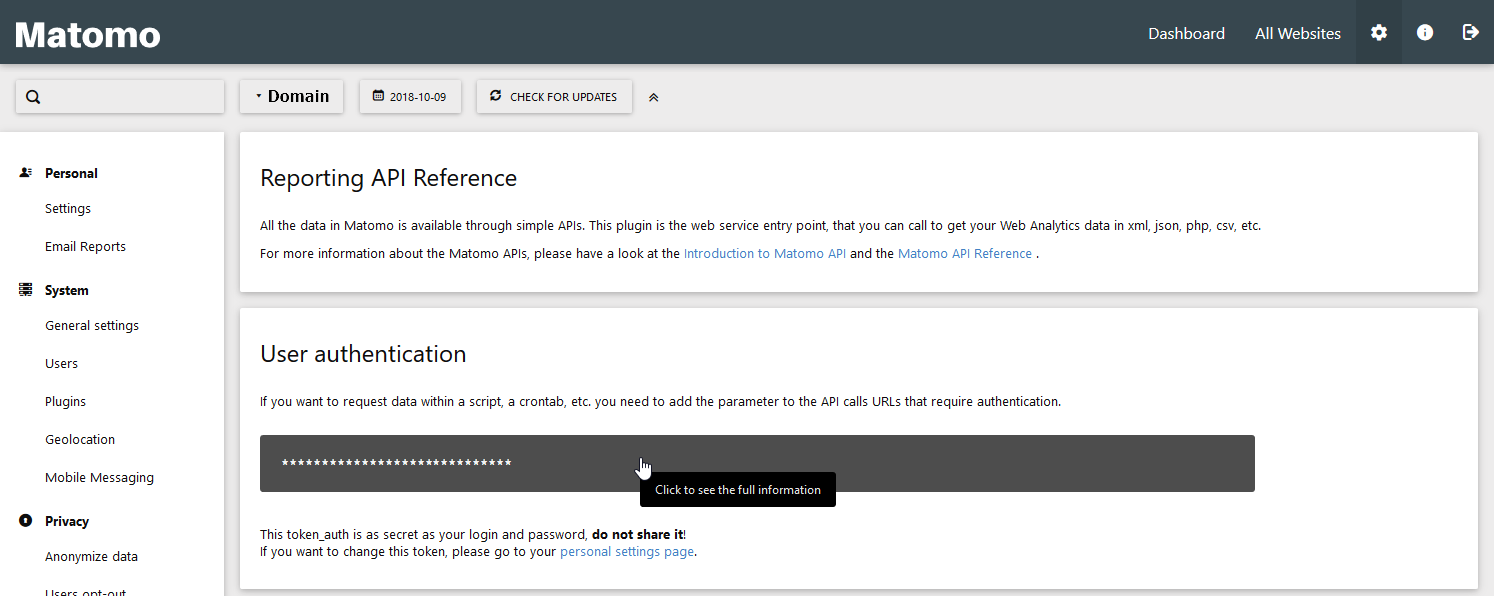
- Paste your Matomo API Code beside Auth token.
- After copying the authentication code, press Save Changes. You’ll see a new tab titled Show Statistics.

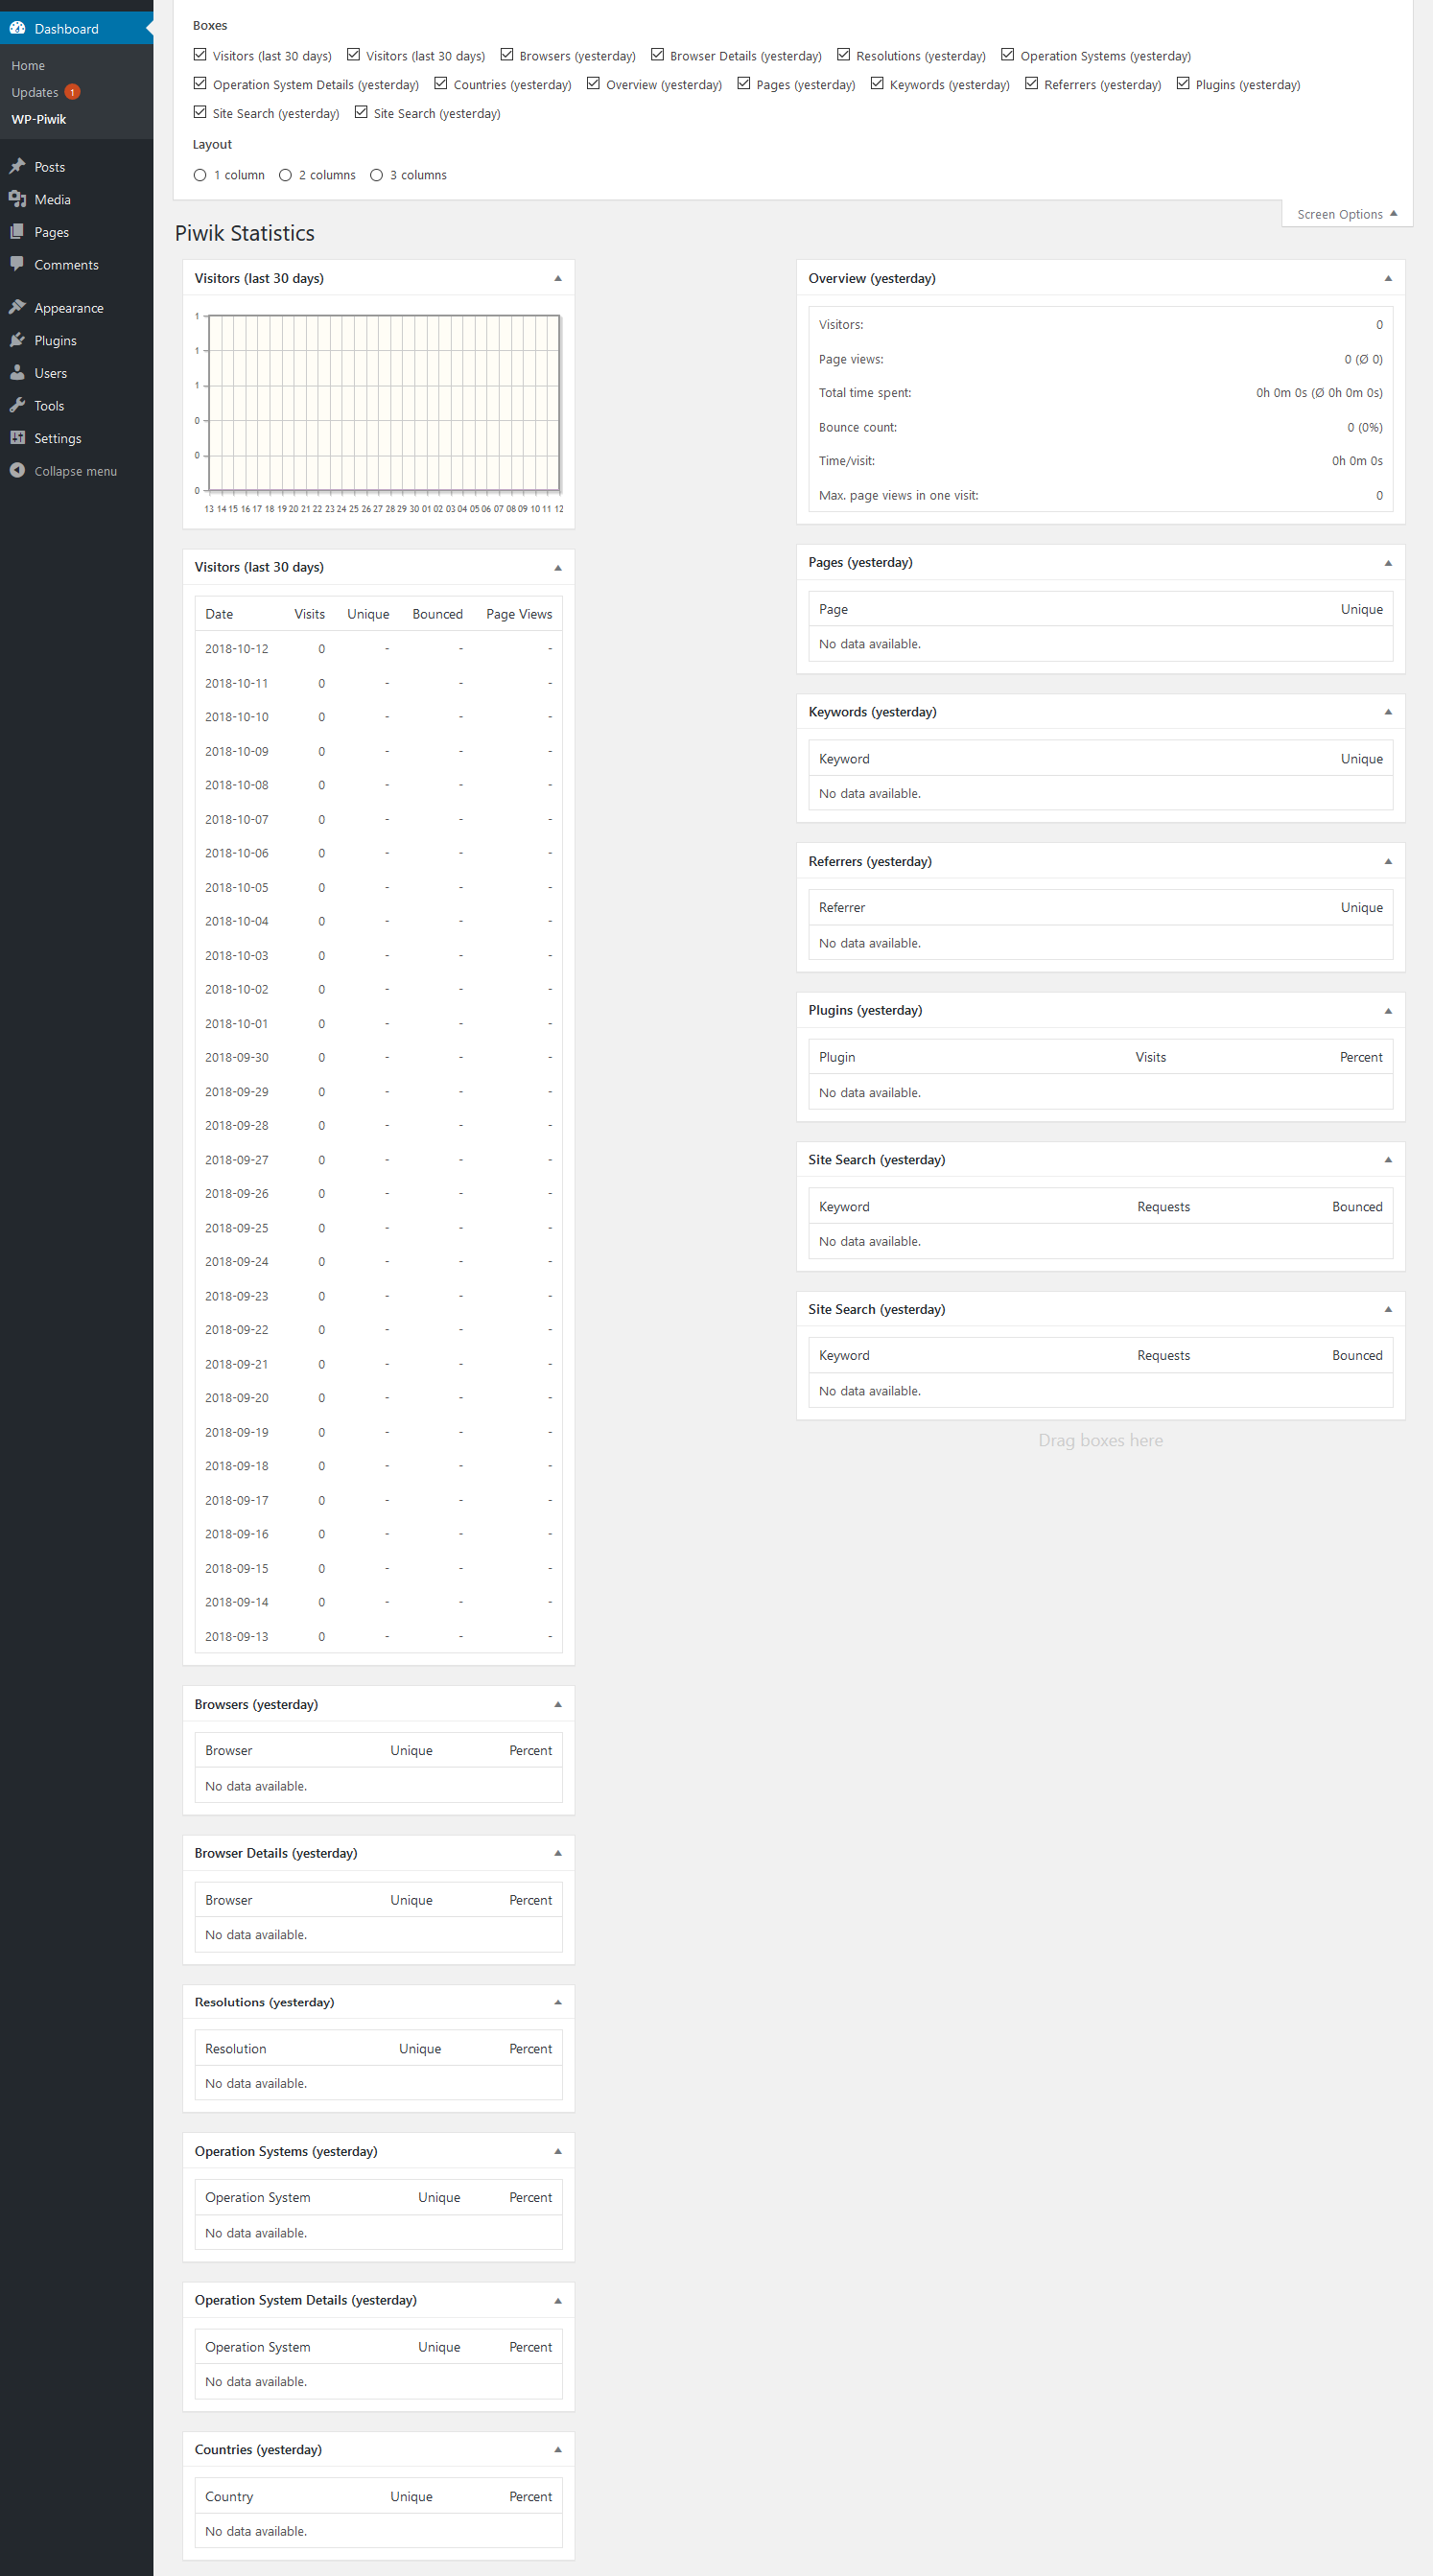
- Hover over Dashboard and select WP-Piwik to view your Matomo Analytics.
Screen Options at the upper-right shows options for hiding certain stats.
You can read more about improving your Matomo web analytics in our Support Center and our last article – branding in Matomo. You can also view our other recommended WordPress plugins.


