Table of Contents
In this tutorial:
Downloading Koken plugins Installing Koken plugins Activating Koken plugins
With plugins, you can extend your Koken installation much more than what you get by default. Even in beta, there are several plugins that you can download and install to offer a better experience for both you and your users.
Downloading plugins
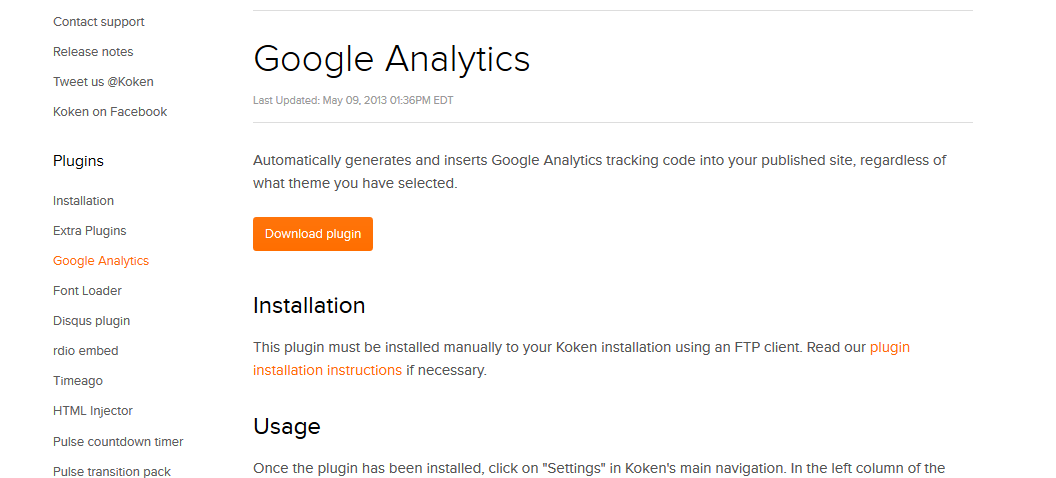
Before you can install or activate any plugins, you will first need to download the plugin that you want to use. While Koken does not have an automatic download and install function at the moment, they do still offer several plugins directly from within their site. First, visit the Koken Plugins page to browse any plugins that are available for Koken.
Official Koken plugins
Once you locate the plugin that you want to install, you will just need to download it to your computer first. Any of the offical Koken plugins will take you to a simple download page. Simply download the individual zip file to your computer. Be sure to remember where you downloaded it as you will need to upload it to your Koken installation later.
Unofficial Koken Plugins
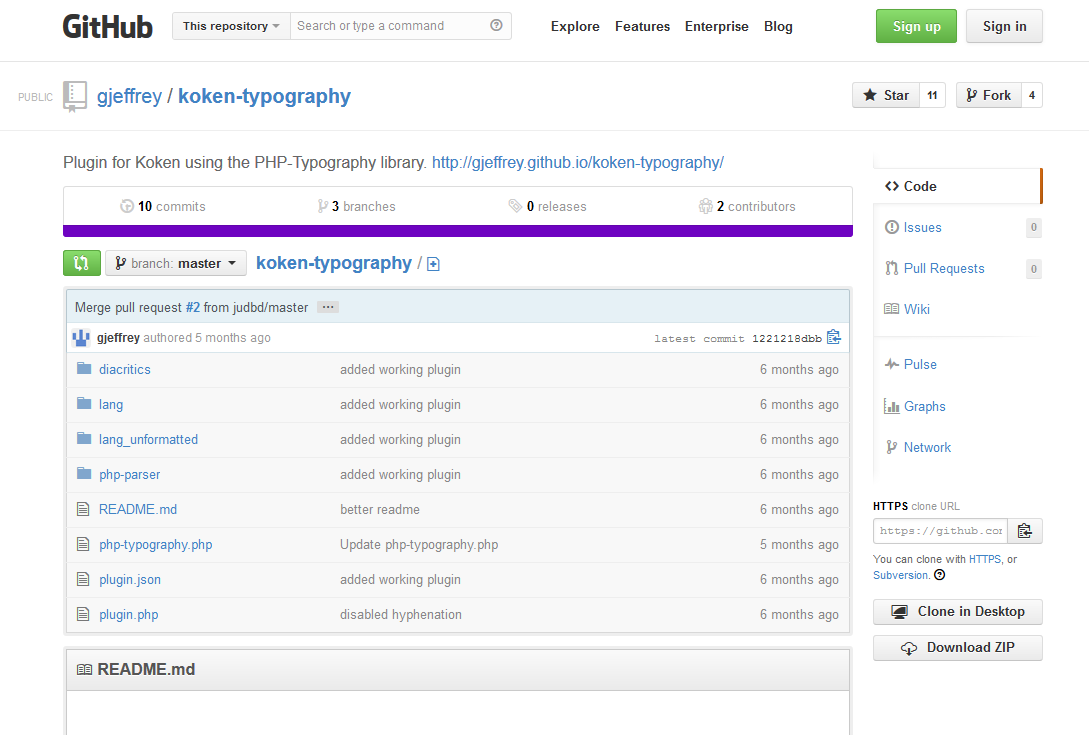
Downloading unofficial Koken plugins are a bit different as many are hosted on Github. If you are familiar with Github, you can skip this step.
To download an unofficial Koken plugin from Github, it is just as easy. Simply click on the Download ZIP link located on the right side to download the plugin in zip format. Be sure to save the file in a location that you can remember as it will be needed later
Installing your Koken plugin
Now that you have downloaded your Koken plugin, its time to install it. While there isn’t a way currently to do so within your admin panel, it can be uploaded right to your Koken installation with quite ease using the cPanel File Manager or FTP. For the purpose of this article, we will be using the cPanel File Manager
Upload your Koken plugin
-

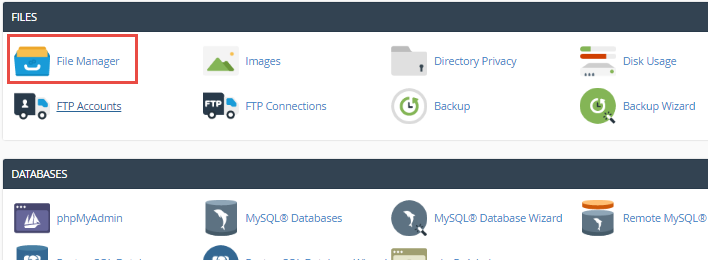
First, log into cPanel and open the File Manager. It is located within the Files section of cPanel.

Then, browse to the location of your Koken installation. If you are using Koken as the home page to your site, it will be located within the public_html directory. Inside this folder, you will see several other folders. The specific folder you are looking for is labeled storage. Within the storage folder, you will see another called plugins. This is where all of your plugins reside.

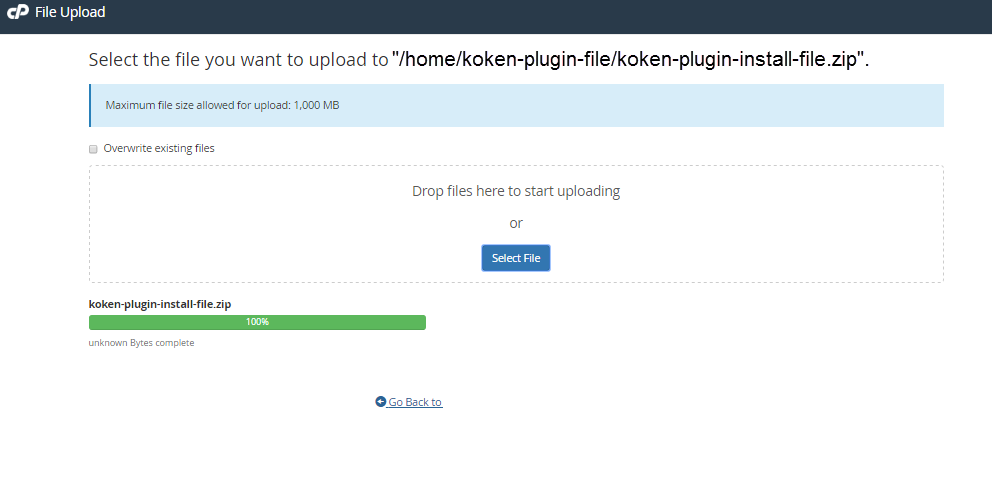
Remember that zip file that we downloaded earlier? Now, we’re going to upload it to the Koken plugins directory. Within the File Manager, click on the Upload button. Then, browse for your file and select it. Your Koken plugin will then begin uploading.

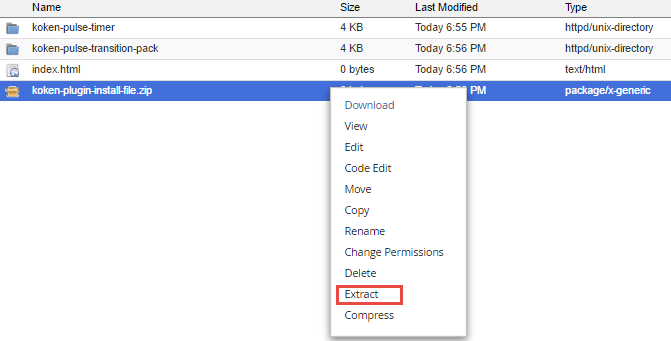
Once your plugin is uploaded, you will then need to extract it. To extract a zip file in the File Manager, right-click on the file and click Extract. The default path that comes up will be fine. Press Extract File(s). Your new Koken plugin is now in place.
Activating your Koken Plugin
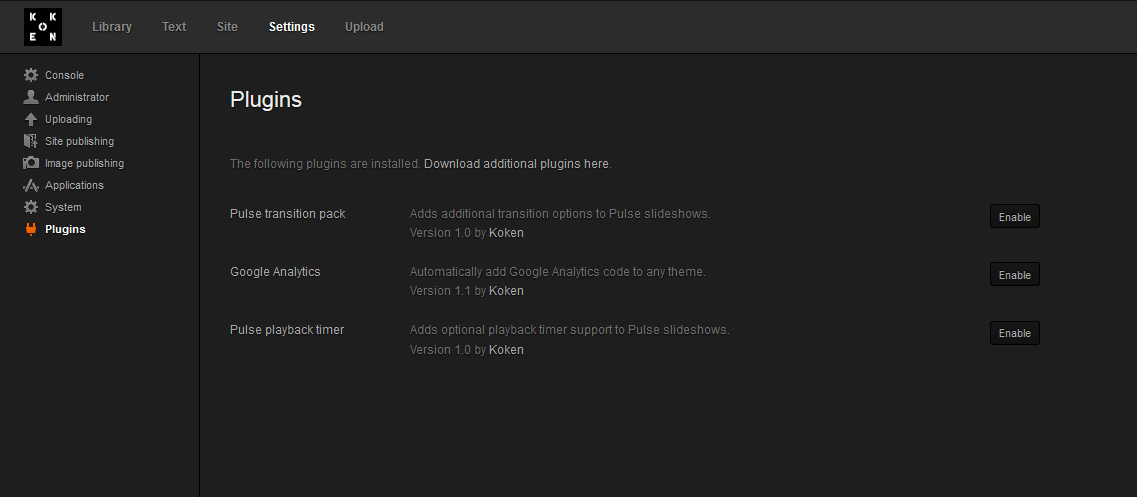
Now that your Koken plugin is uploaded to your Koken installation, its now time to activate it. Koken makes it very easy to activate a plugin. To do so, log into your Koken admin panel and click on Settings, then Plugins. You will see a list of plugins that you currently have installed there. To activate your new Koken plugin, just click on Enable to the right of that particular plugin.
