Table of Contents
One of the block features that have been added as of version 6.0 is the ability to lock a block so that its position and/or its removal can be prevented. This article will demonstrate how to find and use the new block option.
This tutorial uses WordPress 6.0 RC2 and the Twenty Twenty-two theme.
Locking a Block
The main reason you will lock a block is to prevent it from being moved from a particular location or from having it deleted. This is especially helpful if you’re working with multiple content creators or editors that can make changes to a page or post.
For example, you may want to enforce the placement of a graphic at the beginning of a post. Locking the block there will keep it from being moved and replaced. You can see the block locked in the list view in the screenshot below. The lock icon indicates that the block is locked.
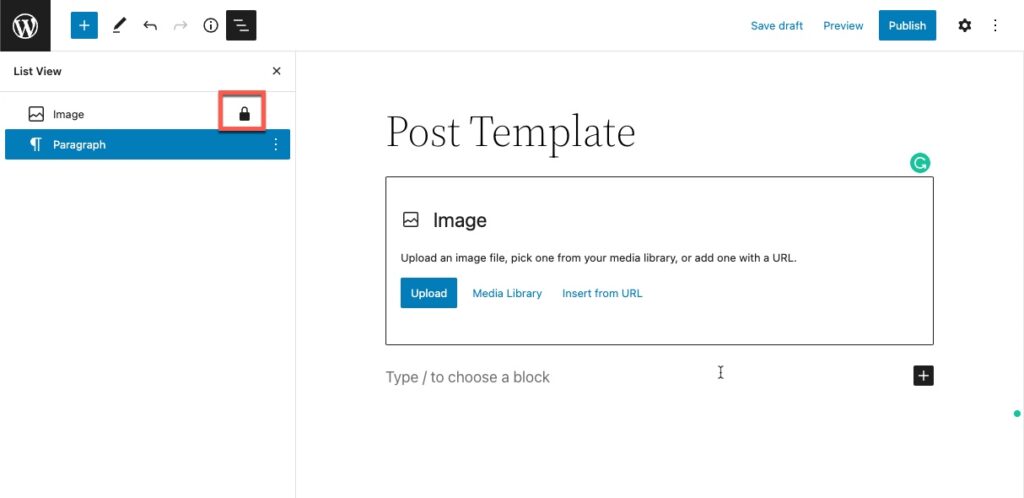
Steps to lock a block:
- Log in to the WordPress Administrator.
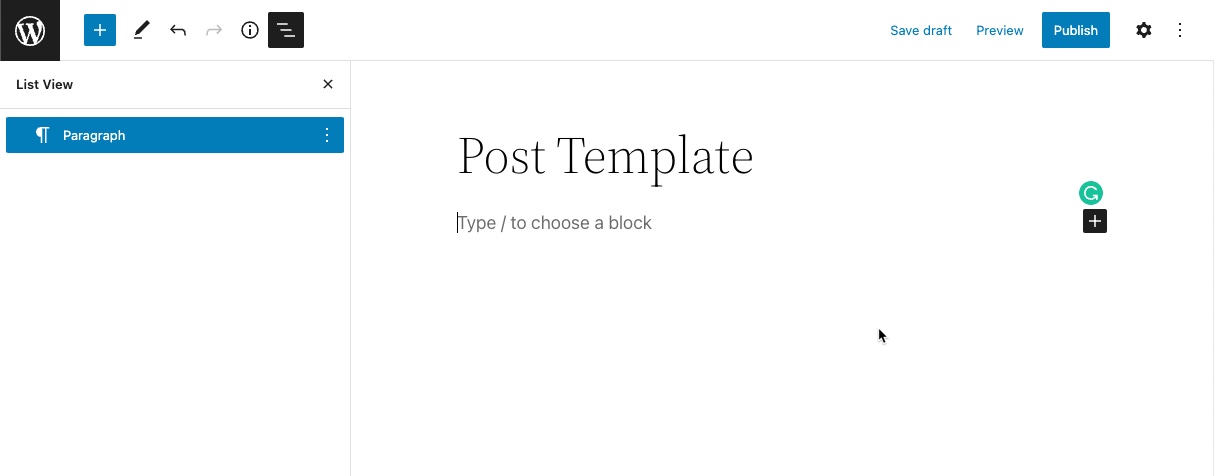
- In order to change the properties for a block, you need to be in an editor. The visual editor can be accessed in the site editor, or with the page/post editor. Open the editor of your choice. This tutorial will show a post being edited.

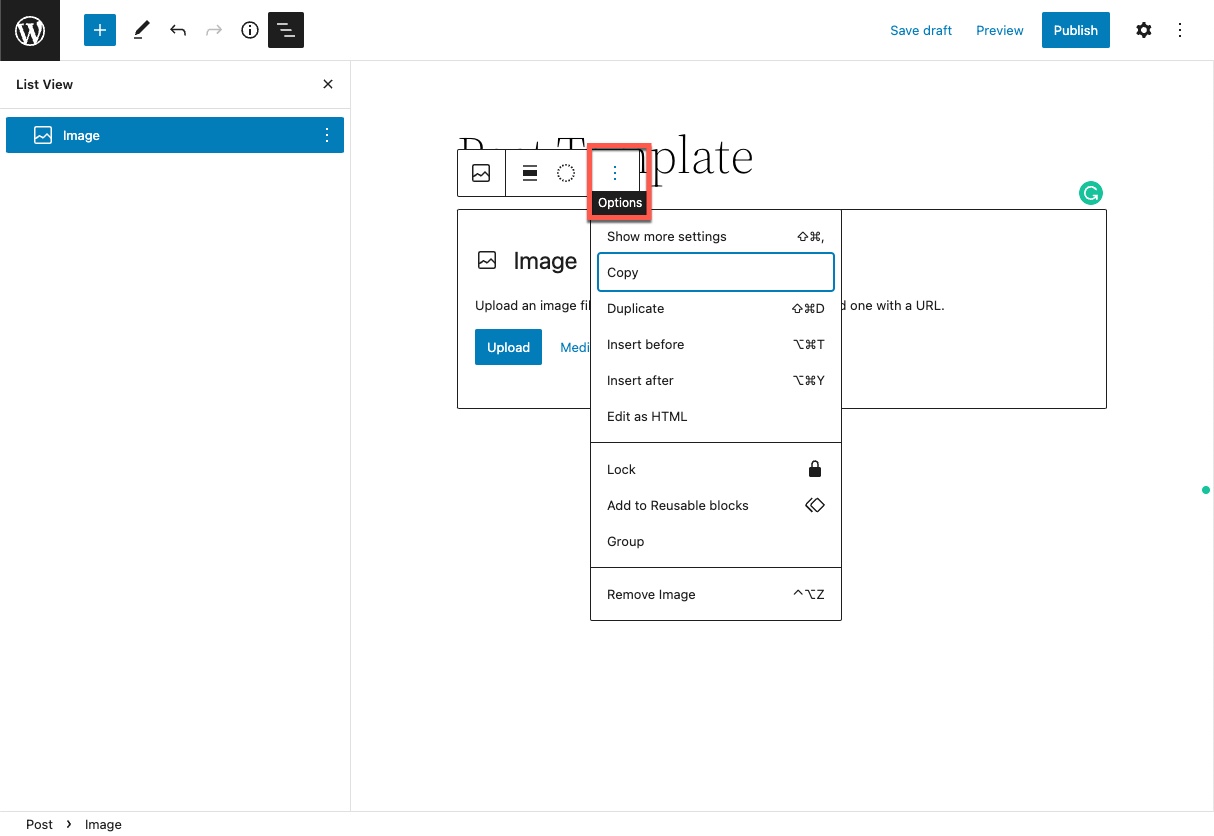
- Select a block that you want to lock or add it page or post that you’re working on. Here you can see the Image block being added. Click on the 3-dot menu to open the block options menu.

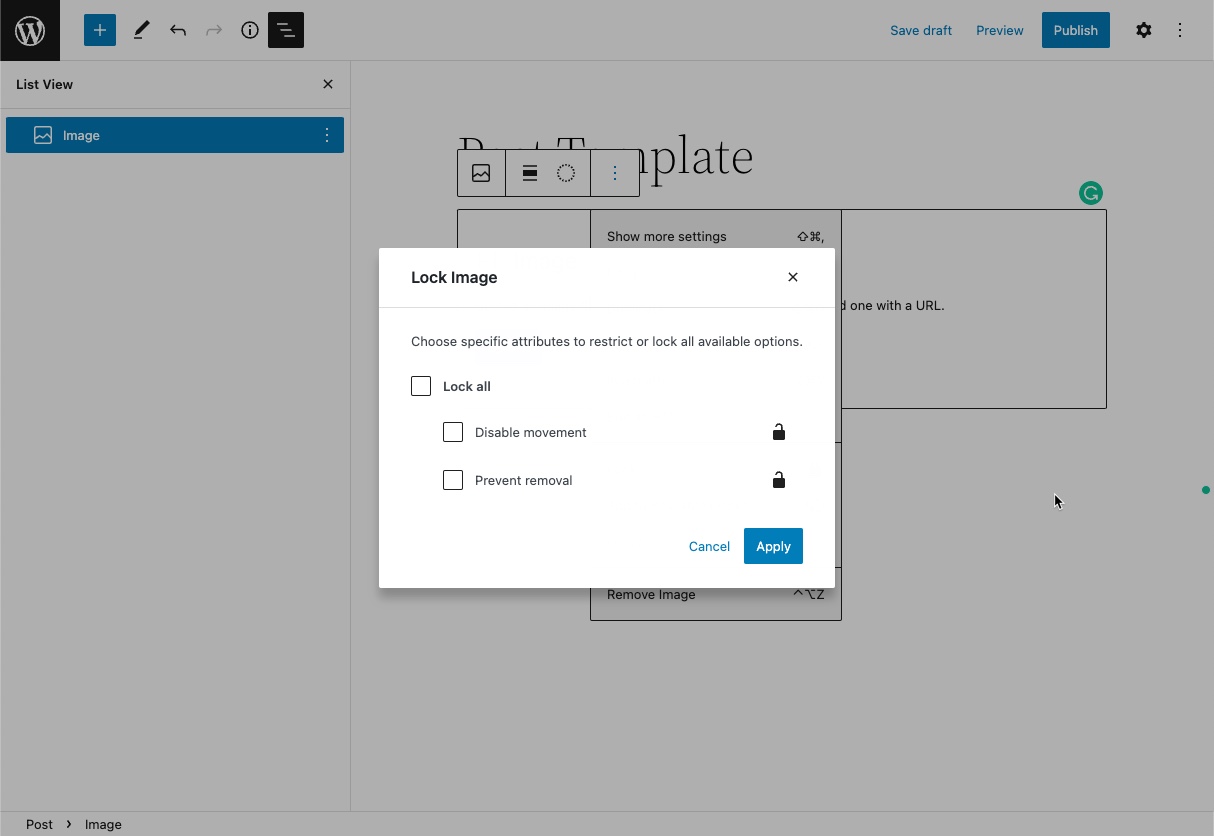
- When the menu appears scroll down the list then click on Lock. You will see two lock options that you can select.

- Click on the option you want to use, or click on Lock all. Then, click on Apply.
- When you’re done with your edits, make sure to either click on Save Draft, Publish, or Update.
Block locking is part of the evolution of the full site editing system. This feature allows you to create your own patterns or block combinations in templates with less risk of them being altered.
Improve the performance and security of your WordPress website with our WordPress hosting plans.
Web Application Firewalls
Free SSL Certificates
Advanced Server Caching
