In this article
- What is CoSchedule for WordPress?
- How to Install CoSchedule for WordPress
- How to Set Up CoSchedule for WordPress
This article describes how to install and set up the CoSchedule plugin for WordPress. Read on to learn more about this plugin and how it integrates your CoSchedule account with your WordPress website.
What is CoSchedule for WordPress?
CoSchedule is your one-stop-shop program that caters to your marketing campaigns’ needs. CoSchedule does require a subscription, but their WordPress plugin is available for free. The CoSchedule plugin for WordPress expands your capabilities and adds the ability to manage your marketing campaigns without having to leave your WordPress dashboard.
How to Install CoSchedule for WordPress
Installing the CoSchedule plugin for WordPress is simple and can be completed from within the WordPress Dashboard.
- Log into your WordPress dashboard.
- Navigate to the plugins installation page, by clicking on Add New in the Plugins sub-menu.

- In the “Search plugins…” field, type “coschedule” and then, press the Enter key.

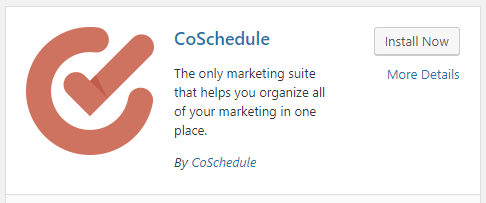
- CoSchedule By CoSchedule should appear as the first option. Click on the Install Now button to initiate the installation.

Now that you have installed the CoSchedule plugin for WordPress you will need to set up the plugin. Read on to learn how to activate the plugin and connect your CoSchedule account.
How to Set Up CoSchedule for WordPress
To set up CoSchedule in WordPress, you will need to activate the plugin and sign-in using your CoSchedule account credentials. Be sure to gather those details, then you can follow these instructions to complete the setup process.
- Log into your WordPress dashboard.
- Navigate to the list of plugins, by clicking on the Plugins menu item.
- In the list of installed plugins, find CoSchedule and click the Activate link.

NOTE: You will be redirected to the CoSchedule plugin dashboard to continue the setup process.

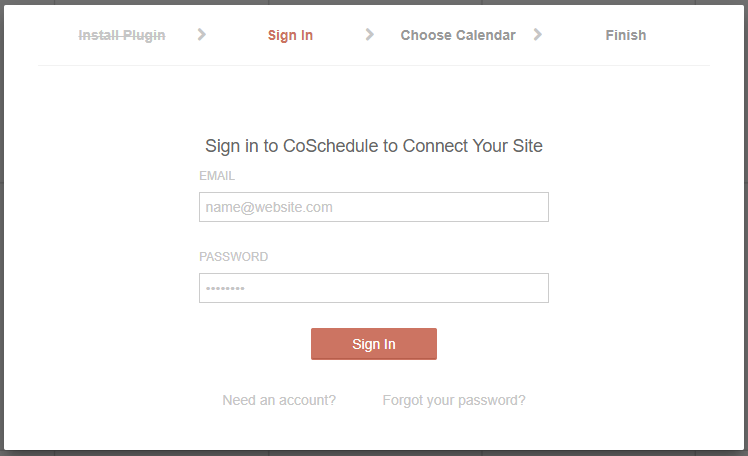
- Enter the email address associated with your CoSchedule account into the EMAIL field of the pop-up.
- Enter the password associated with your CoSchedule account into the PASSWORD field of the pop-up.
- Click the Sign In button.
- Click on the Calendar(s) you would like to add to WordPress.
- Finally, click the View Calendar button to view the Marketing Calendar associated with your account.
NOTE: If you have multiple calendars, you can click on the calendar name in the upper-left to switch between calendars.
Congratulations, now you know how to install and set up CoSchedule for WordPress. With this plugin, you can begin managing your marketing editorial calendar from within the WordPress Dashboard.


