Table of Contents
In this article:
- Enable Jetpack Site Verification
- Verify the Site with the Selected Search Engine
- Manually Verify your Site with Google
Jetpack provides site verification services for Google, Bing, Pinterest, and Yandex. This allows website owners to use the services that each of these sites provides. When you verify you have to add a text entry in the site’s DNS, or you may have to add meta tag on a web page. Jetpack makes it easy to verify for these four services. These search engines do not require your site to be verified in order to be indexed. If you intend to use their services, then you will need to provide verification. Follow the directions below to enable site verification in Jetpack.
Having trouble with your current host? Regain your confidence in web hosting by subscribing to one of InMotion’s WordPress Hosting solutions! We provide secure, reliable hosting servers that fit your budget and application needs.
How to Enable Site Verification in Jetpack
Please make sure that you are logged into your WordPress Administrator Dashboard as an Administrator user before starting the steps below.

- Click on Jetpack in the menu at the left of the screen. Then, click on Settings.
- When you are on the Jetpack Settings page click on Traffic in the menu at the top of the page.
- Scroll down the Traffic page until you find Site Verification. Click on the slider labeled Verify site ownership with third party services.
Once the option is enabled, you will need to select the services for which you will verify. Each service has a different procedure for verification.
Verifying Your Website With Your Selected Search Engine
In this example, we will provide the steps for manually verifying a Google account. Each of these search engines have a process of verification so that you can use their service. We will link the exact instructions below. The general steps include:
- Logging into or creating an account with the service.
- Adding your website to the service.
- Getting the HTML tag verification code.
- Pasting the code into the Jetpack verification field.
- Verifying the code with the search engine service.
- The Jetpack site verification tool makes it easy by not requiring you to find a place in your website code to place the verifying HTML tag.
Manually Verifying with Google
Click on the arrows below in order to see the screenshot per each step below.
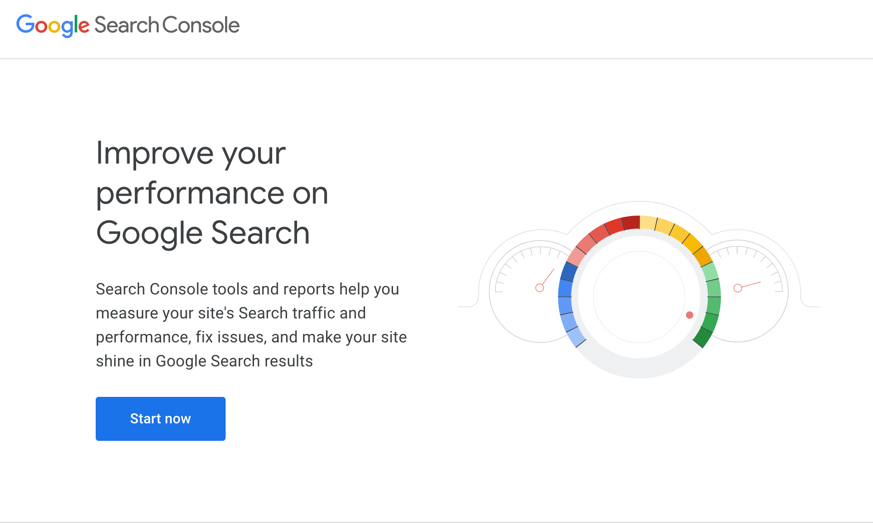
- New users to the Google Search Console will see the initial screen. Click on Start now.
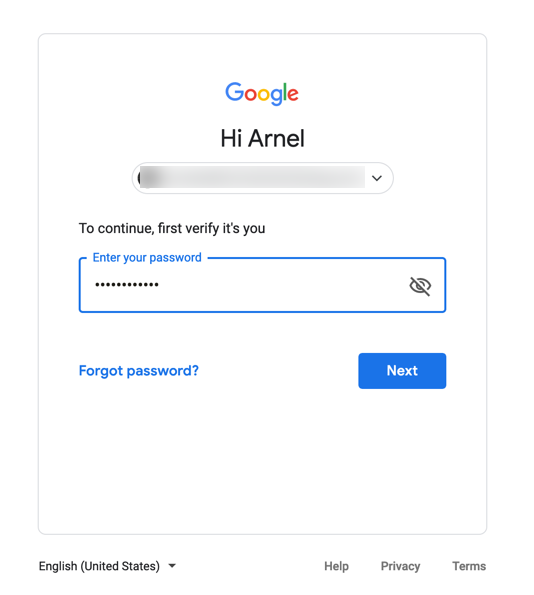
- At this point, you will either need to create or log in to an account.
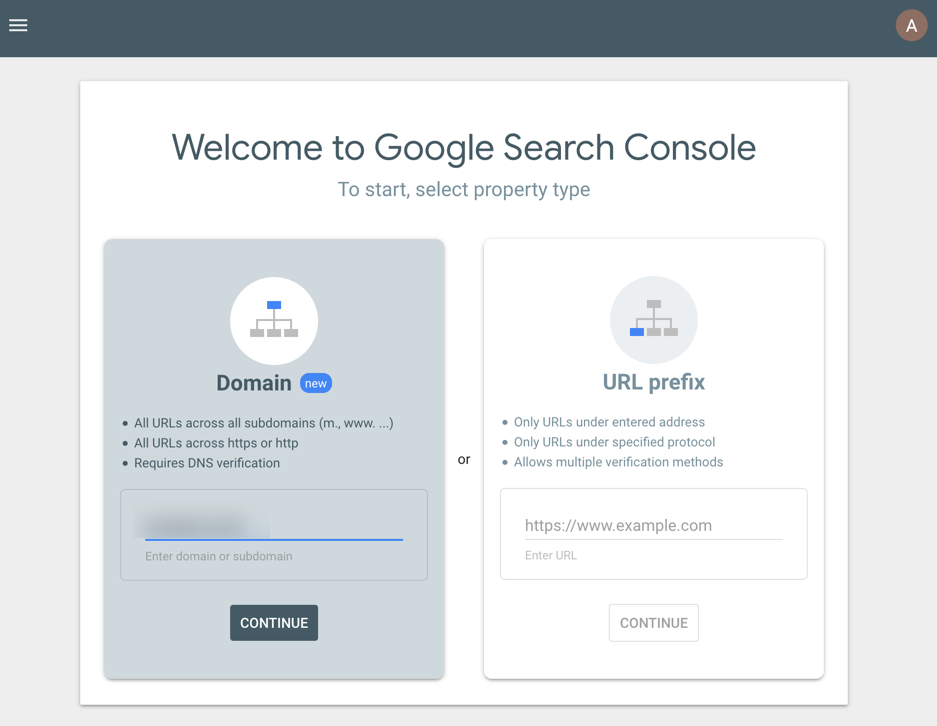
- Using the option on the right, labeled URL Prefix, type in your domain name. Click on Continue to proceed.
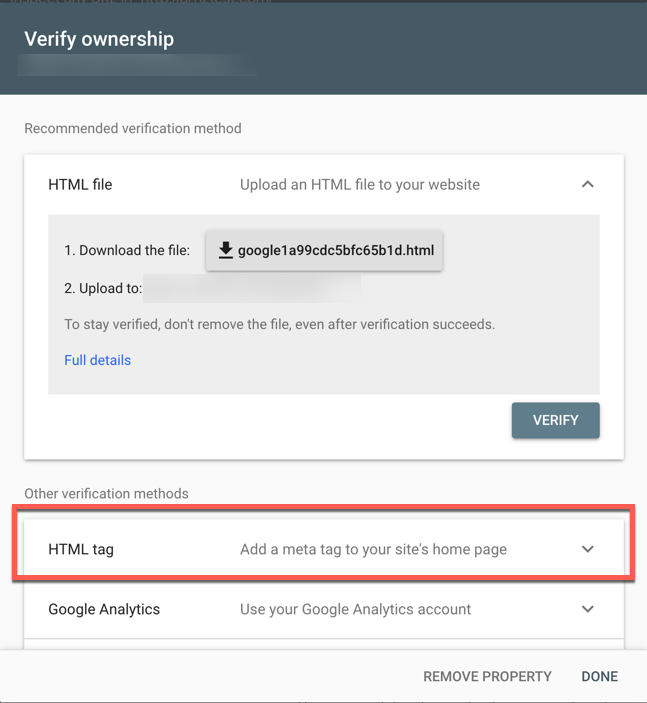
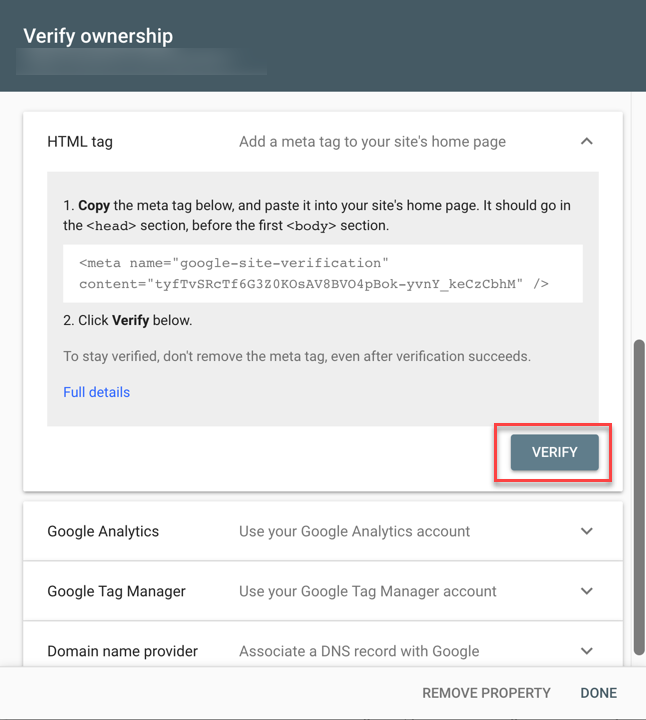
- Scroll down the options until you find HTML tag. Click on the drop-down arrow and then copy the code that they provide to you.
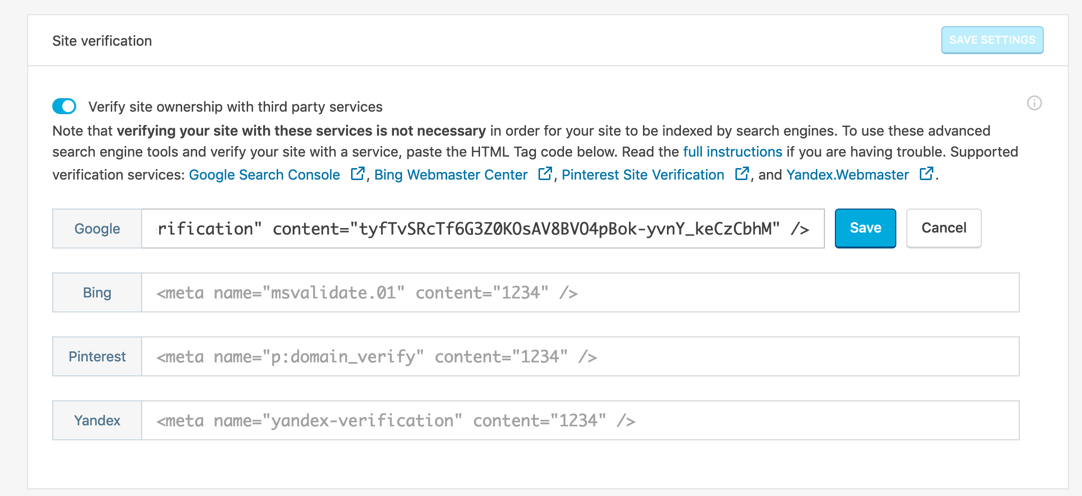
- In Jetpack, click on Manual Verification for Google, then paste the HTML verification tag you copied earlier. Click on Save. You will then need to return to the previous Google screen where you got the code.
- When you return to the Google screen, click on Verify.
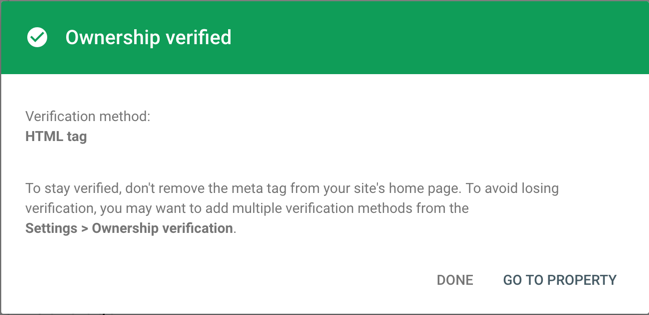
- If you the code is verified then you will see the success message. You can then click on Done or Go to Property. Stats will not initially be visible. It will take several hours before you can see any data.
That completes the steps for manually verifying your site with Google Search Console. The other methods can also be used, but they require knowledge of DNS or your website file structure. Jetpack site verification makes the process simple!
Here are the links for the instructions for the other three services that can be verified:
Congratulations! You can now verify your site using the Jetpack Site Verification tool. For your next step with Jetpack, use our article on Search Optimization to help improve your site’s search results!
