Table of Contents
WordPress is the most popular self-hosted website builder today. It’s a great choice for building a powerful website that can scale to include customer management and project management functionality. Below we’ll cover how to install WordPress on Control Web Panel (CWP), formerly known as CentOS Web Panel.
Install WordPress in Control Web Panel
- Log into Control Web Panel.
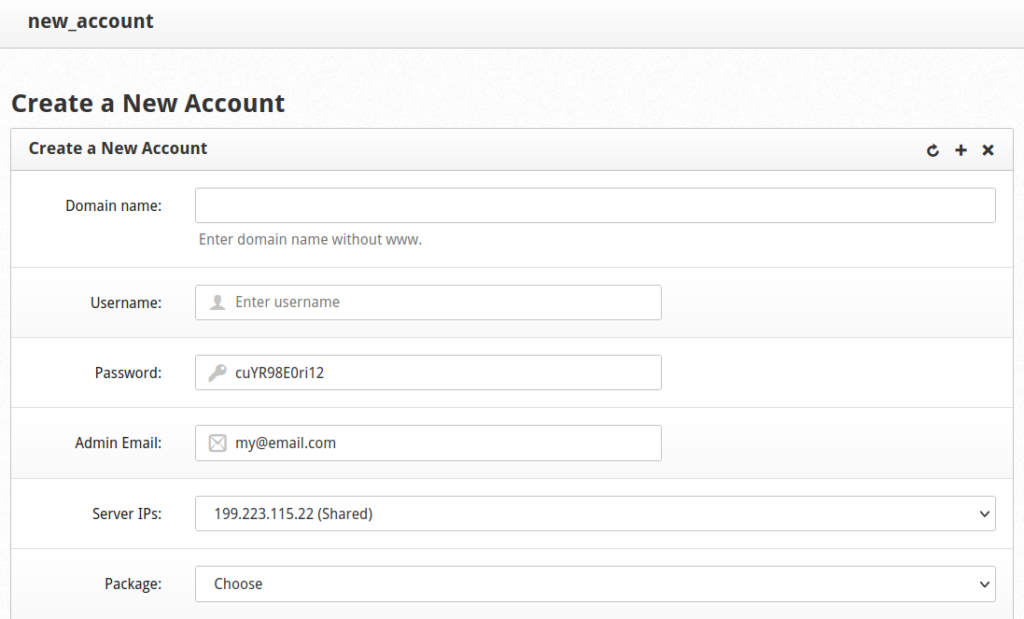
- On the left select “New Account.”
- Add the WordPress domain name along with a CWP username, password, and email address.
- Choose the “default” package if you’ve not created others.
- Select “Create” at the bottom. This will also create a MySQL user for the account linked with the user’s password.

- On the left select “MySQL Manager.”
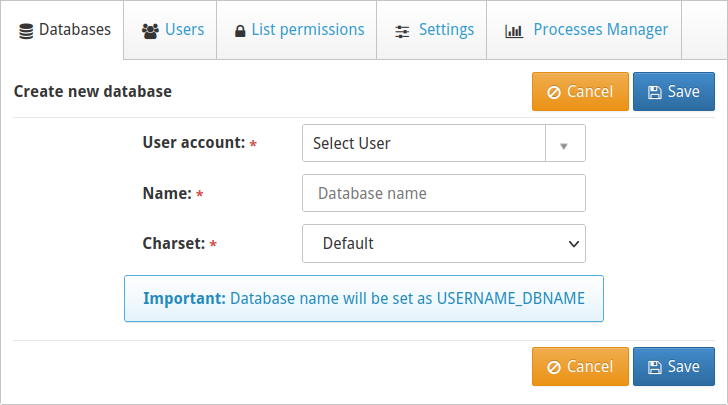
- At the top select “Add new database.”

- Select the new CWP user account, specify a database name, and select “Save.”

- At the top select “Terminal” and “Simple Terminal” to open a new window.
- Navigate to the new user’s public root directory, replacing “USER” with the CWP username:
- Download the latest version of WordPress:
- Extract the tar file:
- Remove the default CWP index file:
- Move all the files from the new “/wordpress” directory to the current directory:
- Remove the now empty “/wordpress” directory and tar file:
- Change the owner of the website files from root to the CWP user, replacing “USER” with the CWP username:
Configure WordPress
- Visit your WordPress domain in a web browser. You’ll be redirected to the setup wizard.
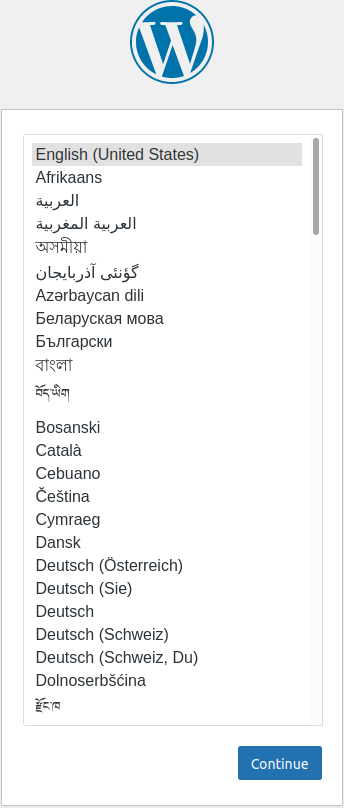
- The first page will show the WordPress logo and available languages. Select your primary language and continue.

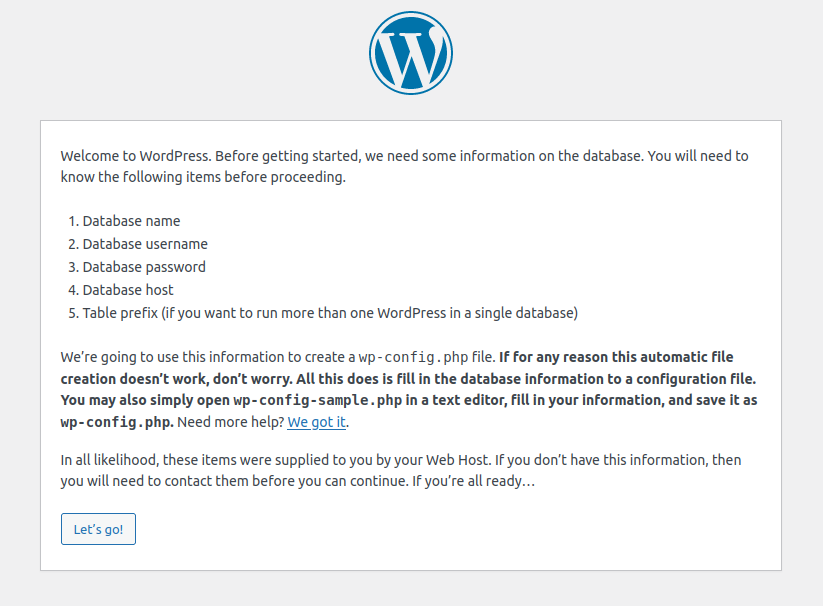
- The next page states what info you’ll need from the database you created earlier. Select “Let’s go!”

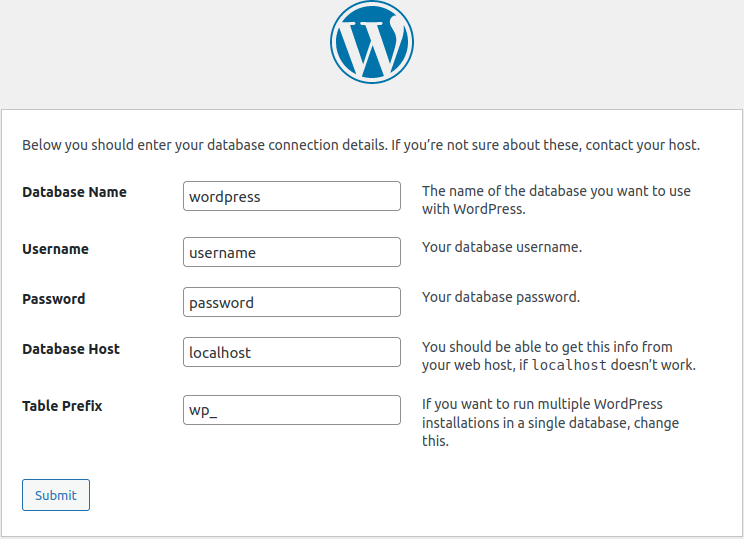
- Add the database name, database owner/user, and CWP user password. Select “Submit.”

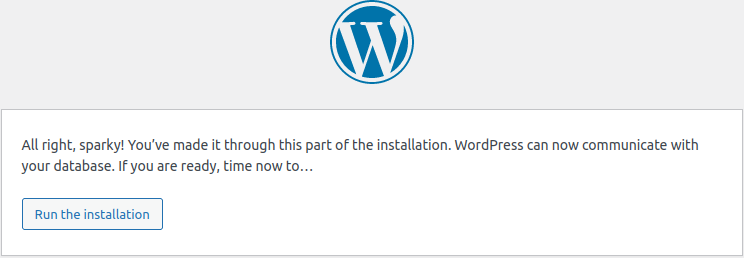
- If there are no issues you’ll see a short success message. Run the installation.

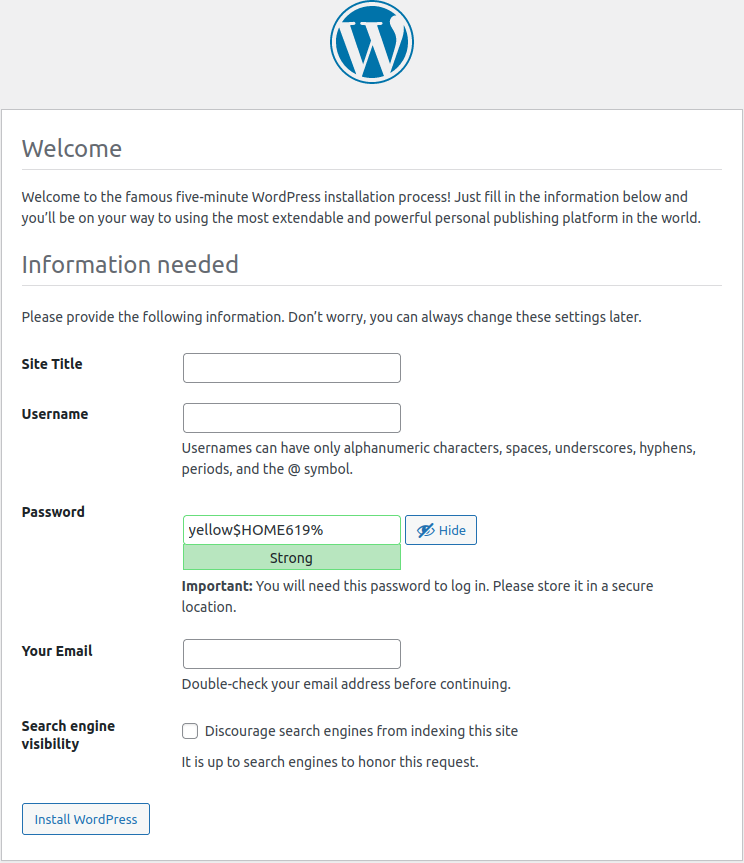
- Add a WordPress site title, admin username, password, and email account. If you wish to discourage search engines from indexing this site, you should install a maintenance mode plugin later on to better prevent unauthorized access. Install WordPress.

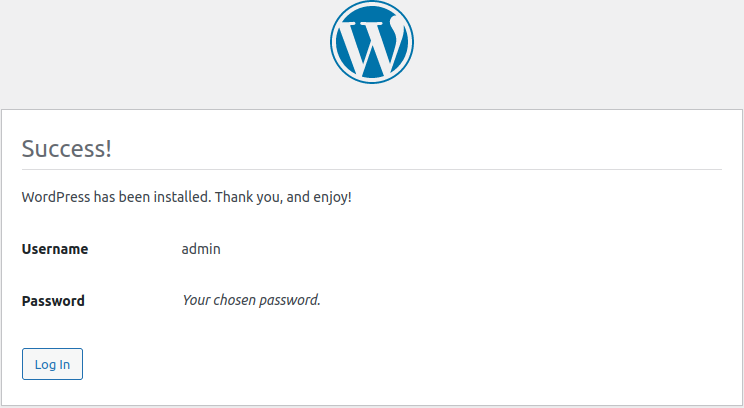
- The success page will show your admin user. Log into WordPress.

How to Update PHP in CWP
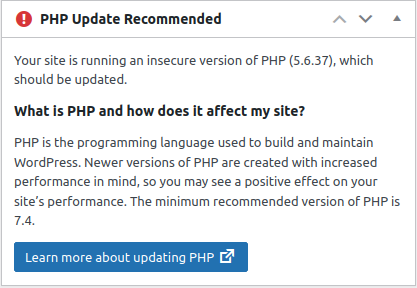
If your dashboard includes a notice to update your version of PHP, open the “PHP Version Switcher” tool in CWP.
This option changes the PHP version for the entire server. You’ll need CWPpro to specify different PHP versions for different users in PHP Selector. Select the latest version in the drop-down menu.
The page will refresh to show PHP modules to install. The default options will suffice. Select “Save & Build” at the bottom.
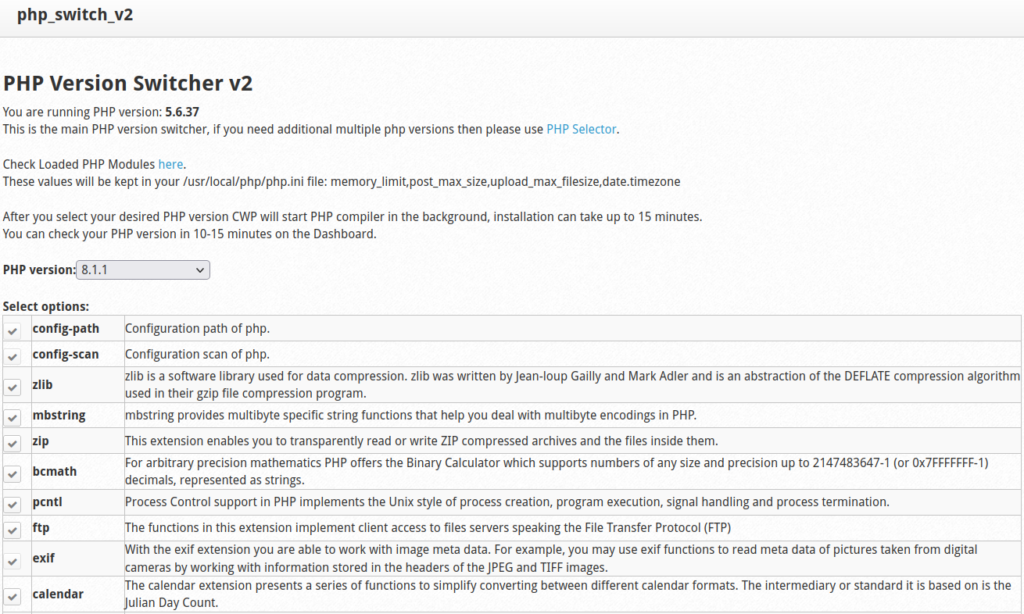
The page will refresh but the installation will take up to five minutes to complete in the background. You can open the CWP terminal to check the PHP installation progress:
Getting Started with WordPress
Here are a few ideas to get you going in your new WordPress site.
- Install an SSL certificate.
- Install a maintenance mode plugin if you need to restrict access during development.
- Install a WordPress security plugin.
- Install a WordPress backup plugin.
- Install a search engine optimization (SEO) plugin such as All in One SEO.
- Consider an analytics application. We have a guide for installing Matomo in CWP.
- Know how to repair WordPress databases within CWP.
Learn how to do more with your WordPress website from our WordPress Education Channel.
Or, learn more about how to harden your cloud server.
