
The WPForms WordPress plugin is a powerful, popular drag-and-drop form generator that will allow you to easily create and embed forms on your website. With over three million active installs, the beginner-friendly plugin gives you the ability to build different types of forms within minutes.
Focusing on the lite version of the plugin, this guide will walk you through the basics of the WPForms WordPress plugin. Continue reading to learn more about:
- Understanding the WPForms Settings
- Creating a Custom Form with WPForms
- Creating a Customer Support Form with WPForms
- Embedding a Form with WPForms
- Importing and Exporting Forms with WPForms
- Delete Forms with WPForms
Understanding the WPForms WordPress Plugin Settings
Once you’ve installed and activated the WPForms WordPress plugin, it’s important that you first understand the settings and options available to you. Below is a quick outline of the settings you’ll see within the WPForms section in your WordPress Dashboard. To get to the plugin settings, navigate to WPForms > Settings in the left-hand menu of your dashboard.
General Settings
Under the General tab, you’ll be able to control the loading of the CSS files, styling, and global assets. Typically, this section would be used by more advanced CSS/HTML developers adding coding customizations.
Include Form Styling determines which CSS to load. You can select from Base and form theme styling, Base styling only, or No styling. Your selection would depend on your use of CSS/HTML within your code for your custom forms and website.
The last option is Load Assets Globally. This will allow for configuring how WPForms’ assets are loaded. Typically, this setting is only used when troubleshooting or compatibility issues.
You can also find out more information on upgrading to WPForms Pro version, if you’d like to take advantage of their premium features.
Email Settings
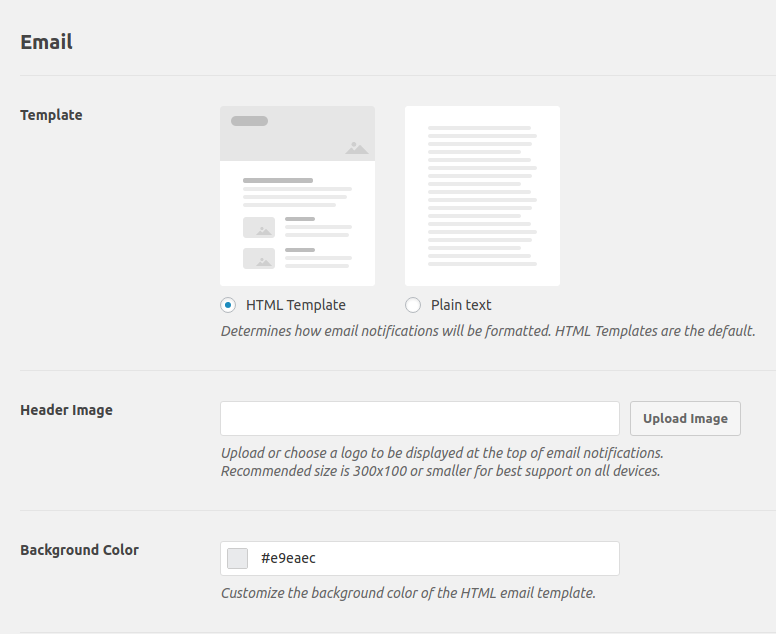
Under the Email tab, you can configure options for form emails. You may select the radio button for either HTML or Plain text formatted emails. Additionally, you can upload a header image and change the background color from within this menu, as well as enable the ability to CC: email addresses. These settings help you customize emails your users will see, like a contact form receipt email.
reCAPTCHA Settings
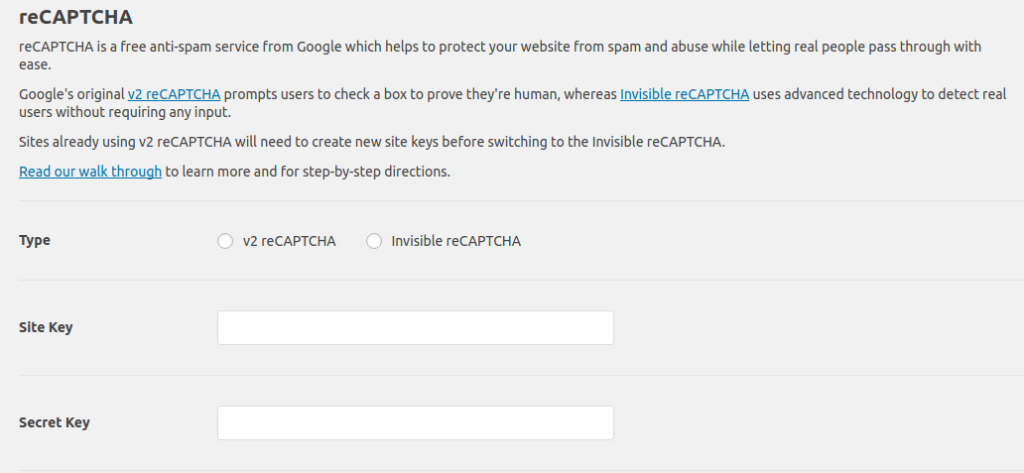
Under the reCAPTCHA tab, you may select the type of reCAPTCHA to implement by selecting the radio button for either v2 reCAPTCHA or Invisible reCAPTCHA. This tab is where you would enter your Site and Secret Keys into their respective fields. For more information on adding reCAPTCHA, you can review WPForms’s documentation included in this section of the settings.
Validation Settings
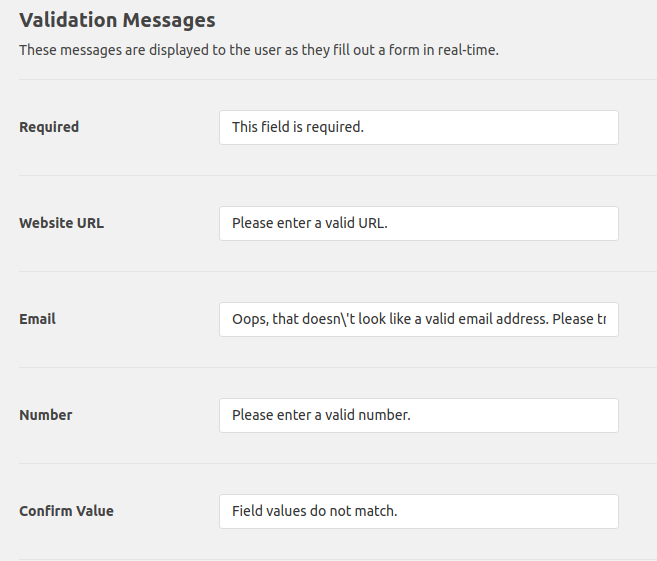
Under the Validation tab, you may edit the text displayed within your forms to assist the user. For instance, to indicate Required fields, you can set custom text to display within those fields.
You can also set validation checks to help the user input the correct information. For instance, for the email address field, if a valid email address is not entered, the user will be alerted with a message. In this case, users would see: “Oops, that doesn’t look like a valid email address. Please try again!”
Integrations Settings
The Integrations tab lets you expand WPForms’s capabilities through third-party integrations.
Creating a Custom Form with WPForms WordPress Plugin
Contact forms allow your visitors to interact with your site. You can create email submission forms, request forms, comment forms, payment forms, and more.
- In your WordPress dashboard, navigate to WPForms > Add New.
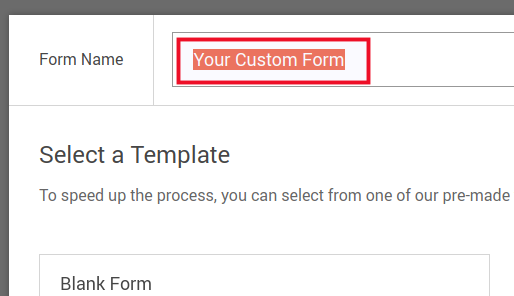
- Enter a name for the form.
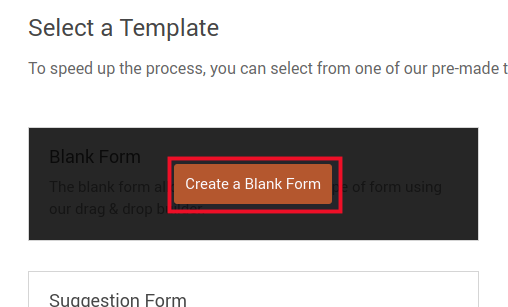
- For the template selection, click Blank Form or Simple Contact Form.
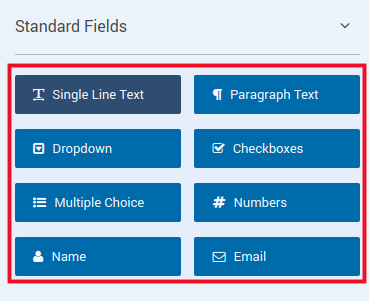
- Select your form fields.
- Click Save.
Creating a Customer Support Form with WPForms
You can also use the WPForms WordPress plugin to create a customer support form that allows users to select the support they need. Follow the instructions below to learn how:
- Create a basic contact form using the instructions above.
- Before clicking Save, drag and drop the Dropdown field option into your form.
- Click on the Dropdown title to make changes to the field.
- Edit the labels and choices per your business needs.
- Click Save.
Embedding a Form with WPForms
With the forms created, now let’s add them to your posts or pages. To do this, we will only need to embed a shortcode.
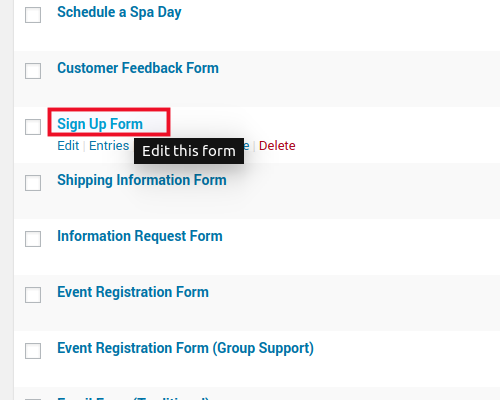
- In your WordPress dashboard, navigate to WPForms > All Forms.
- Click on the form you want to embed.
- Click Embed.
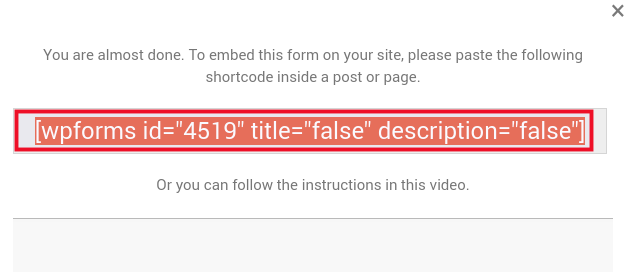
- Copy the shortcode.
- Paste the shortcode within the body of the page or post. If you’re using the Gutenberg editor, add a shortcode block first, then paste the shortcode within the shortcode block.
- Publish or Update the page or post to save your changes.
Of note, you can also add your WPForms with the Form block option within the Gutenberg editor. You can add the WPForms form block by? clicking on the + sign in the upper left corner of the screen while editing a post or page.
Importing and Exporting Forms with WPForms
If you’re transferring your website or work with multiple websites, you can easily export and import your WPForms settings from one website to the next. Here’s how:
Export
- In your WordPress dashboard, navigate to WPForms > Tools.
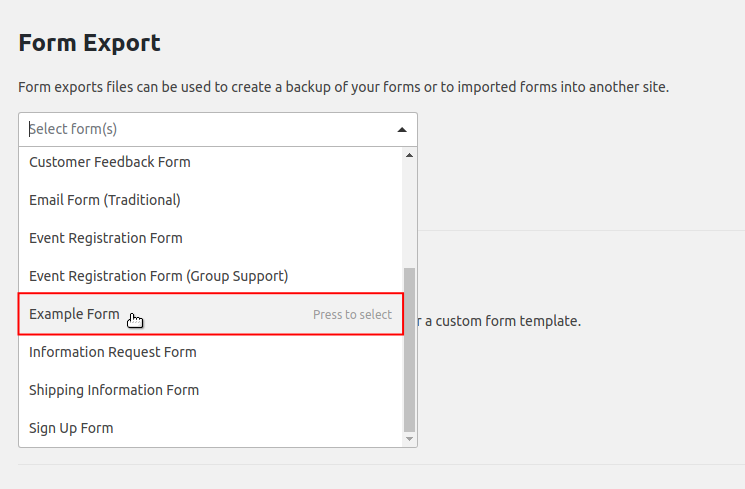
- Under Form Export, select the form(s) you would like to export from the drop-down menu.
- Once you have made your selection, click Export.
- Your form(s) will automatically begin downloading in .JSON file format.
Import
- In your WordPress dashboard, navigate to WPForms > Tools.
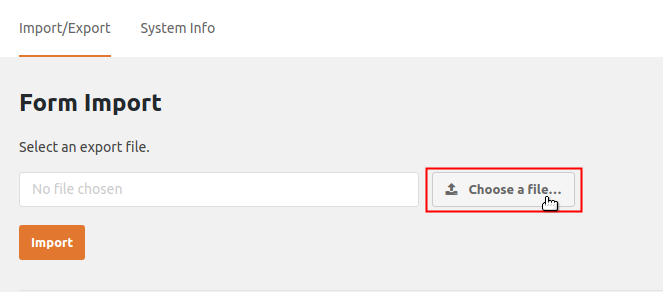
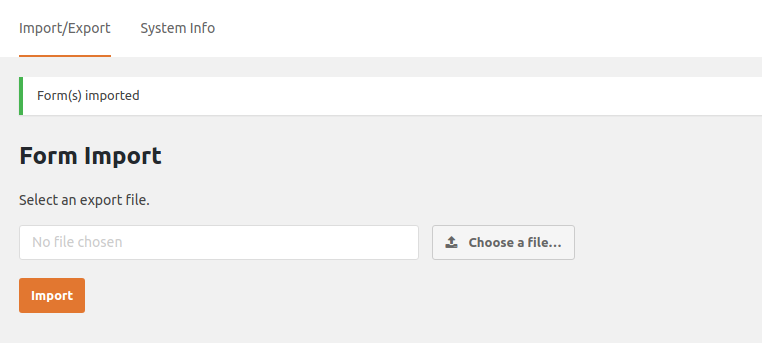
- Under Form Import, click Choose a file.
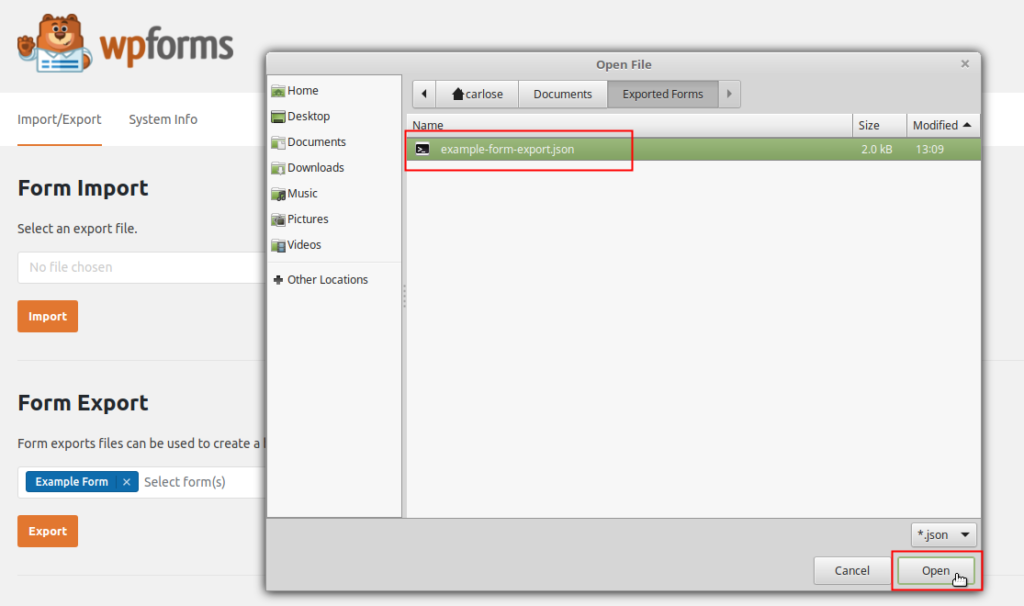
- A pop-up window will appear. Locate the file you would like to import on your computer and select Open.
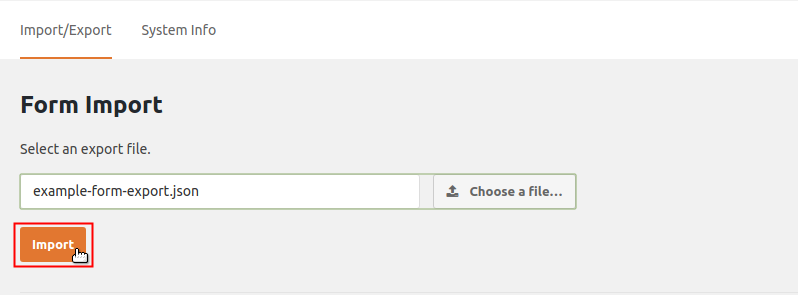
- Click Import.
- You should see a successful message once the import has completed.
Delete Forms with WPForms
You can easily delete custom forms and pre-built forms right from the form menu. This would be useful if you would like to minimize the number of forms cluttering your form menu.
Remember, a deleted form cannot be recovered. Items are not placed in a recycle bin, they are deleted forever.
- In your WordPress dashboard, navigate to WPForms > All Forms.
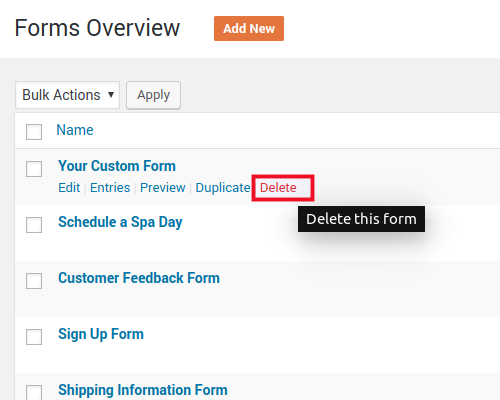
- Hover over the form you want to delete and click Delete.
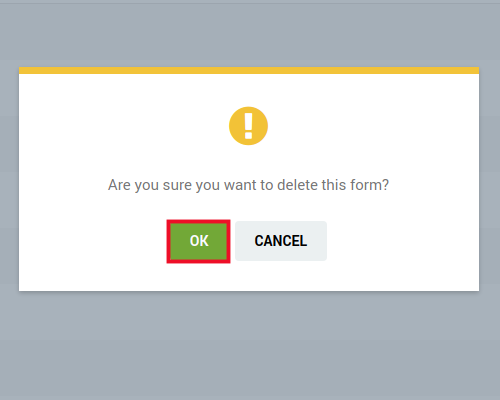
- Click Ok on the popup.
- You will see a confirmation message at the top of the page once your form has been deleted.
Become a master of WordPress plugins! Protect, optimize, secure, and expand the functionality of your website easily with the help of WordPress plugins!



What if i wanted on all pages on my wordpress site?
Can you please clarify your question? If you wanted a form on all pages, then you’d have to go to the Pages section of your WordPress Administrator and make sure the form was on all the pages. If you are a different question, please let us know.