If you’re currently hosting your WordPress website with DreamHost, you can easily migrate your WordPress site to InMotion Hosting. In this article are the steps to take to migrate your WordPress site from DreamHost to InMotion Hosting, using the BoldGrid Backup Plugin.
Preparing Your WordPress Site for Migration
However, before proceeding to follow the steps, you’ll want to ensure your site is prepared for migration. To ensure a smooth transition, please consider the following before proceeding to move your WordPress site:
- Disable caching plugins
- Disable security plugins
- WordPress should be installed on both the source DreamHost and destination InMotion Hosting servers.
- BoldGrid Backup Plugin should be installed on both the source and destination servers.
Once you have ensured your site is prepared for migration, you can proceed to create a backup using the BoldGrid Backup Plugin.
Creating a Backup
- First, please review the preliminary requirements and make sure your WordPress site is prepared for migration.
- Login to your WordPress Admin Dashboard.

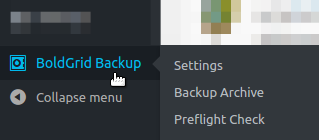
Scroll down to the BoldGrid Backup link and click on it.

Click on Backup Archive. Then make sure that you have enough space to make a backup. If the website or database size is beyond the supported capacity, you will see the bar highlighted in red.

Click on Backup Site Now.
Note: Running backups uses resources and must pause your site momentarily.
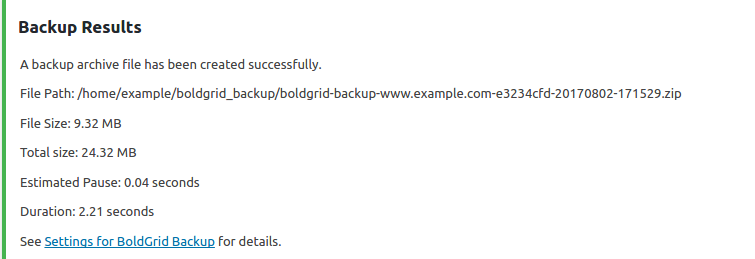
Once the backup completes, your Backup Results should appear.
- Now, you should download that backup file using FTP or File Manager in cPanel.
Once you have successfully downloaded your backup file, you may can restore that backup using the BoldGrid Backup Plugin at any time. .
Restoring a Backup
- First, login to your WordPress Admin Dashboard.

Scroll down to the BoldGrid Backup menu and click on it.

Click on Backup Archive. Then make sure that you have enough space to upload the backup file.

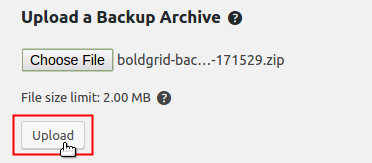
Click on Choose File.
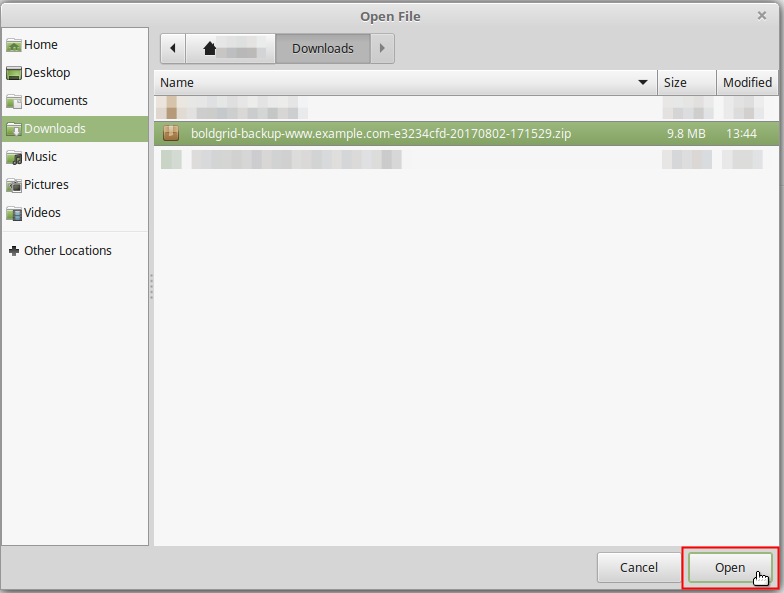
Note: A pop-up window should appear, where you can navigate to the location of the backup file on your local computer.
Select the backup file and click Open.

To begin the upload process, click Upload.

Once the upload completes, the screen should refresh. Under Backup Archive Summary, you should now see the backup file listed. Click the Restore button, to the right of the backup file you uploaded.
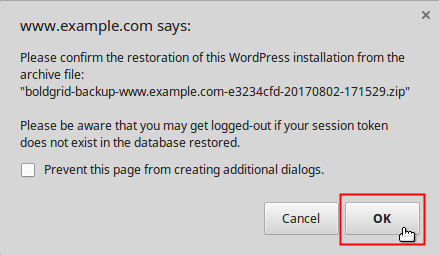
Note: A confirmation pop-up will display.
Click OK to initiate the restoration process.

When the restore completes, your Backup Results should appear.
- Now, you can visit your site in your browser, to confirm its functionalities.
Note: It may be necessary to utilize a Hosts file modification, if your domain is not currently pointing to InMotion Hosting.
Congratulations! You now know how to migrate your WordPress site from DreamHost to InMotion Hosting, using the simple BoldGrid Backup Plugin!
