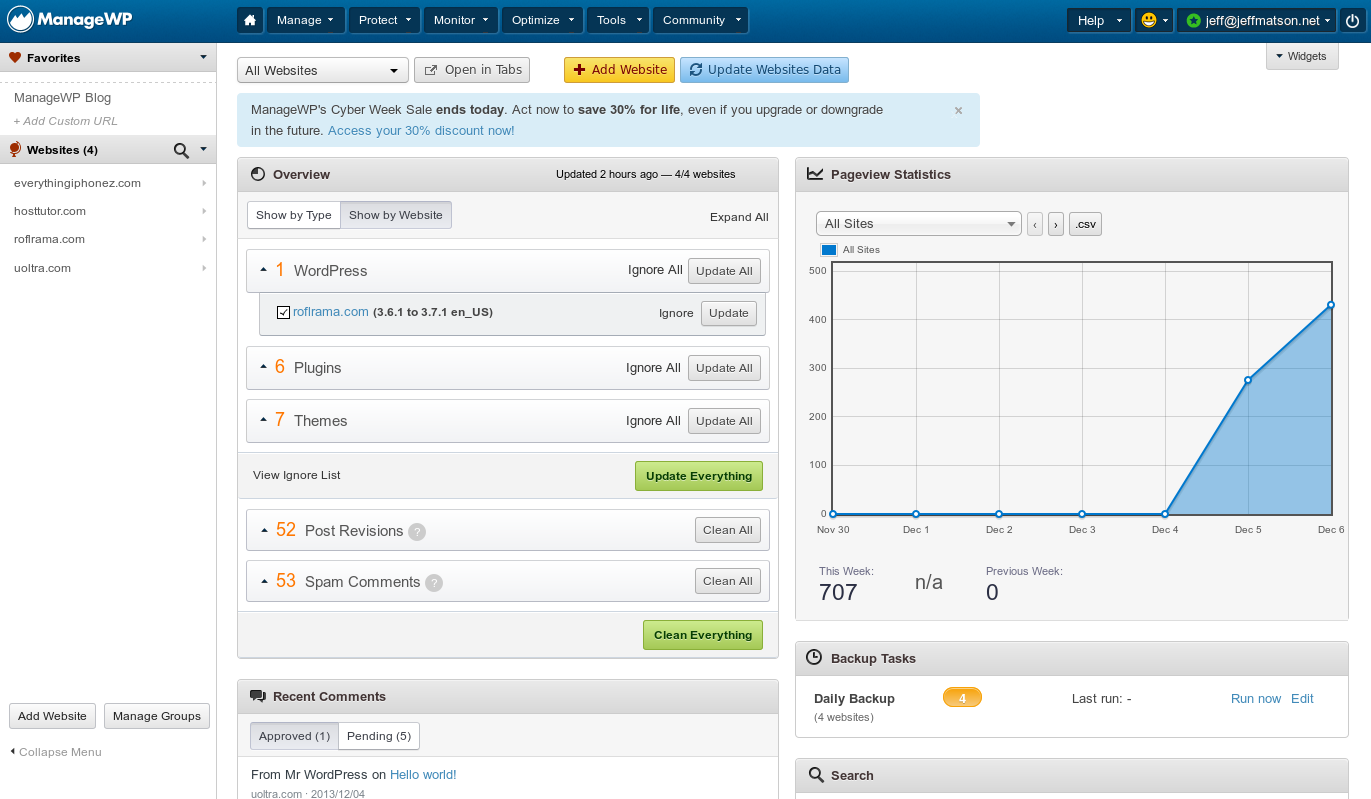
In this article, we will teach you how to automatically back up your WordPress sites using ManageWP. If you are not using ManageWP and run multiple WordPress sites, it is certainly the best tool to automatically make changes across them without the need to enter each one individually.
Enjoy fast, secure hosting perfect for your WordPress website with InMotion Hosting’s WordPress Hosting plans.
-
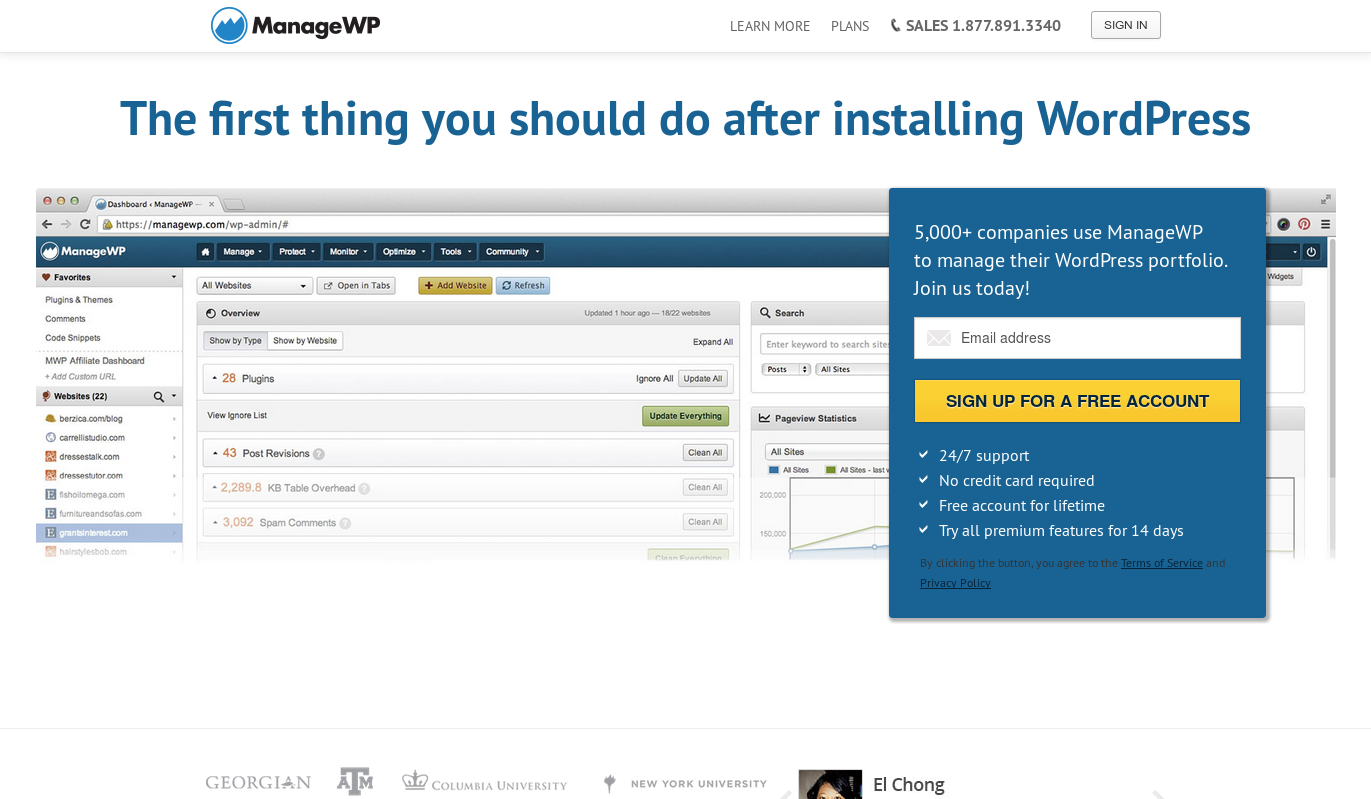
First, you will need to log into ManageWP. To do so, visit the ManageWP website, and then click on Log In at the top right. If you do not already have a ManageWP account, you may sign up for a new account instead.

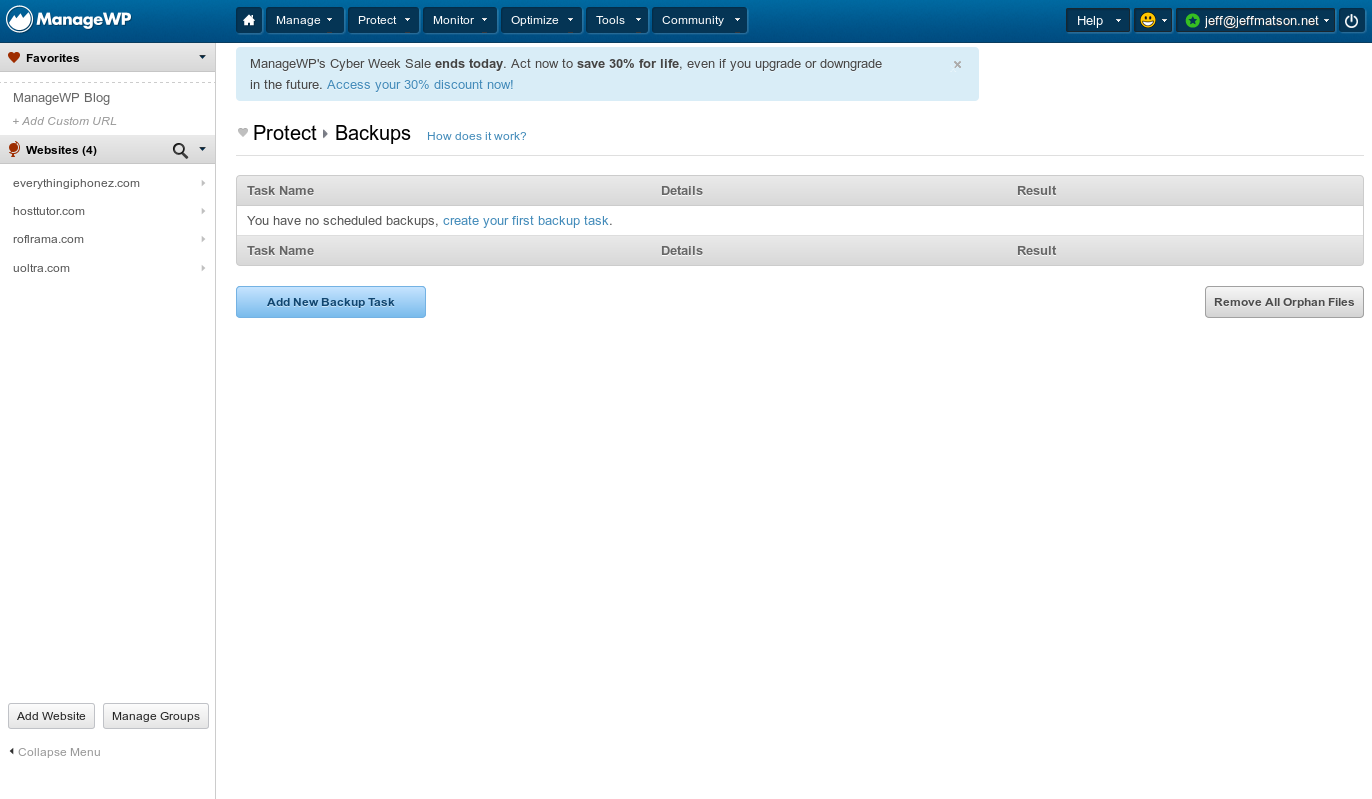
Now that you are logged into ManageWP, Look up at the top of the menu bar and hover over Protect, then click on Backups.

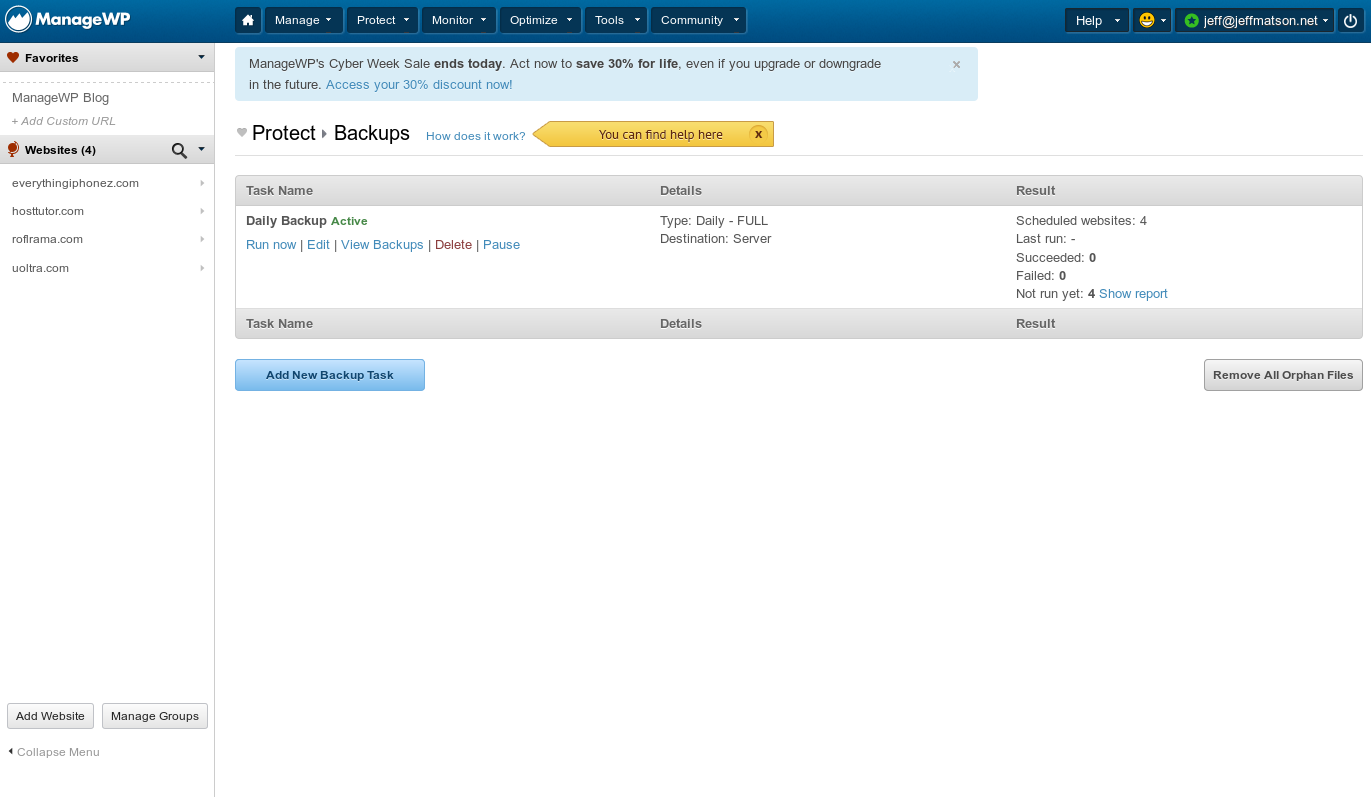
On this page, you will see any backup tasks that you have previously created. As you are reviewing this article on how to do so, you probably don’t have any yet, so click on Add New Backup Task to create one.

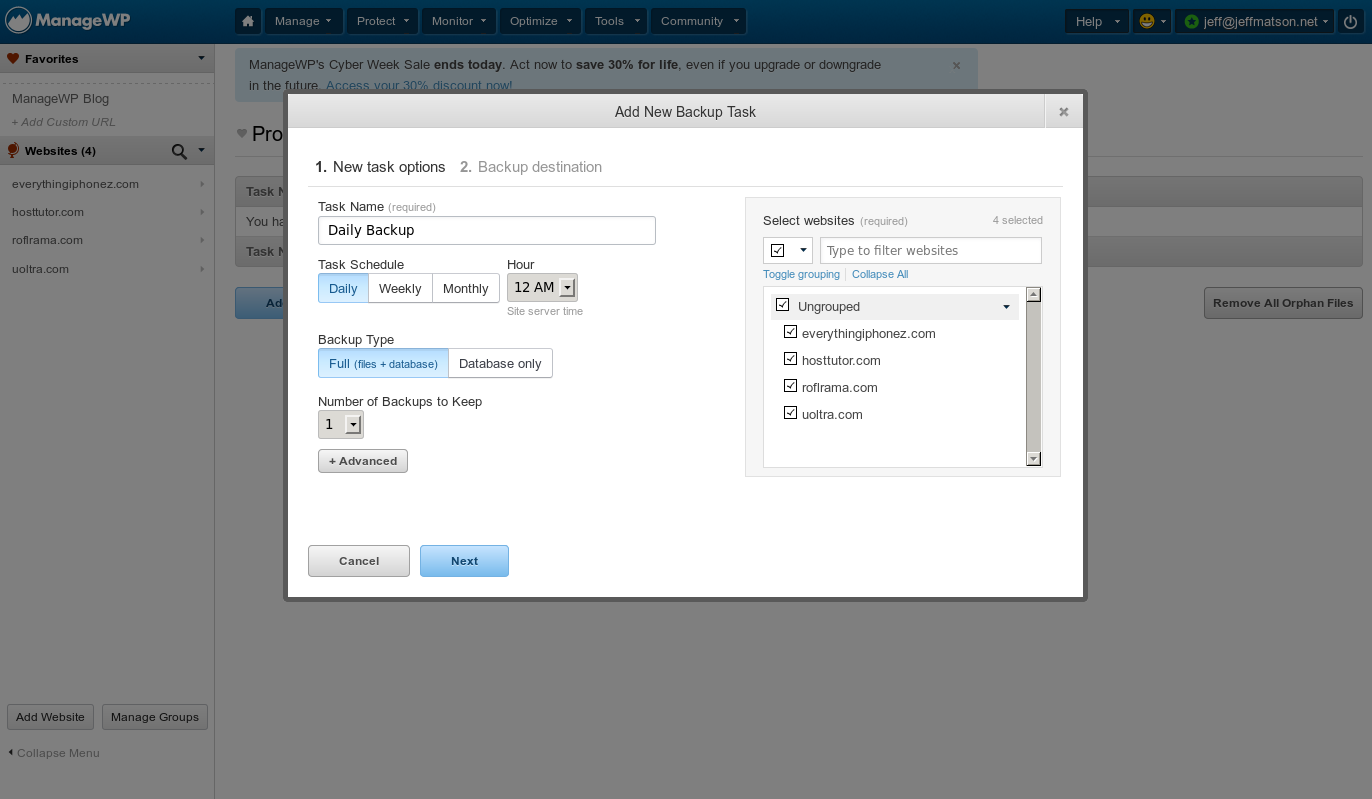
Within the Add New Backup Task window, add a task name, then select the increment and time that you want to backup to occur as well as the number of backups to keep and if you want the files and database, or just the database. To the right side, you will also select the websites that you want to perform the automated backup on. Once your settings are selected, click the Next button.

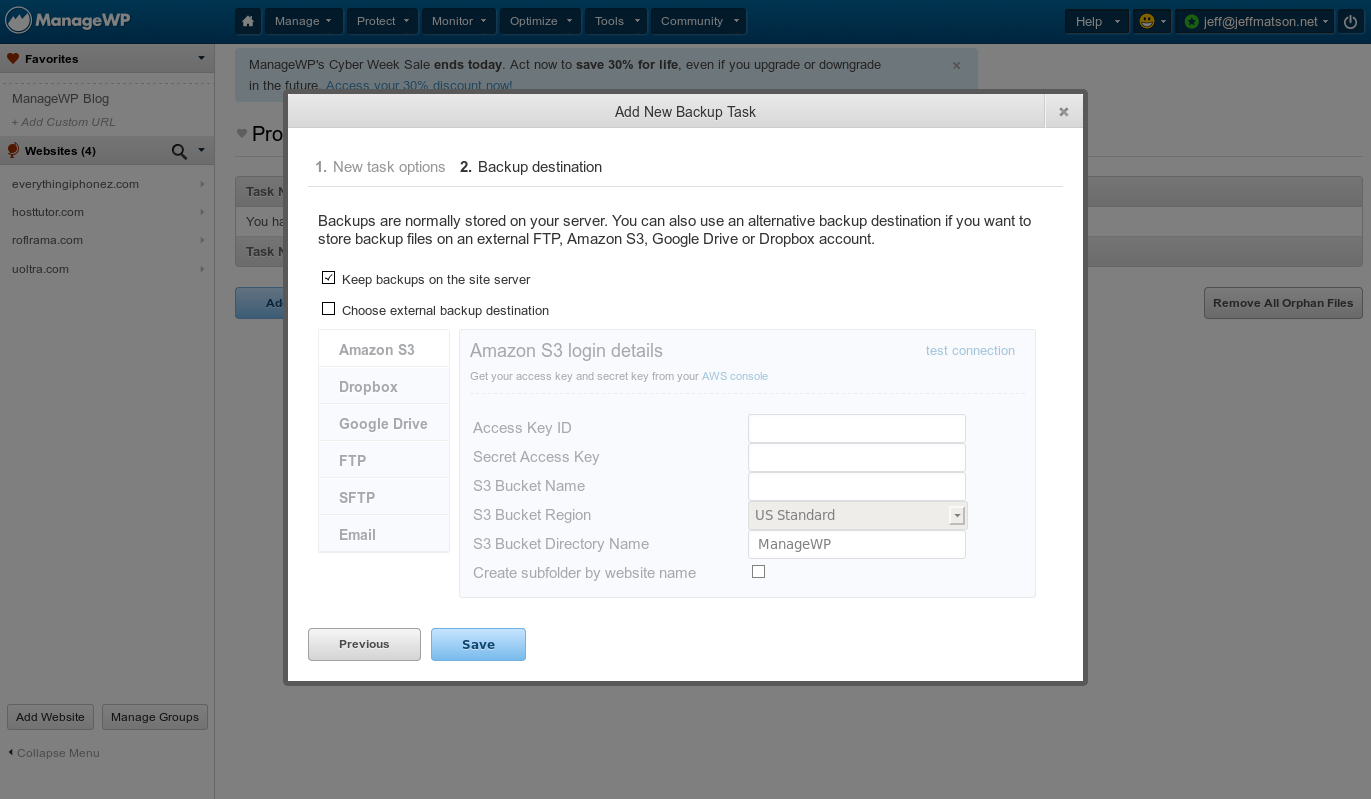
On the next screen, you will select your backup destination. You can backup your site to the server that the site is located on, or even external backup locateions such as Amazon S3, Dropbox, Google Drive, and even another FTP server. I highly recommend storing in another location just in case something happens to the server that your site is located on. If you don’t have another location, that’s fine too; just back up your content to the site server. Once you have the backup location selected, press the Save button.

After saving the backup schedule, you will see any of your tasks here. From within this panel, you may modify them or remove them entirely. Now that your backup is all set up, you will be able to restore your files from it should anything go wrong in the future.
Become a master of WordPress plugins! Protect, optimize, secure, and expand the functionality of your website easily with the help of WordPress plugins!
