Table of Contents
Your website’s header can be the most important feature. It’s the first thing your visitors see, provides the primary source of navigation, and presents the most crucial calls-to-action for your success.
However, in WordPress, the header is typically controlled by the theme, and often doesn’t have many ways to customize it to your specific needs. Web designers are stuck between the options of using the theme’s built-in customization options, or creating a child theme and coding your own header using PHP.
Modern “Block” themes let you use the WordPress Editor to customize your header and footer, but for classic WordPress themes, there’s still a need for more control. That’s where the Elementor Header & Footer Builder comes in.
Elementor is a resource-intensive, but powerful WordPress tool. We recommend using a WordPress VPS to take full advantage of its features.
Elementor Users Have a Better Choice
If you already use Elementor as a page builder, this free add-on plugin will allow you to use the page builder you’re familiar with to build your header. Even if you don’t already use Elementor, you can still take advantage of this because Elementor lets you choose which editor to use on your pages and posts.
Not only can you fully customize your header and footer, but you can also use its tools to choose when to display your custom header. For example, you can show a different header to logged-in users, choose a specific header for any page, or choose to display a different header on your home page than internal pages.
Installing Elementor Header & Footer Builder
- If you don’t already have it, make sure that the Elementor plugin is installed on your site.
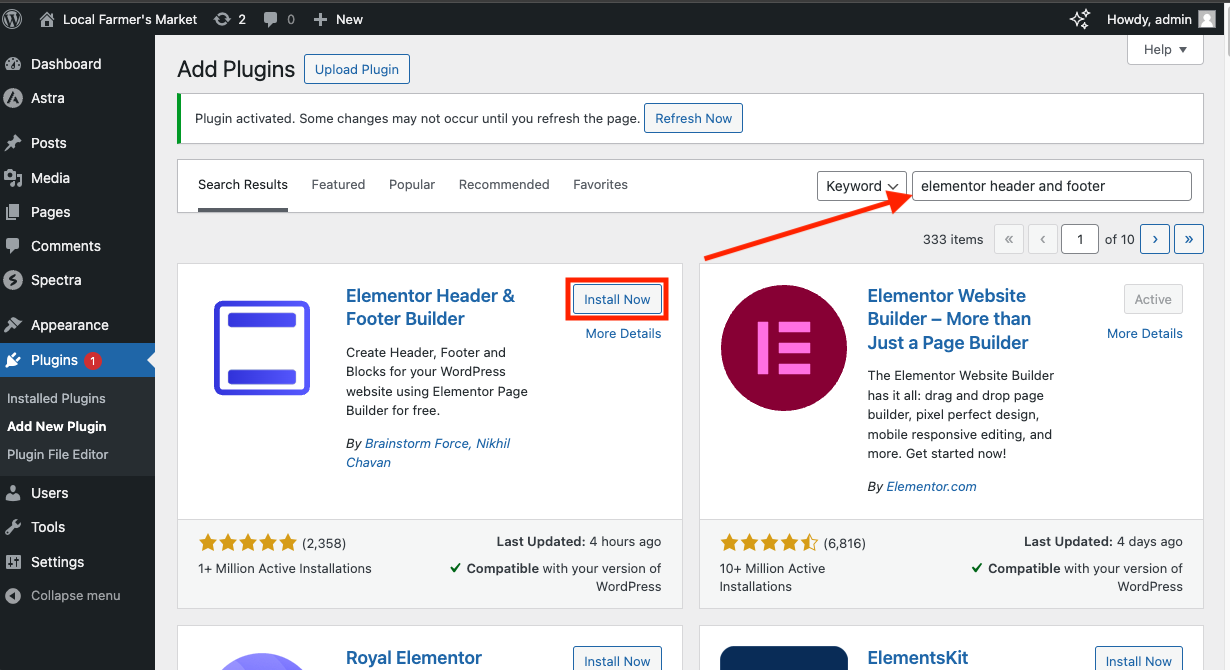
- Navigate to Plugins -> Add New and search for “Elementor Header and Footer Builder”

- Click Install, then Activate
Building Your First Header
- Navigate to Appearance -> Elementor Header & Footer Builder
- Click Add New
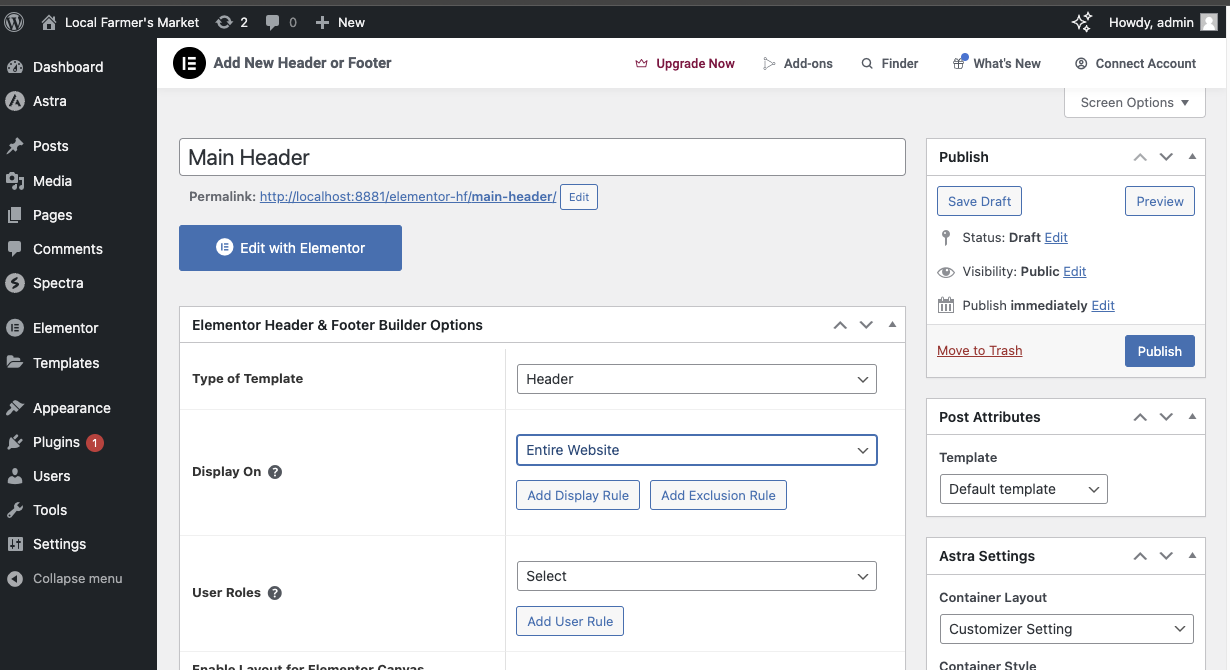
- Here you’ll find the options for your new header. Choose the Type of Template and Display On options

- Click Edit with Elementor to begin designing.
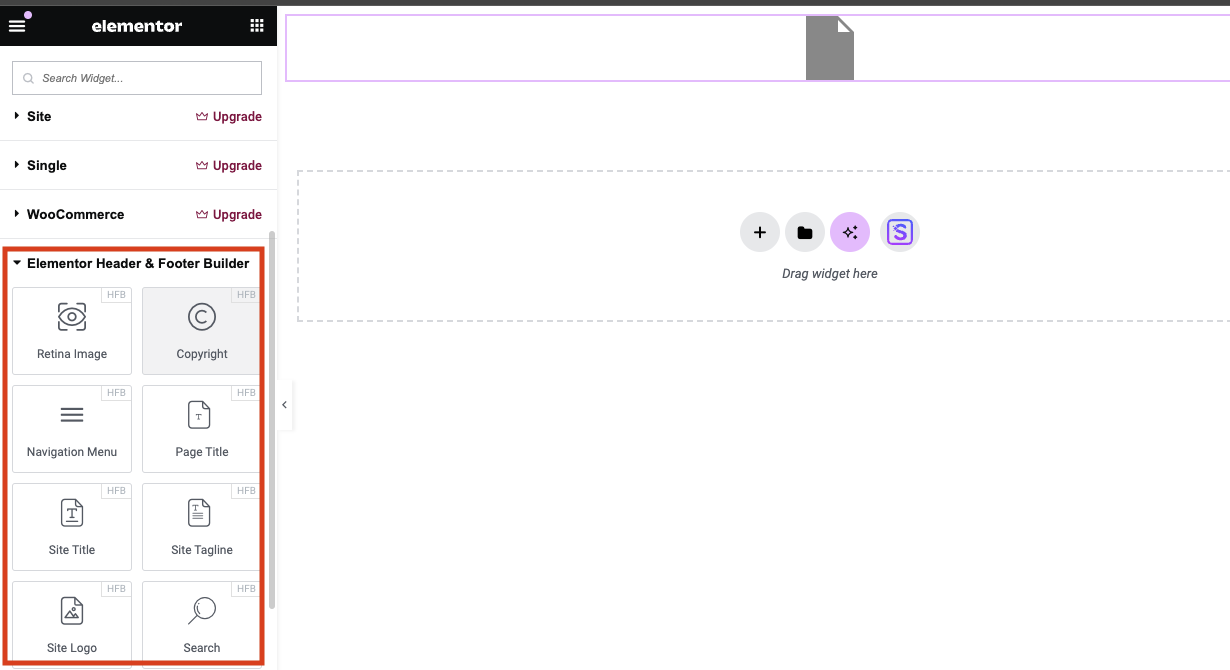
You’ll find that there are several new widgets to use to build your header, including Site Logo, Navigation, Page Title, and more.
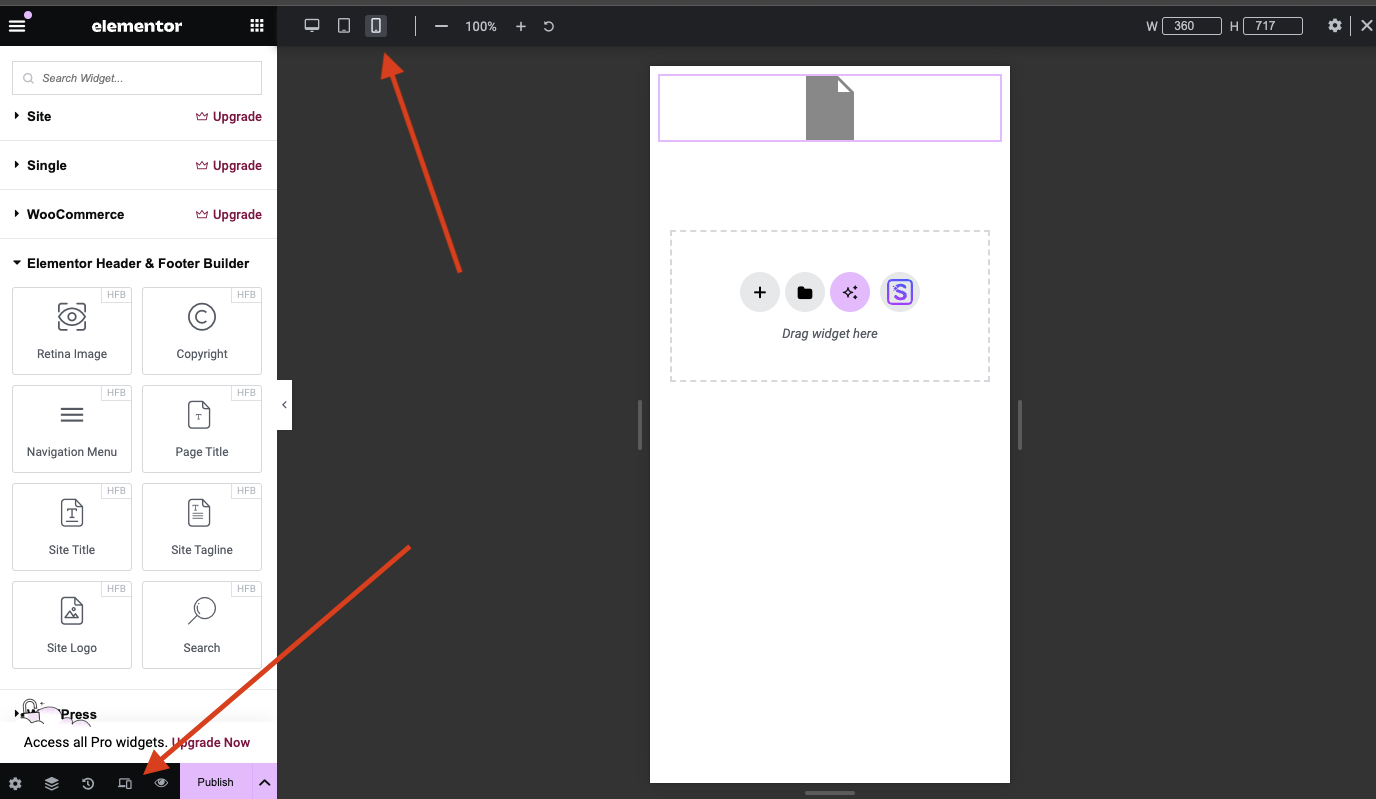
Use Responsive Mode to Adjust for Mobile Devices
Enable the Reponsive Mode so that you can ensure your header works properly on mobile devices.
Learn More
To learn more about using the Elementor Header & Footer Builder plugin, check out their documentation and Support Forum.
