Table of Contents
In this guide, we’ll show you how to use Elementor for WordPress. This website builder is another way to create pages and posts in WordPress using a visual-based editor. If you find the default Gutenberg or Classic WordPress editors too limited or difficult to use, this may be a good alternative for you to try.
Add sections, then you can fill them in with custom widgets to build your site. You don’t need to be a web designer, since you can use these widgets to change the layout of a page or post. This gives you more of that clean and simple experience you may be looking for, especially if you have tried some of the other proprietary website hosts/builders. You can choose from their many widgets included in the free version or upgrade to the pro version for even more options and custom-built themes.
In this step by step guide, we’ll show you how to use the Elementor Website Builder plugin for WordPress. We will only be covering features included in the free version of the plugin.
Power Your Growth with Managed WordPress
Unlock the full potential of your mission-critical WordPress site with scalable, purpose-built servers. Give your website the performance, security, and support it needs to succeed - so you can focus on growing your business.
Scalable Cloud Servers
Advanced Security
Managed Updates
Expert Support
How to Use Elementor For WordPress
- Install the Elementor Website Builder plugin by Elementor.com in your WordPress Dashboard.
- Create a new page or post.
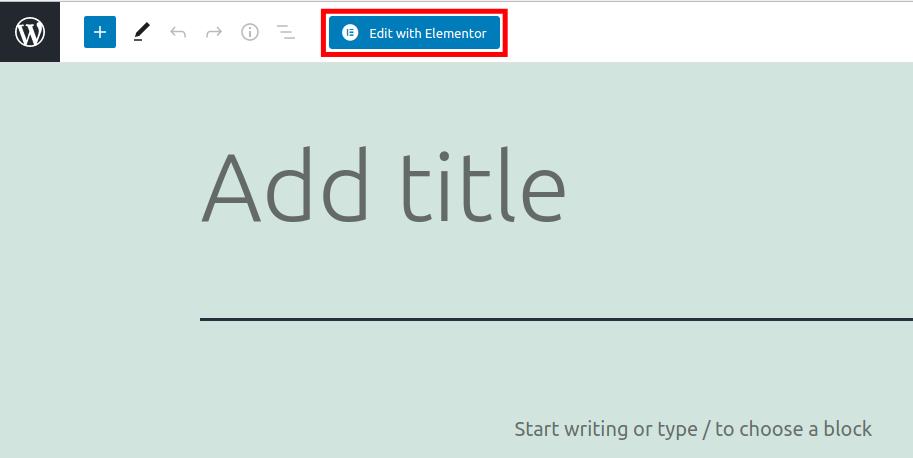
- When the editor opens, click the Edit with Elementor button on top.

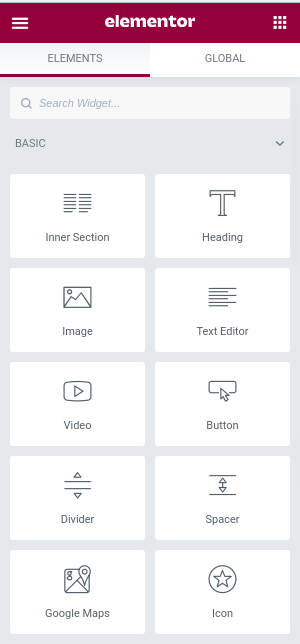
It will take a moment to load, then you will see the elementor toolbar on the left.
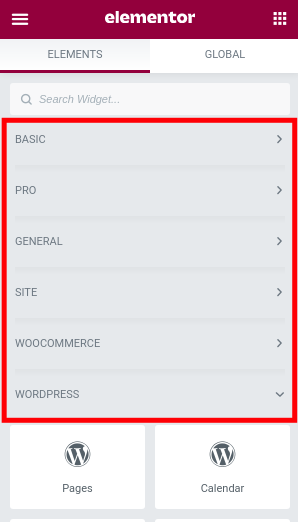
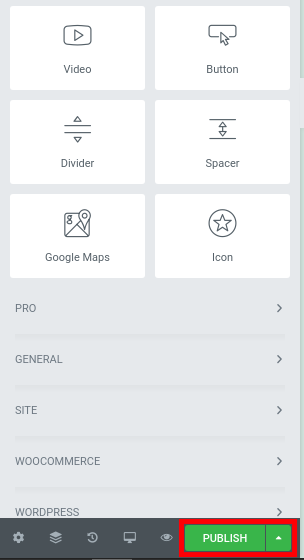
- You can then select widgets from the left toolbar. Choose from the following sections included in the free version: Basic, General, Site, WooCommerce, or WordPress.

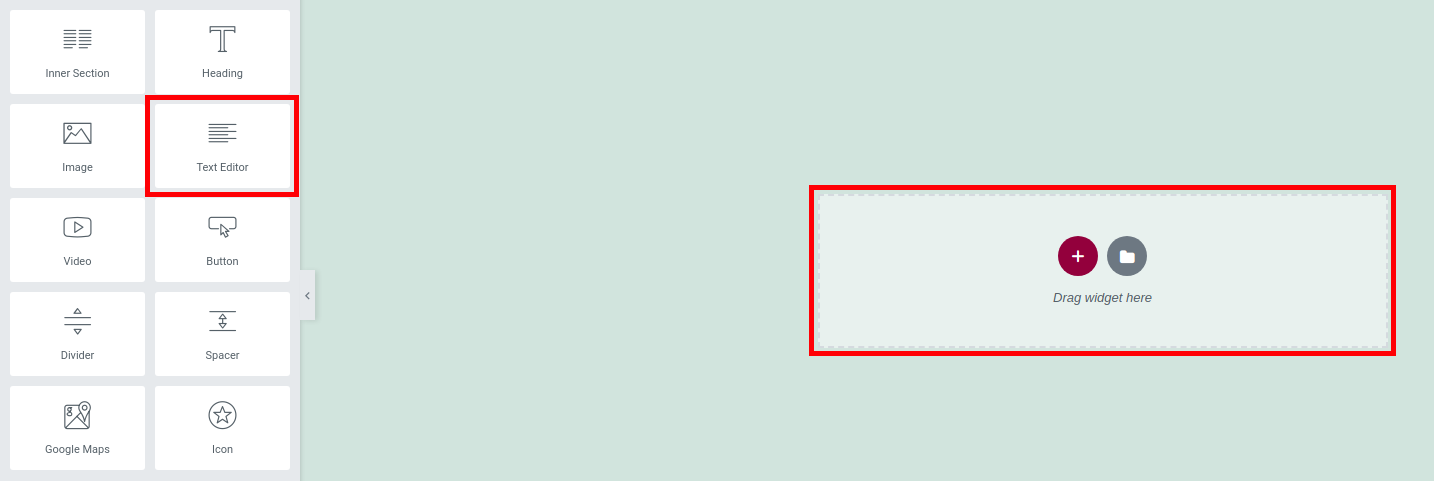
- You can drag and drop widgets into the area labeled Drag widget here.

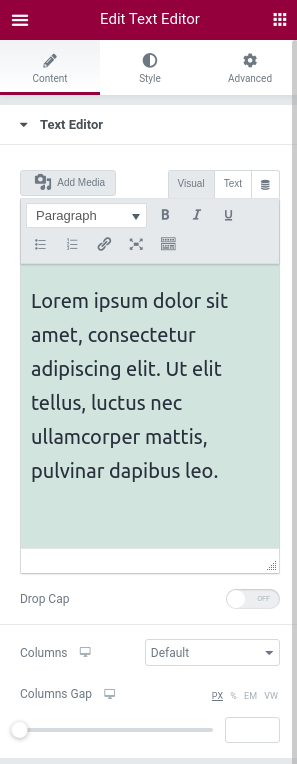
- Once a widget has been added to the page, you will see the available options listed on the left side. Choose your settings as needed. These options will differ based on the widgets you selected.

- There are typically Content, Style, and Advanced tabs you can switch between. Each one will give you additional options to choose from.

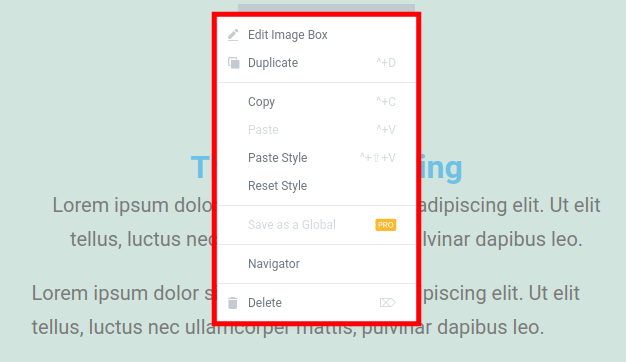
- You can right-click a widget once it has been added to a page for more options.

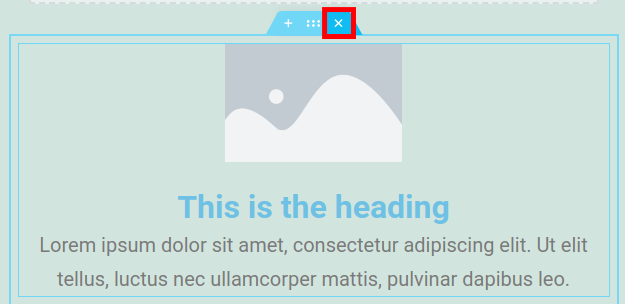
- Click the X in the top bar to delete a widget that has already been added.

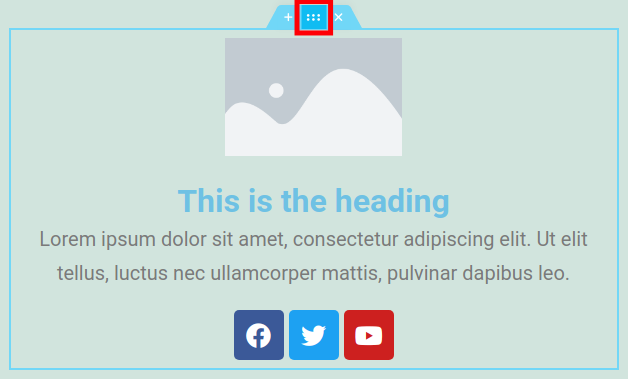
- Clicking the center button in the header allows you to drag the section up or down to a new location.

- The plus button will add a new blank widget area to the page or post.

- You can remove a widget area by clicking the X to the right.

- Click the widgets button to return to the main widgets listing section.

- On the bottom of the widgets toolbar, you can choose from the following options: Settings, Navigator, History, Responsive Mode, and Preview Changes.

- Click the Publish button on the bottom of the widget menu to save your page or post.

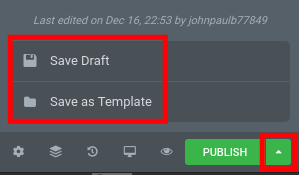
- Click the arrow next to the Publish button to Save as a Draft or Template.

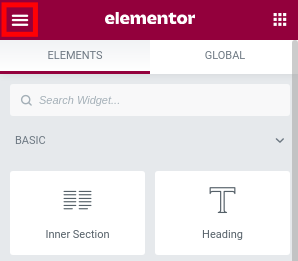
- To return to your main WordPress Dashboard, click the menu link on the top left of the Elementor sidebar.

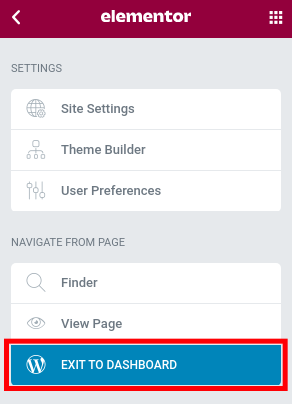
- Then you can click the Exit to Dashboard link.

Congratulations, now you know how to use the Elementor Website Builder plugin to create a custom WordPress website.
Become a master of WordPress plugins! Protect, optimize, secure, and expand the functionality of your website easily with the help of WordPress plugins!
