Table of Contents
Occasionally, you may want to alert your viewers of some important information that you want to make sure that they see. One of the best ways to do that is to use a plugin like the Aino Notification Block. You can set up notifications that pop up and must be dismissed by the website visitor before they can continue.
This article will show you how to set up the Aino Notification Block plugin, create notifications, and the different options that you can apply to them.
Find a new home for your WordPress site! Check out InMotion’s WordPress Hosting solutions for a secure and performance-oriented server tailored to meet your budget needs.
Set up the Aino Notification Banner Block Plugin
Aino has a set of different plugins and a free theme that you can use to help build WordPress layouts. The Notification Banner Block plugin does not need the other plugins to be a useful tool for your WordPress site. Follow the directions below to add it to your WordPress site:
- Log in to your WordPress Administrator Dashboard.
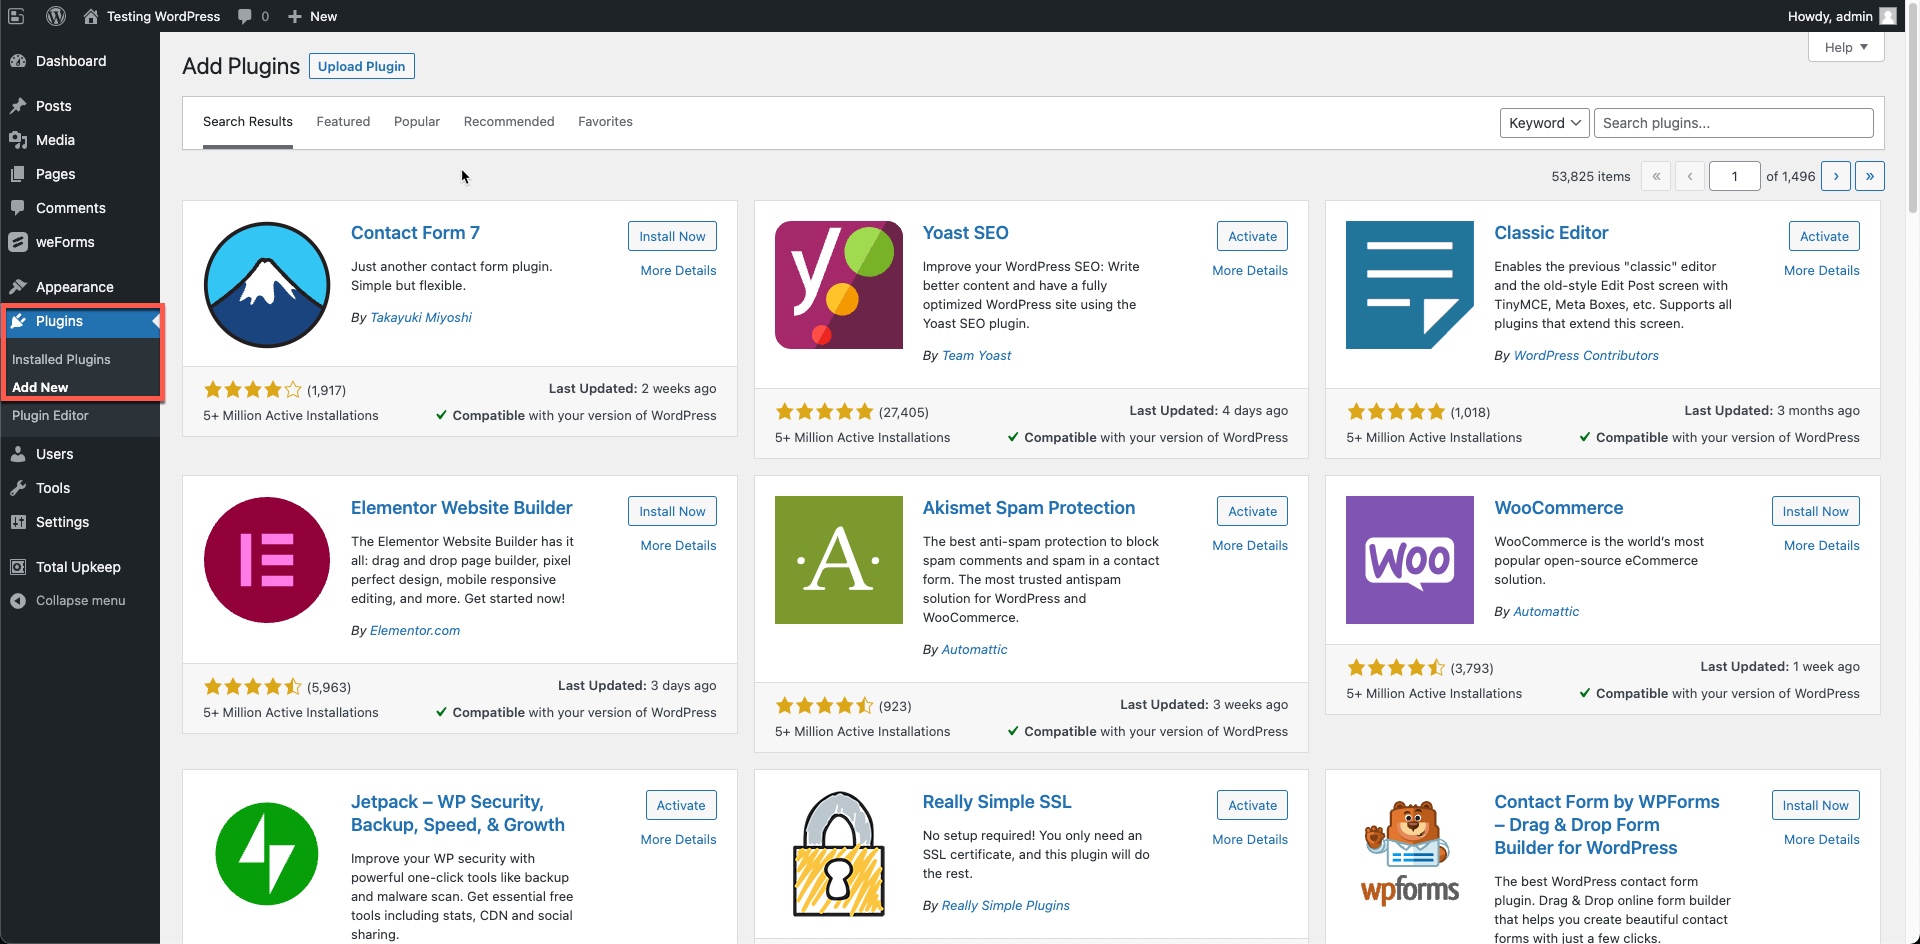
- In the main menu at the left-hand side of the screen, click on Plugins, then Add New.

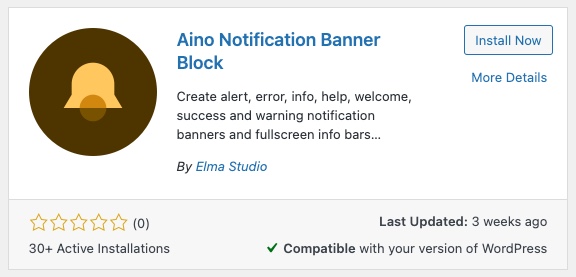
- Next, in the Keyword field, type “Aino Notification Banner Block.” This will bring up the installation option from WordPress Plugins. Click on Install Now.

- After the installation completes, you will see the Install Now button change to Activate. Click on Activate to make the plugin active and finish the overall installation.
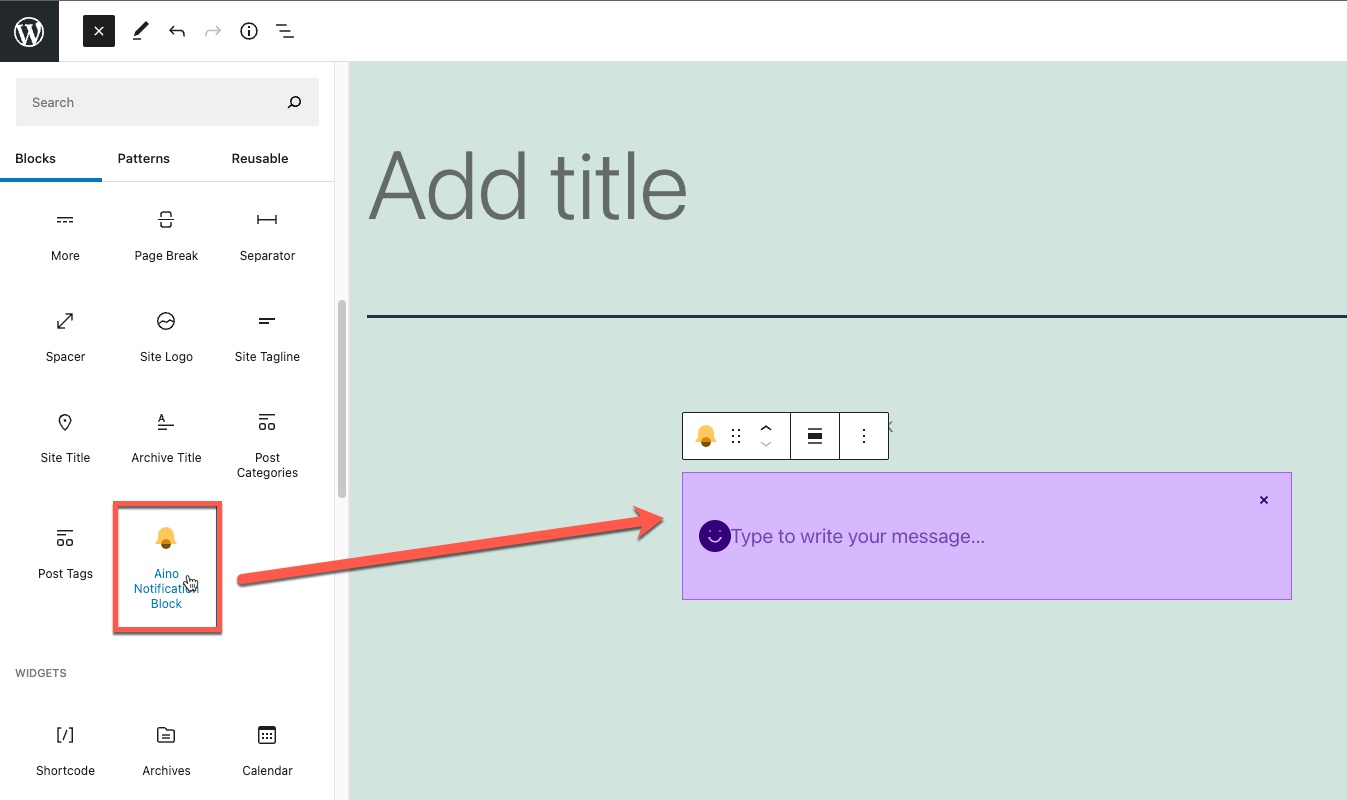
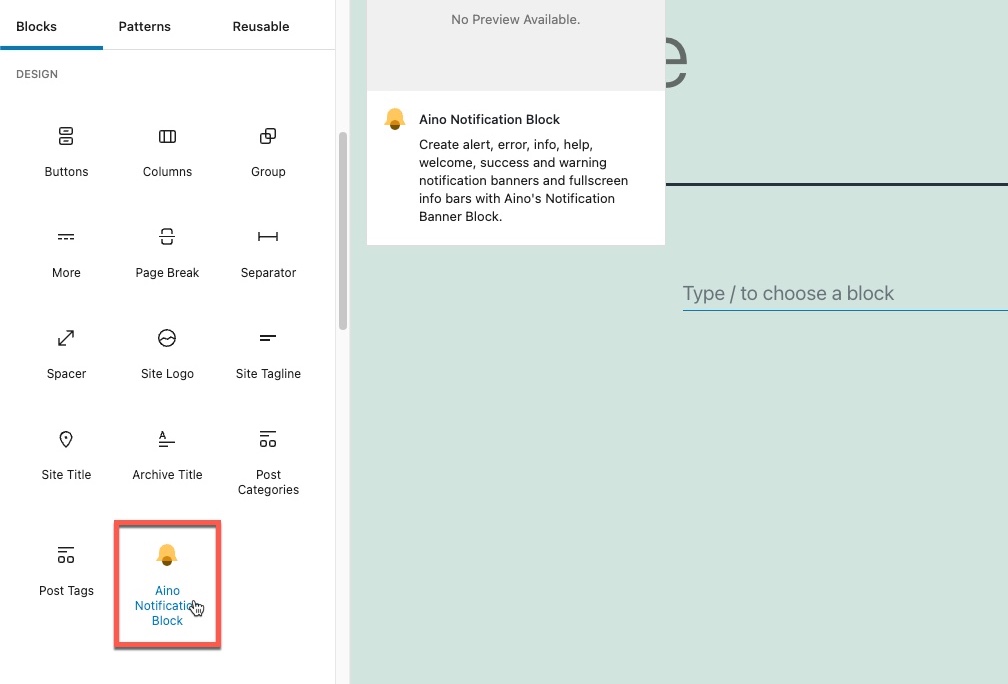
When the installation is complete you will not see an immediate change to your WordPress installation. In order to see where the plugin is affecting your site, you will need to go to the post/page editor and then look at the blocks you can add. The notification block will be in the Design section as you can see by the screenshot below.
Create Notifications
Creating notifications with the Aino plugin is a very simple process. You will need to be in the post/page editor to add one. Notifications that you create will help to alert your website visitors to important information. Currently, there are 6 status types of banners that you can create.
Each banner position is based on where you place the block in your post or page. The status type subtly changes the appearance of the banner with outlines, text, and an icon.
Each notification is set to close upon clicking on the “X”, but this can be changed so that the notification banner remains visible.
Follow the steps to add a banner notification:
- Log in to the WordPress Admin Dashboard (if you’re not already there).
- Create a new post/page, or open an existing one.
- To add a new banner notification, click on the + sign to find the block. The Aino Notification block will be in the Design section. Click on the block in the menu and you will see a block appear in the editor.

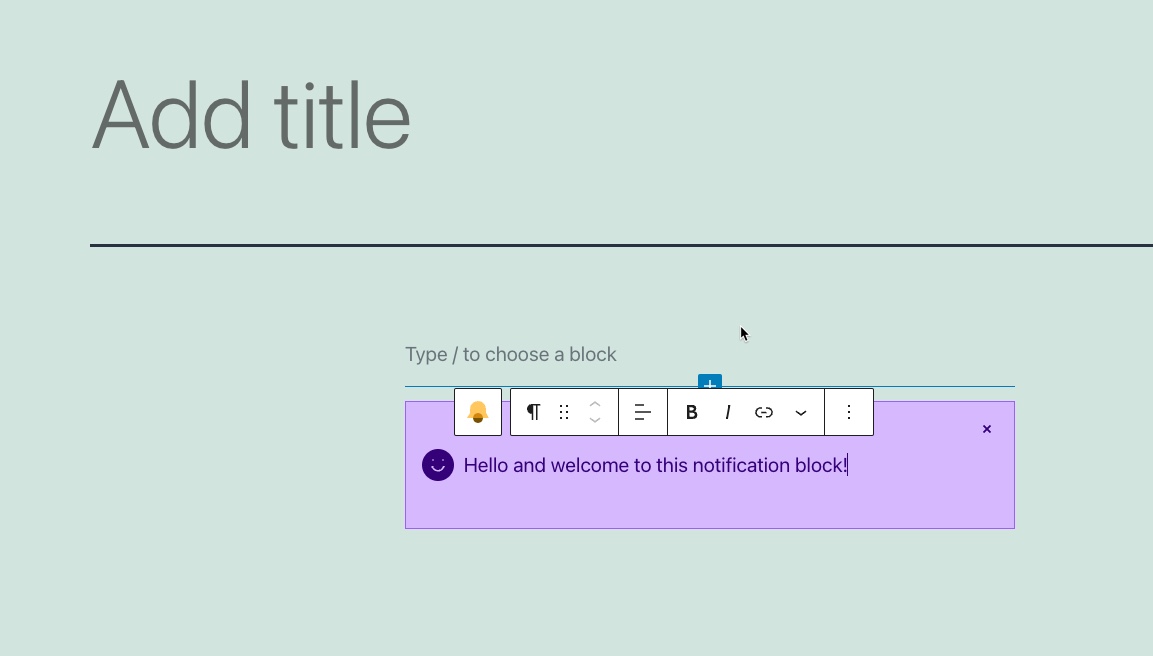
- When the block appears, the status will default to the Welcome style block. Type in the block to add text to it. Here’s an example of how it may appear:

- Once you have finished adding the block make sure to save your post or page as a draft or publish it in order to save your changes.
The notification block does have several things you can change. We will be describing those options in the next section.
Block Notification Options
Like most blocks in the WordPress visual editor, you will see options that can change how a block appears and operates. Here you can see the properties of the welcome block previously added. These properties will be displayed on the right side of the page. If you don’t see the properties, click on the gear icon to display them.
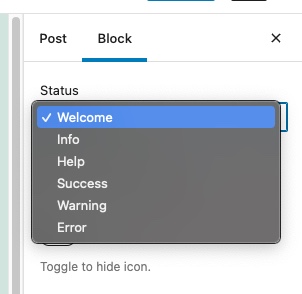
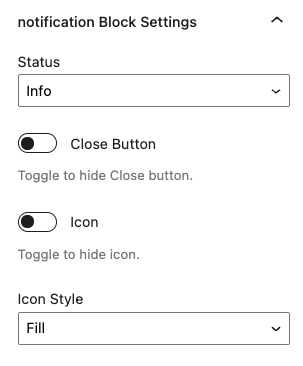
The notification block settings may be hidden under the arrow, but you can simply click on the drop-down arrow to expand its properties. The settings under that section include the Status drop-down menu for the 6 different notification types. There are also options to allow the notification to be closed and for the icon to be displayed.
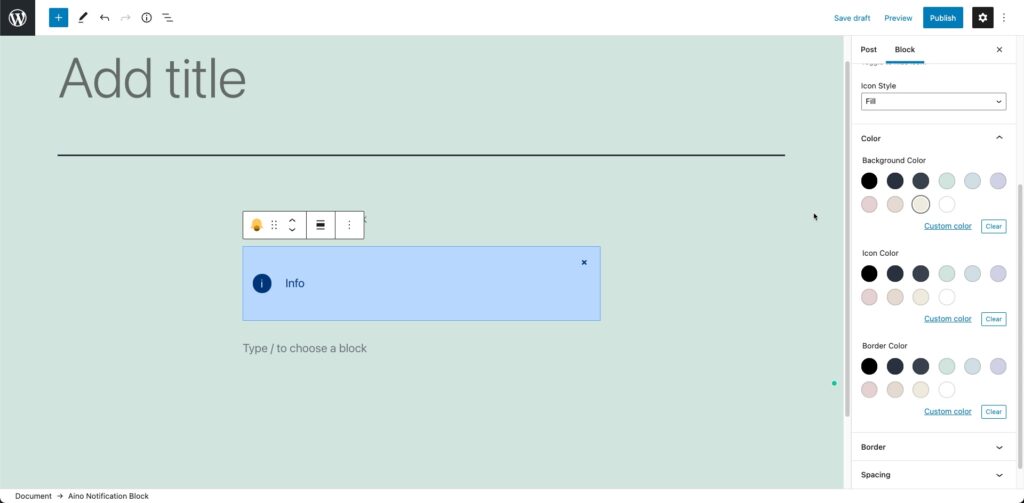
There are also options for Color, Border, and Spacing. There is also an Advanced section that is part of every block added to the visual editor. The Advanced section includes fields for an HTML anchor and additional CSS.
Status
The status options include Welcome, Info, Help, Success, Warning, and Error. This screenshot shows how each block appears by default.
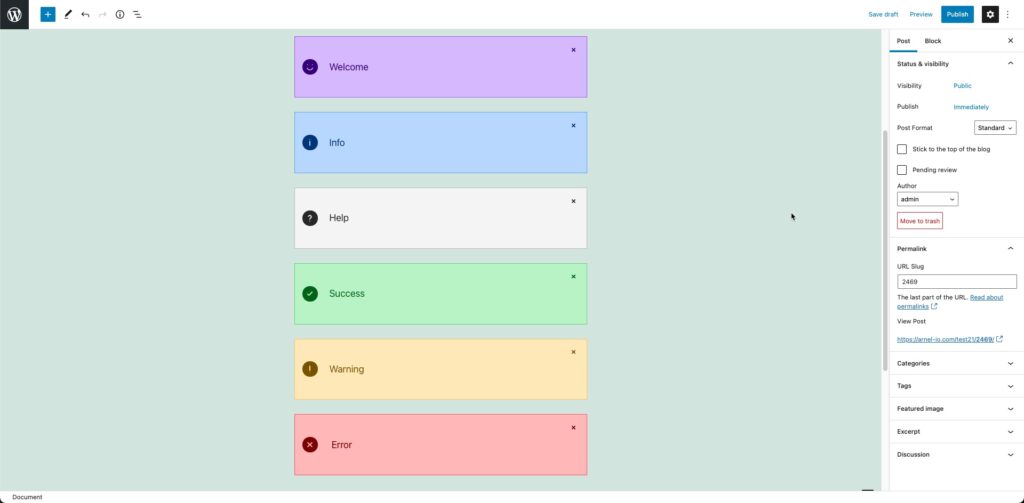
When you closely look at a notification banner you will see an icon on the left and an “x” on the right that allows the notification to be closed. The screenshot below shows a closeup of the icon and close options.
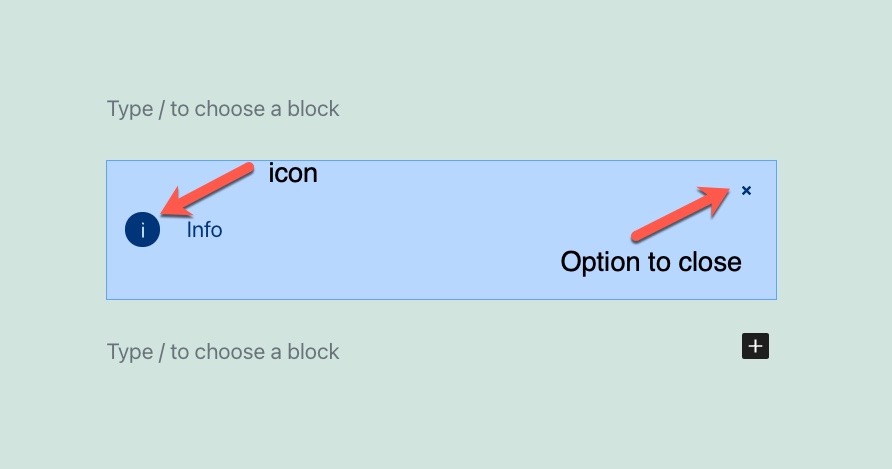
The icon and the option to close the notification can both be removed from the banner notification using sliders. You can also change the icon from being filled or outlined.
Colors
The options for color include the function to change the background color, icon color, and border color. Though, as per the earlier screenshot, there are default colors for the six different types of notifications. Colors are typically shown based on the theme colors, but there is also the option to choose a custom color.
Borders
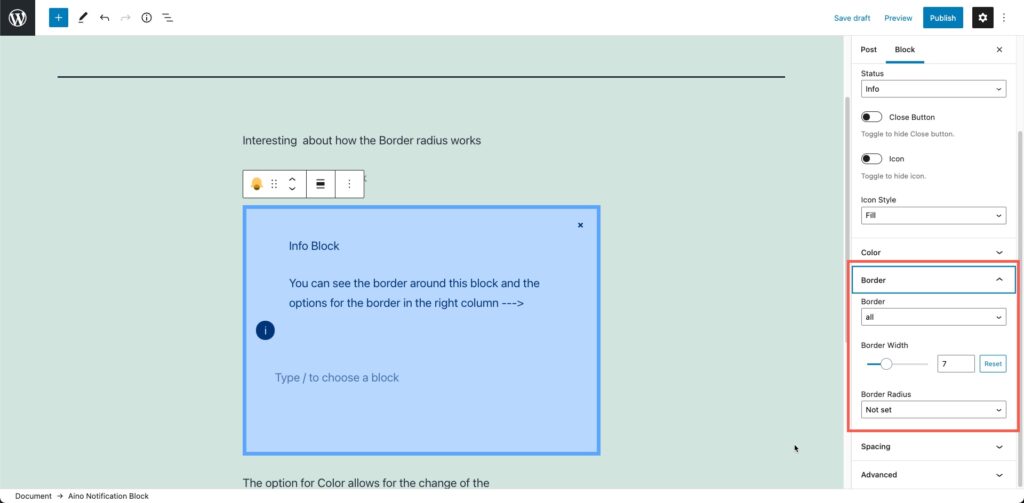
The options for borders include:
- Border – options from this drop-down include none, all, left, right, top, and bottom
- Border width – the width of the border is controlled by a drag-handle, or you can input a value
- Border radius – option is selectable from a drop-down menu and doesn’t affect the visibility of the border. The border radius is about the responsive layouts in terms of how the banner will appear with other elements that get moved towards the banner due to the responsive design
Padding
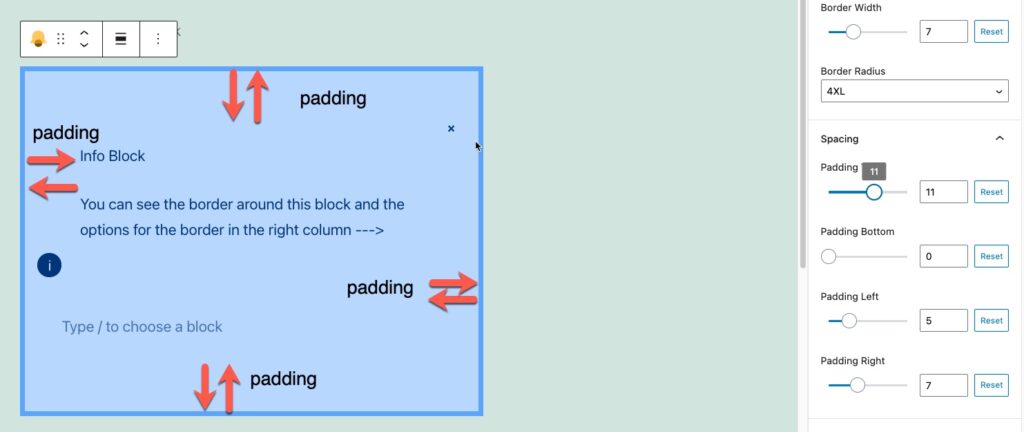
The padding affects the space inside the top, right, left, or bottom of the banner notification. Each can be controlled with a slider or you can type in a value.
This completes our tutorial on using the Aino Notification Banner Block plugin to create notices The plugin allows you to provide text notifications that you want to highlight for your website viewers.
Say goodbye to slow loading times and hello to high-performance websites with our new WordPress VPS Hosting plans. Experience 40x faster WordPress page load speeds on purpose-built servers that guarantee 99.99% uptime.
High-Performance VPS
Fully-Managed Support
Free SSL & Dedicated IP
Advanced Server Caching
