Table of Contents
Depending on your website goals, the sidebar area of your WordPress site can be a useful space for additional site navigation. Traditionally, the WordPress sidebar is reserved for blog navigation — housing links to your blog categories, tags, and archives so website visitors can search your content easily.
Though, with the growth of WordPress, you can now easily customize and add many different elements to your sidebar via your dashboard. Using the built-in widget functionality, you can drag and drop a main navigation menu widget into your sidebar, as well as other common elements like archives, categories, recent posts, etc.
In addition, with the help of a plugin, you can even create custom navigational sidebars for separate pages on your site. For example, you can have a custom sidebar for your about page and a different custom sidebar for your services page — each providing specific links to relevant blog categories and/or additional pages to help focus the journey for your website visitors.
Continue reading to learn how to:
Enjoy free, secure hosting optimized for your WordPress website with our WordPress Hosting plans.
Add a Navigation Menu to Your Sidebar in WordPress
Adding a navigation menu to your sidebar using the built-in WordPress widget feature is simple. To add a menu that will be seen in the sidebar across all pages, follow the instructions below:
- Log into your WordPress dashboard.
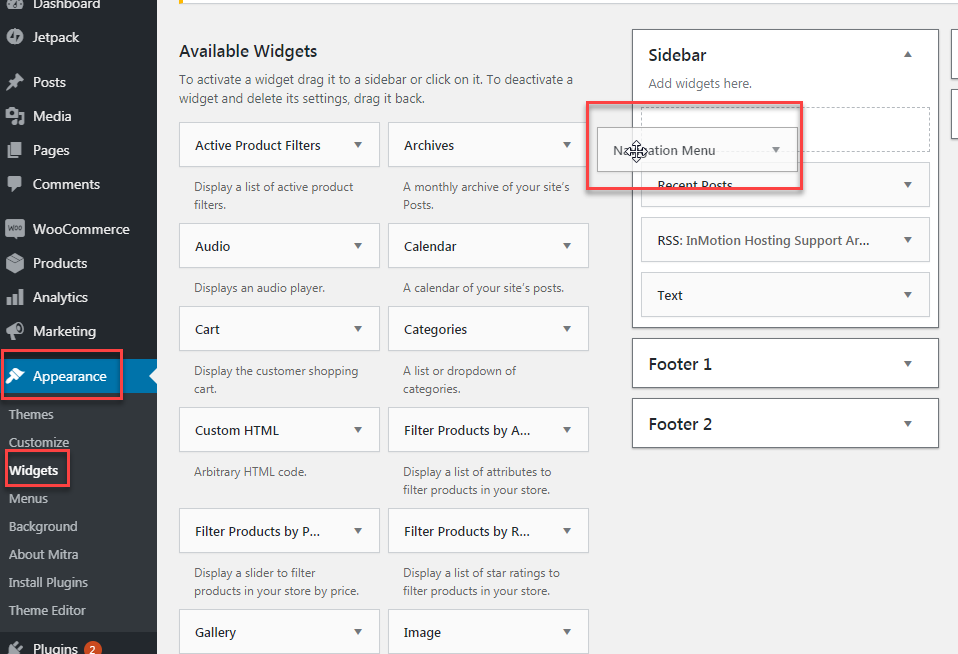
- Navigate to Appearance>Widgets
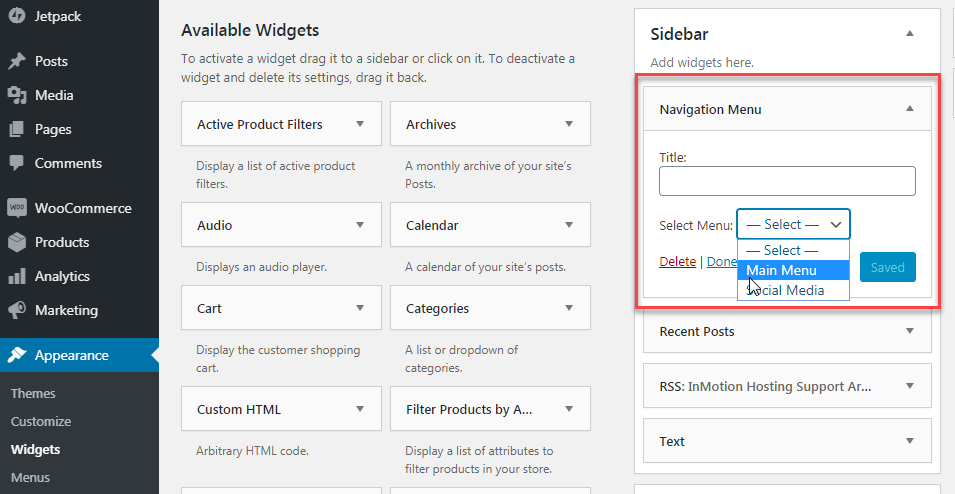
- Find Navigation Menu under Available Widgets, then drag and drop it over to the Sidebar widget area
- Add a Title for your navigation menu and select the menu you want to use from the dropdown
- Click Save
Create Custom Sidebar Navigation Menus Per Page
You can also utilize custom sidebar plugins to create and add unique sidebars per a particular page, post, or category. There are many custom sidebar plugins available, but here are two popular options we tested for your review.
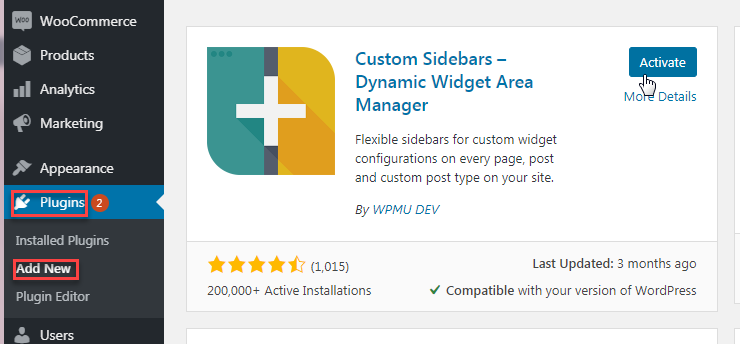
Custom Sidebars — Dynamic Widget Area Manager
With over 200,000 installations, this free, intuitive plugin is a favorite among WordPress users. Custom Sidebars integrates seamlessly with the WordPress built-in widget area and allows you to create and display multiple custom sidebars on a post, page, category, archive page, or post type.
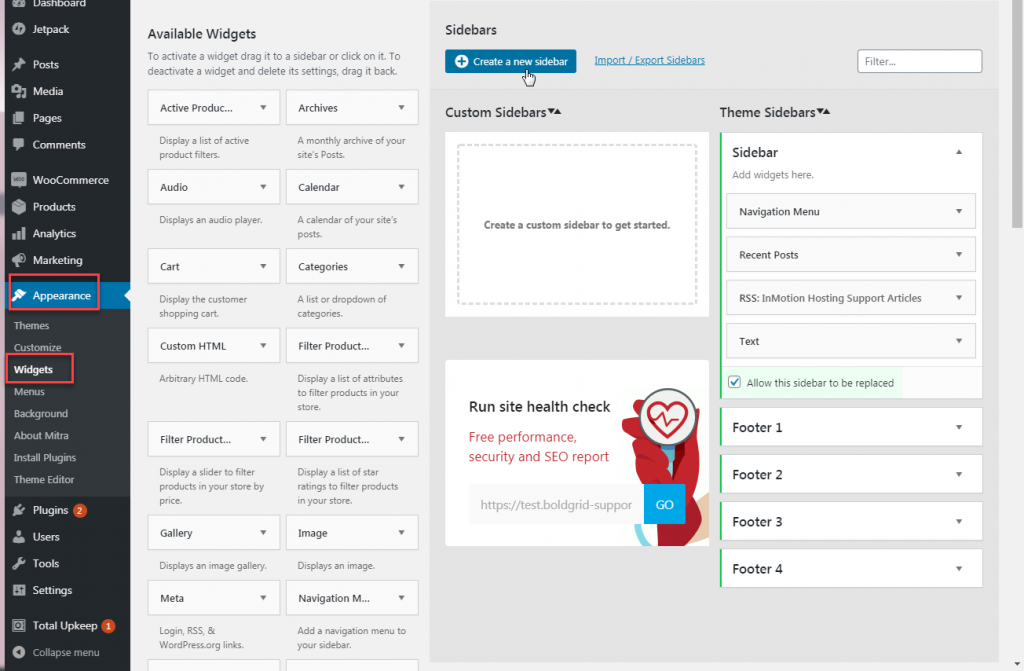
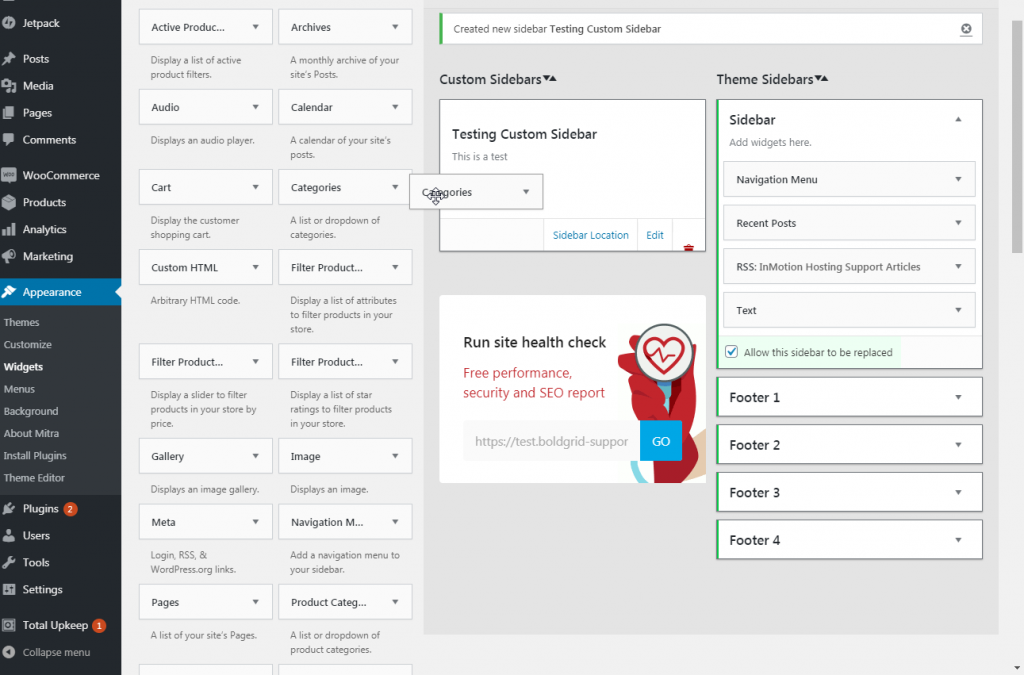
Once installed and activated, the plugin will gently inform you of the new plugin settings under Appearance>Widgets. When you navigate to the Widgets panel in your WordPress dashboard, you’ll quickly notice that the sidebar configuration area looks almost identical to the built-in WordPress version. Save for a slightly dark gray background and the new Create a new sidebar button, the area is virtually unchanged.
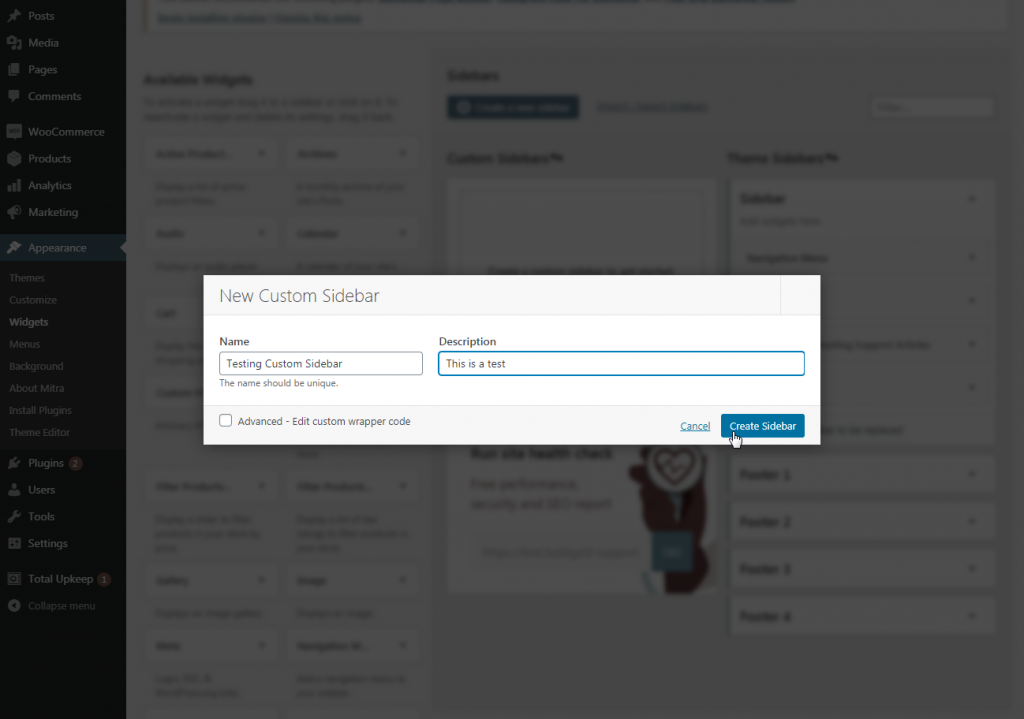
This is probably by design, allowing you to quickly learn the plugin and set up custom sidebars with ease. After you create a new sidebar using the Create a new sidebar button, simply drag-and-drop widgets from the available widget area over to your newly created custom sidebar. Presenting the same interactive creation functionality as the built-in WordPress widget feature.
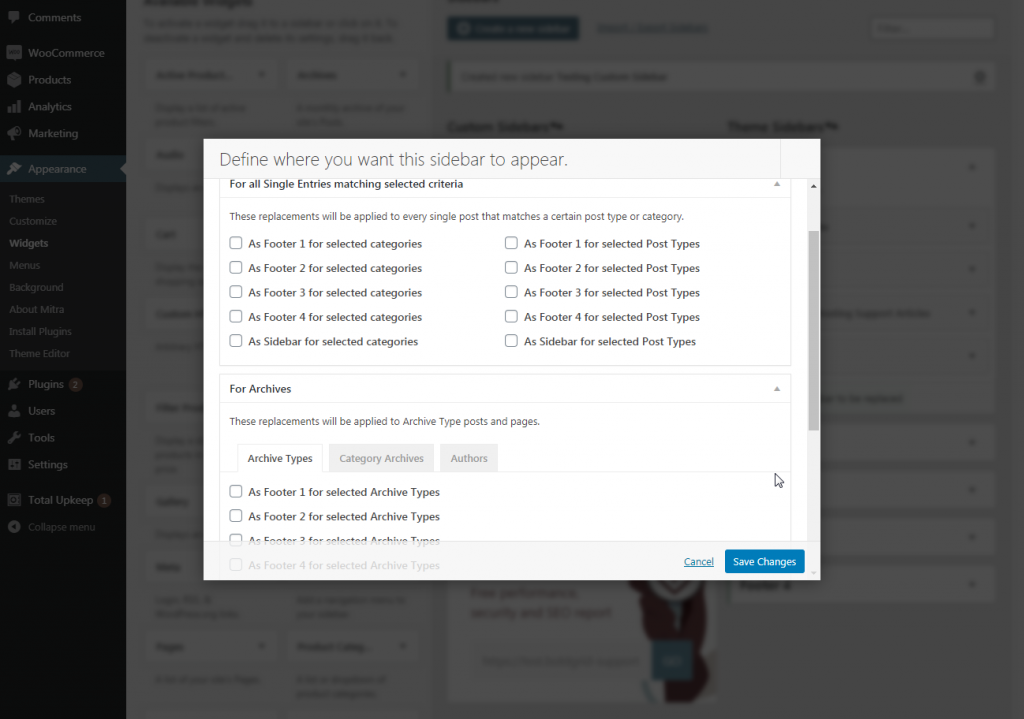
Once a new sidebar is created and elements have been added, you must indicate where the plugin will live (e.g. page, post, specific categories, etc.) and where on the page it will be displayed (e.g. sidebar, footer, etc.). You can also set rules per screen size, hiding or shortening certain elements on mobile devices.
At the time of this review, this plugin, version 3.2.3, was tested up to WordPress 5.4.2 and is updated every 1-3 months.
Content Aware Sidebars — Unlimited Widget Areas
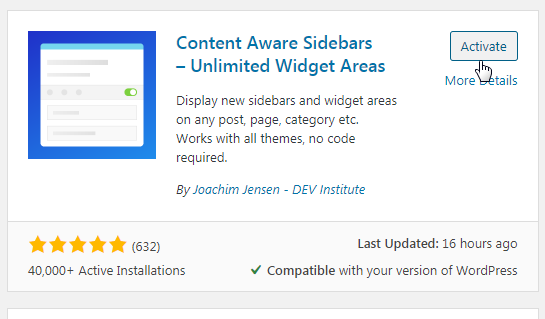
Content Aware Sidebars is another powerful plugin for creating custom sidebars. Growing in popularity with 40,000 active installations, both the free and paid versions of this plugin cover the features of Custom Sidebar and more. This article focuses on the free version.
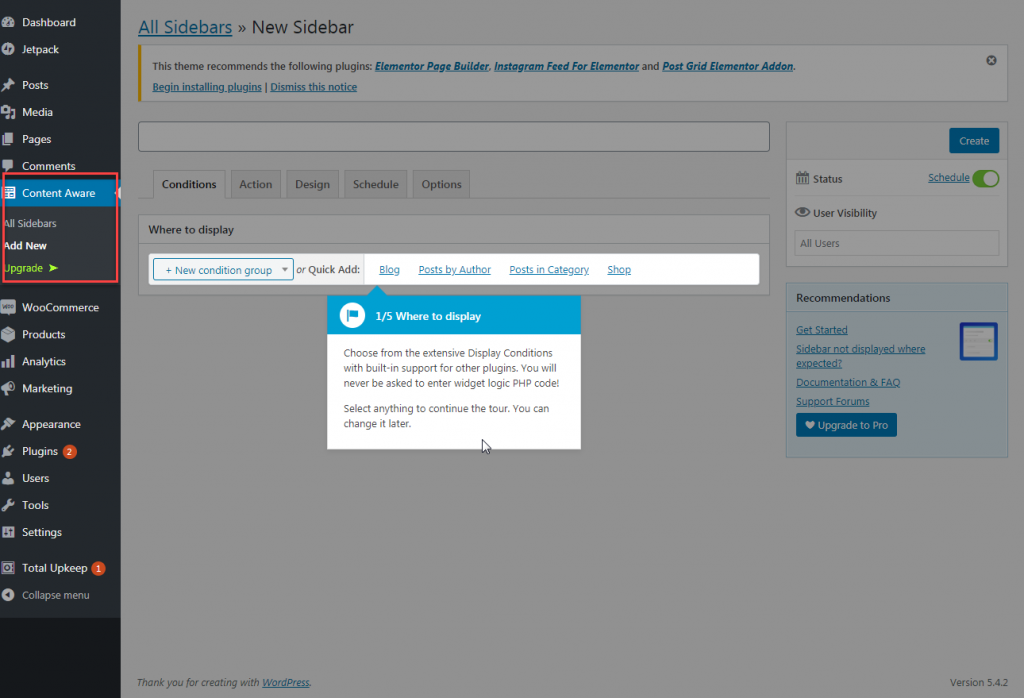
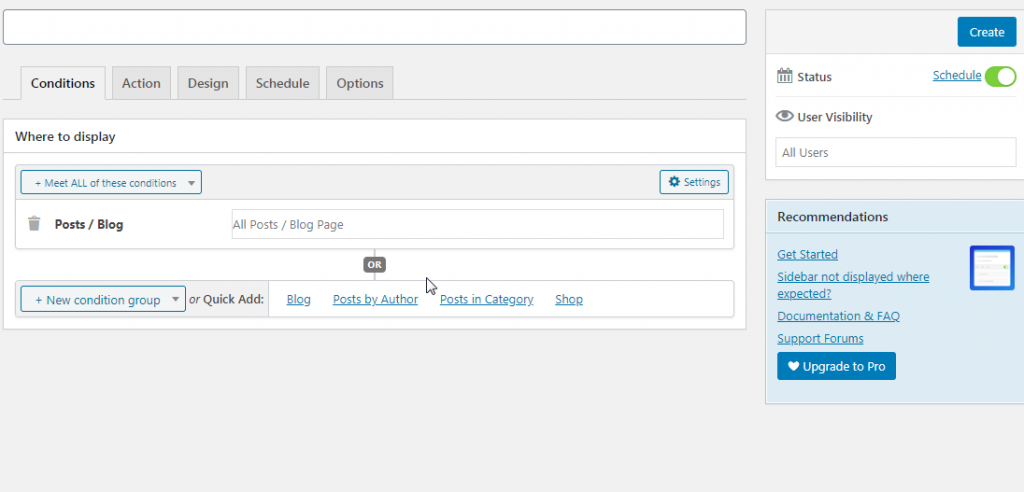
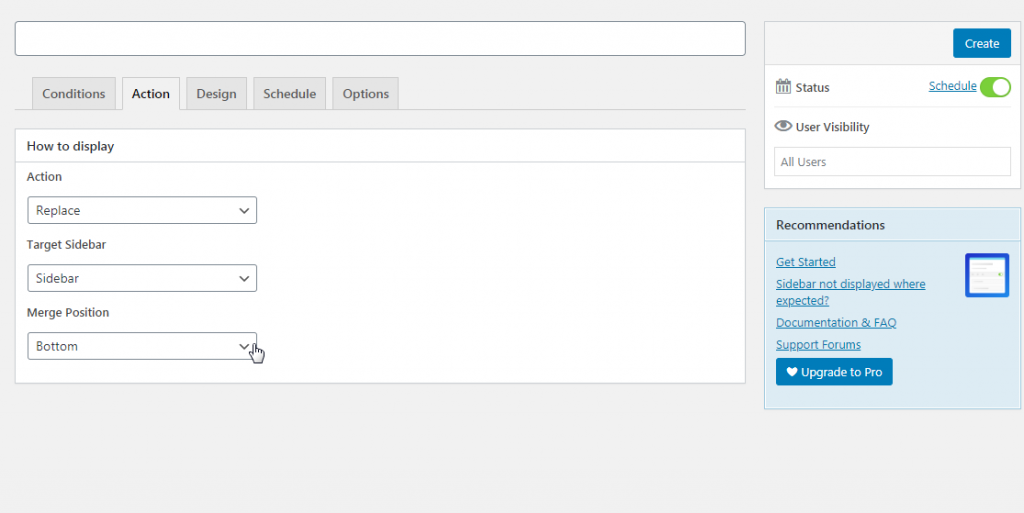
Once the plugin is installed and activated, a separate area within your dashboard will appear for creating and configuring your new sidebars. You will find it in your left-hand dashboard menu labeled Content Aware. After clicking Content Aware>Add New, the plugin will walk you through its features by teaching you how to create a custom sidebar.
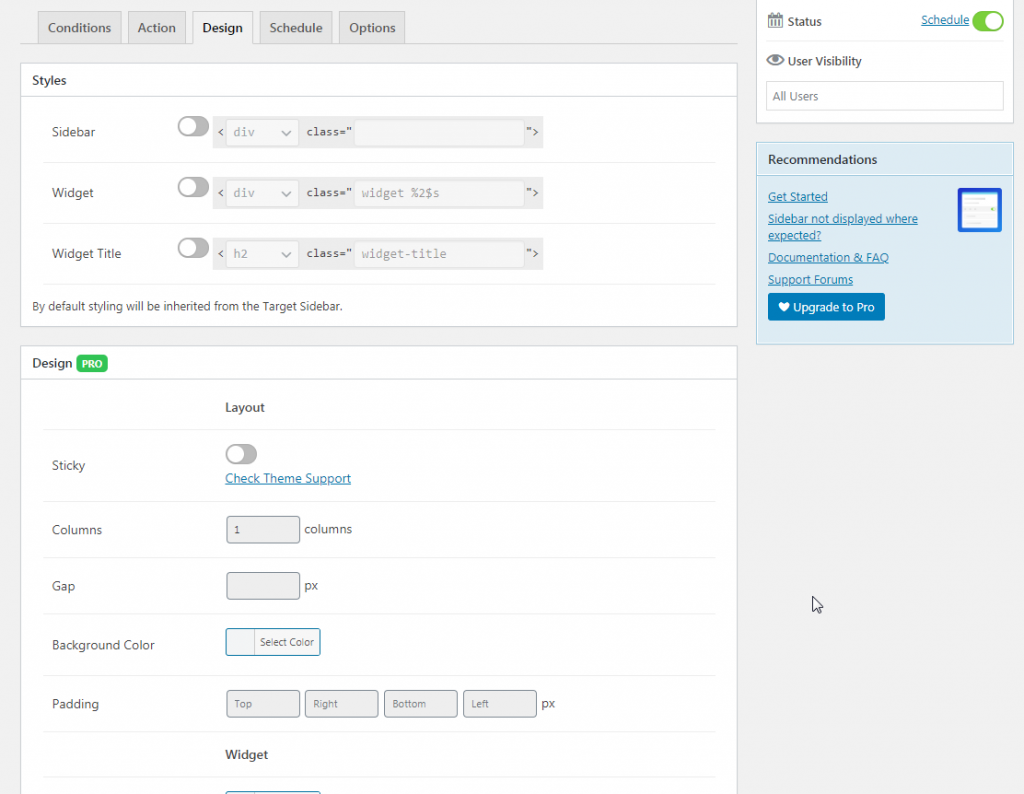
The tour will introduce you to its many features like conditional logic and rule creation, location targeting, custom design, and scheduling. The free version of the plugin is very robust and perfect for testing new, complex sidebar initiatives. However, if you don’t need many configurations, the options may become overwhelming.
Though, if you want even more options, consider the Pro version. For $49 you can enjoy additional features like a sticky sidebar, sidebar display after a certain percentage of the page has been seen, sidebar cloning, and additional options for conditional formatting and scheduling.
At the time of this review, this plugin, version 3.12.2, was tested up to WordPress 5.4.2 and is updated every 1-3 months.
Become a master of WordPress plugins! Protect, optimize, secure, and expand the functionality of your website easily with the help of WordPress plugins!


No; I have no widgets. What is widgets?
Here is a link to our full guide that explains what Widgets are.
Go to the Custom Links section in the left sidebar.
Enter the URL where you want the item to link to in the URL box.
Enter the menu item text in the Link Text box.
Click Add to Menu.
Hi Rushik, if there is an updated method to doing this in the latest Full Site Editor versions of WordPress, thanks for letting us know! We’ll check it out.