Table of Contents

Creating queries to interact with data in the backend of WordPress can be difficult without using a few tools. One of the more recent plugins that can be added for this purpose is the plugin called WPGraphQL. With this plugin, you can create queries using the GraphQL syntax that has become a developer favorite in recent years. This guide will show you how to install the plugin and give you some basics on how it can be used within your WordPress site.
- What is WPGraphQL?
- Installing WPGraphQL
- Using the Integrated Development Environment (IDE) – GraphiQL
- Using GraphiQL IDE

If you’re having trouble with your WordPress host, then check out InMotion’s WordPress Hosting. We provide secure, optimized servers that are priced to meet your budget needs!
Free Domain
Free SSLs
Unlimited Bandwidth
What is WPGraphQL?
WPGraphQL is a free plugin for WordPress that allows WordPress developers to use GraphQL. GraphQL was created by Facebook developers in 2012. It was later publicly released in 2015 as an open-source data query language for Application Programming Interfaces (APIs).
GraphQL allows developers to use syntax in order to ask for and get data. It has some great advantages:
- You can get specific data that you need in queries.
- You can access several resources with references to those resources. This allows for multiple queries to be completed in a single request resulting in speedier applications even with slow network connections.
- Provides a type system in order to describe queried data.
- The plugin also provides the GraphQL schema and API which can be extended for your development needs.
WPGraphQL uses the Relay Specification for GraphQL servers. The plugin provides an interface to execute queries and mutations. Mutations allow GraphQL to create, update, or delete data in WordPress.
WPGraphQL is a great tool in that it allows content creators to stick with using WordPress for the front end while developers can use their frameworks and tools to gather data for the backend.
Installing WPGraphQL
WPGraphQL is installed like any other WordPress plugin. It is a quick and easy process. Just follow the steps below:
- Log into the WordPress Administrator Dashboard.
- In the main menu, click on Plugins.
- Next, click on Add New.
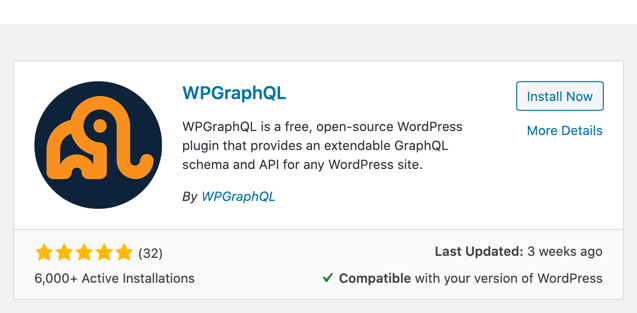
- In the search field, type “WPGraphQL”. This will bring up the plugin with an Install button. Click on Install Now.
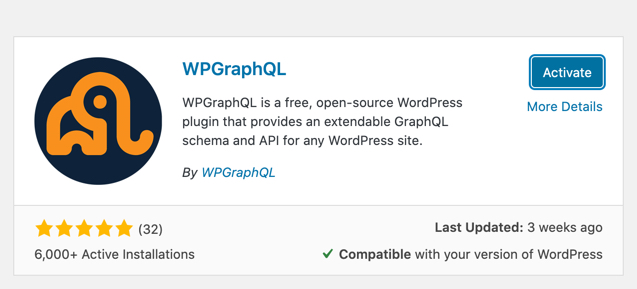
- Click on Activate when the installation is finished to enable the plugin for your site.
Using GraphQL
Before you can begin to use the WPGraphQL plugin, you would need to understand how to use GraphQL. GraphQL is the actual syntax that the plugin allows you to use in order to create your queries.
You can use the plugin to build a service in GraphQL using many different languages. The libraries that support GraphQL include JavaScript, PHP, Python, C#, Ruby, C++, and Scala to name just a few. You can find much more information on using the libraries by going to the Code page of the GraphQL website.
To learn more about using GraphQL, check out their website for a great primer. GraphQL.org also partnered with edX to provide a free online course: Exploring GraphQL: A Query Language for APIs.
Using the Integrated Development Environment (IDE) – GraphiQL
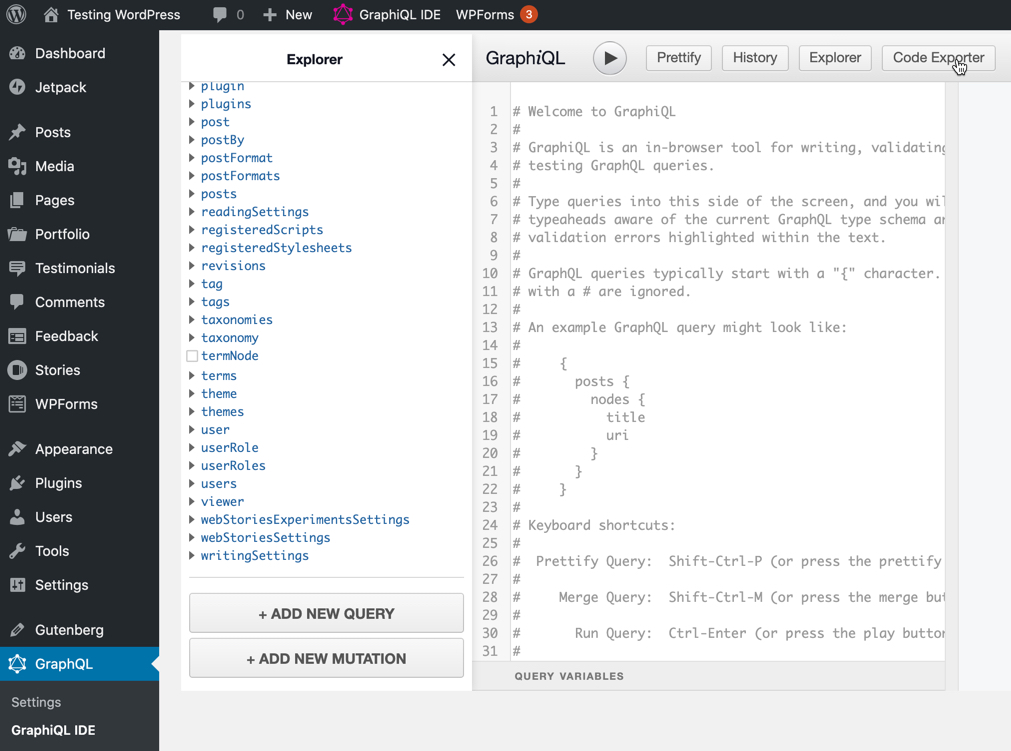
In order to make use of GraphQL in WordPress, the WPGraphQL plugin provides an IDE called GraphiQL. Here you can test your queries. When the plugin is installed you will find GraphQL in the main menu. The GraphiQL IDE can be accessed through the menu or through a link at the top of the home page in the dashboard.
You can use the GraphiQL IDE to create new queries or mutations. When you click on GraphiQL IDE option, then you will see the following interface:

For more specific and detailed information on using WPGraphQL, check out their documentation at the WPGraphQL website. They provide you all the information and additional tools to help build your GraphQL queries in WordPress.
Become a master of WordPress plugins! Protect, optimize, secure, and expand the functionality of your website easily with the help of WordPress plugins!
For additional tips and tricks on using WordPress, check out our WordPress Educational Channel.


