Table of Contents
When running a website, especially with the increase in brute force attacks against WordPress sites, it is important to protect yourself. Thankfully, BruteProtect will allow you to easily and automatically block attacks. As BruteProtect stores known attack sources in its database, many attacks are stopped before they even begin. In this article, we will show you how to prevent WordPress brute force attacks using BruteProtect.
Installing BruteProtect
- Begin by logging into your WordPress dashboard.
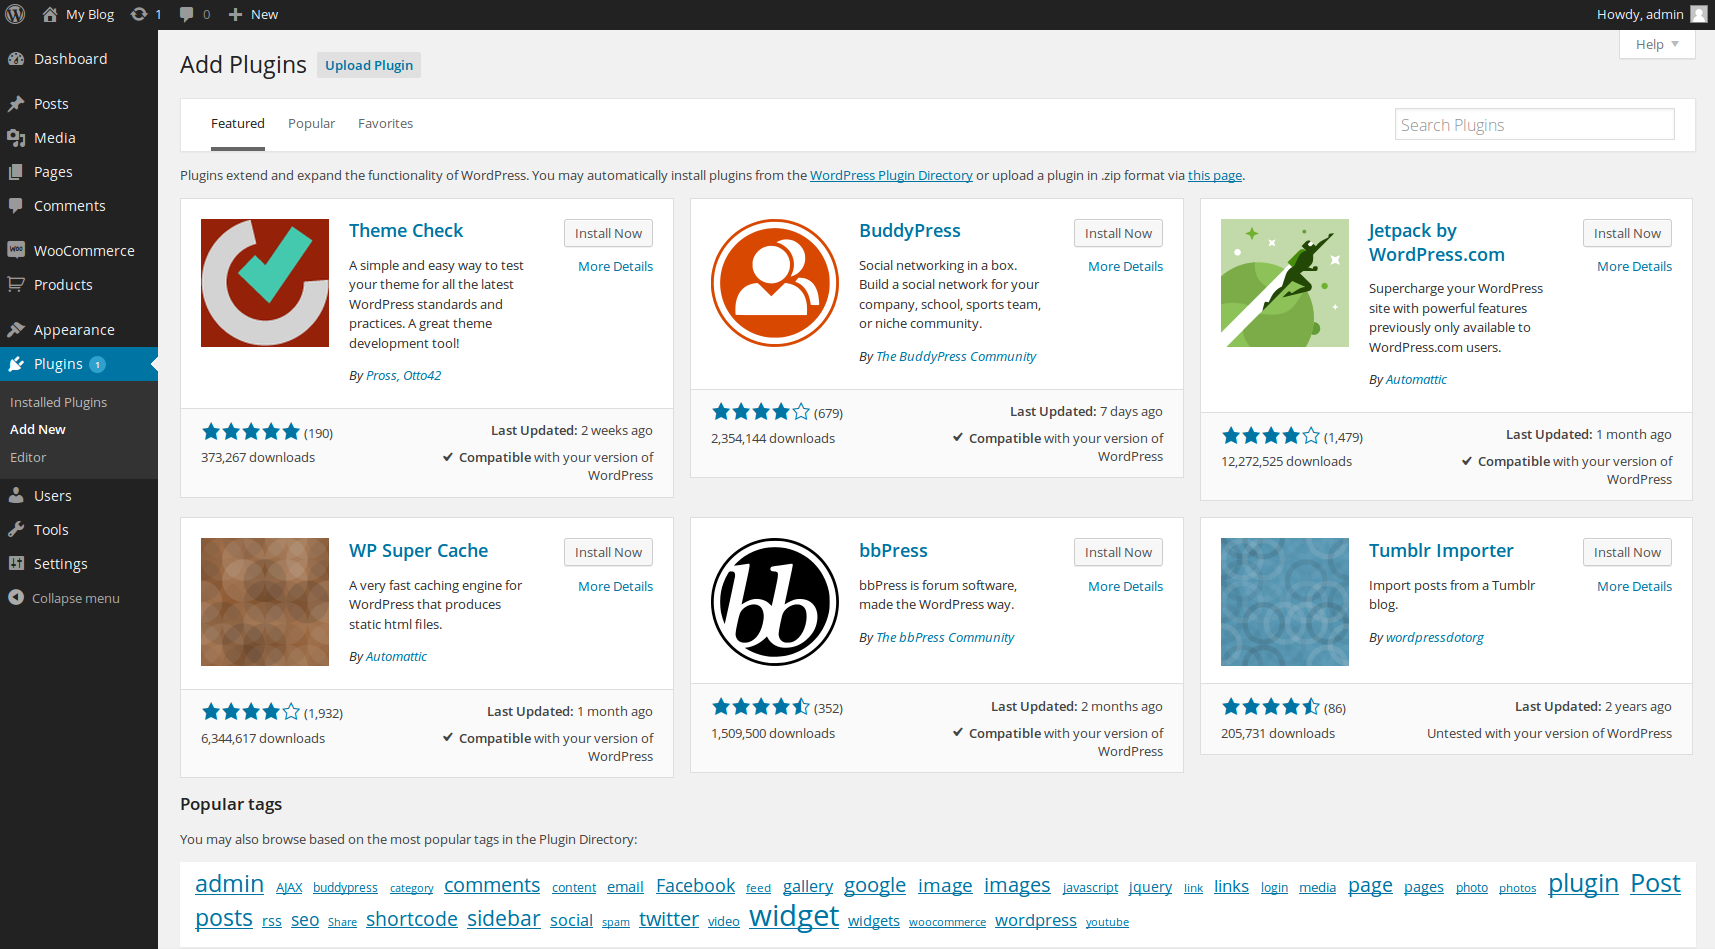
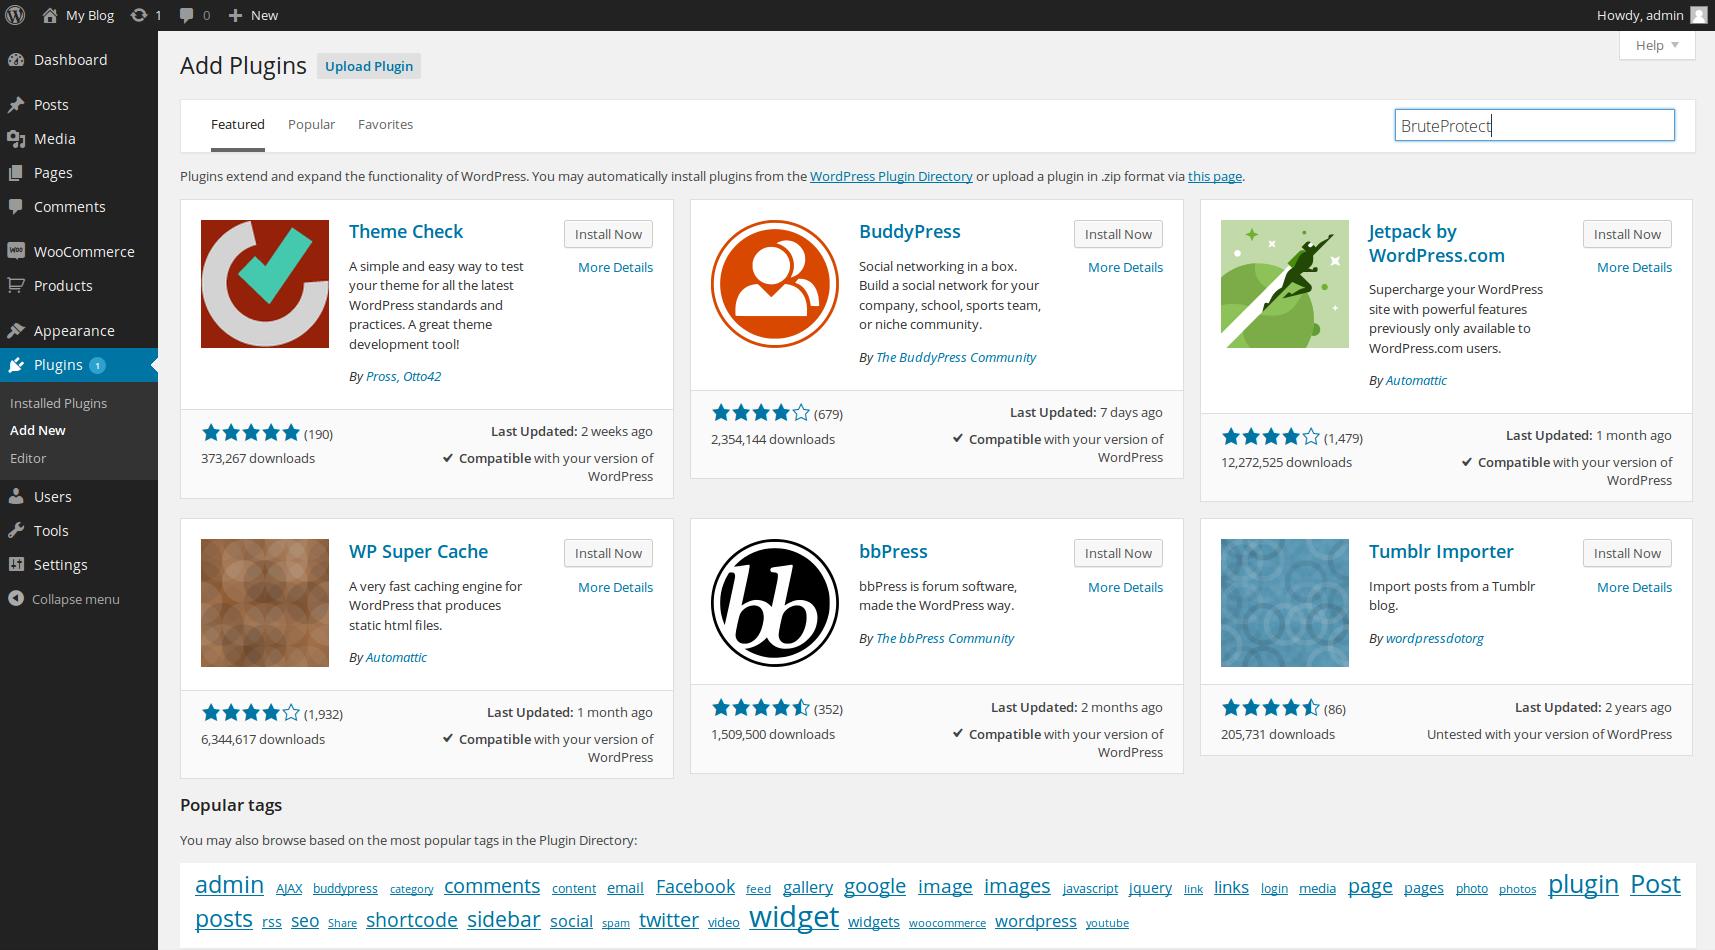
Next, hover over Plugins on the left side admin menu, and click on Add New.

Inside the search box at the top right of the page, enter BruteProtect and press the Enter key on your keyboard to search the WordPress plugin directory.

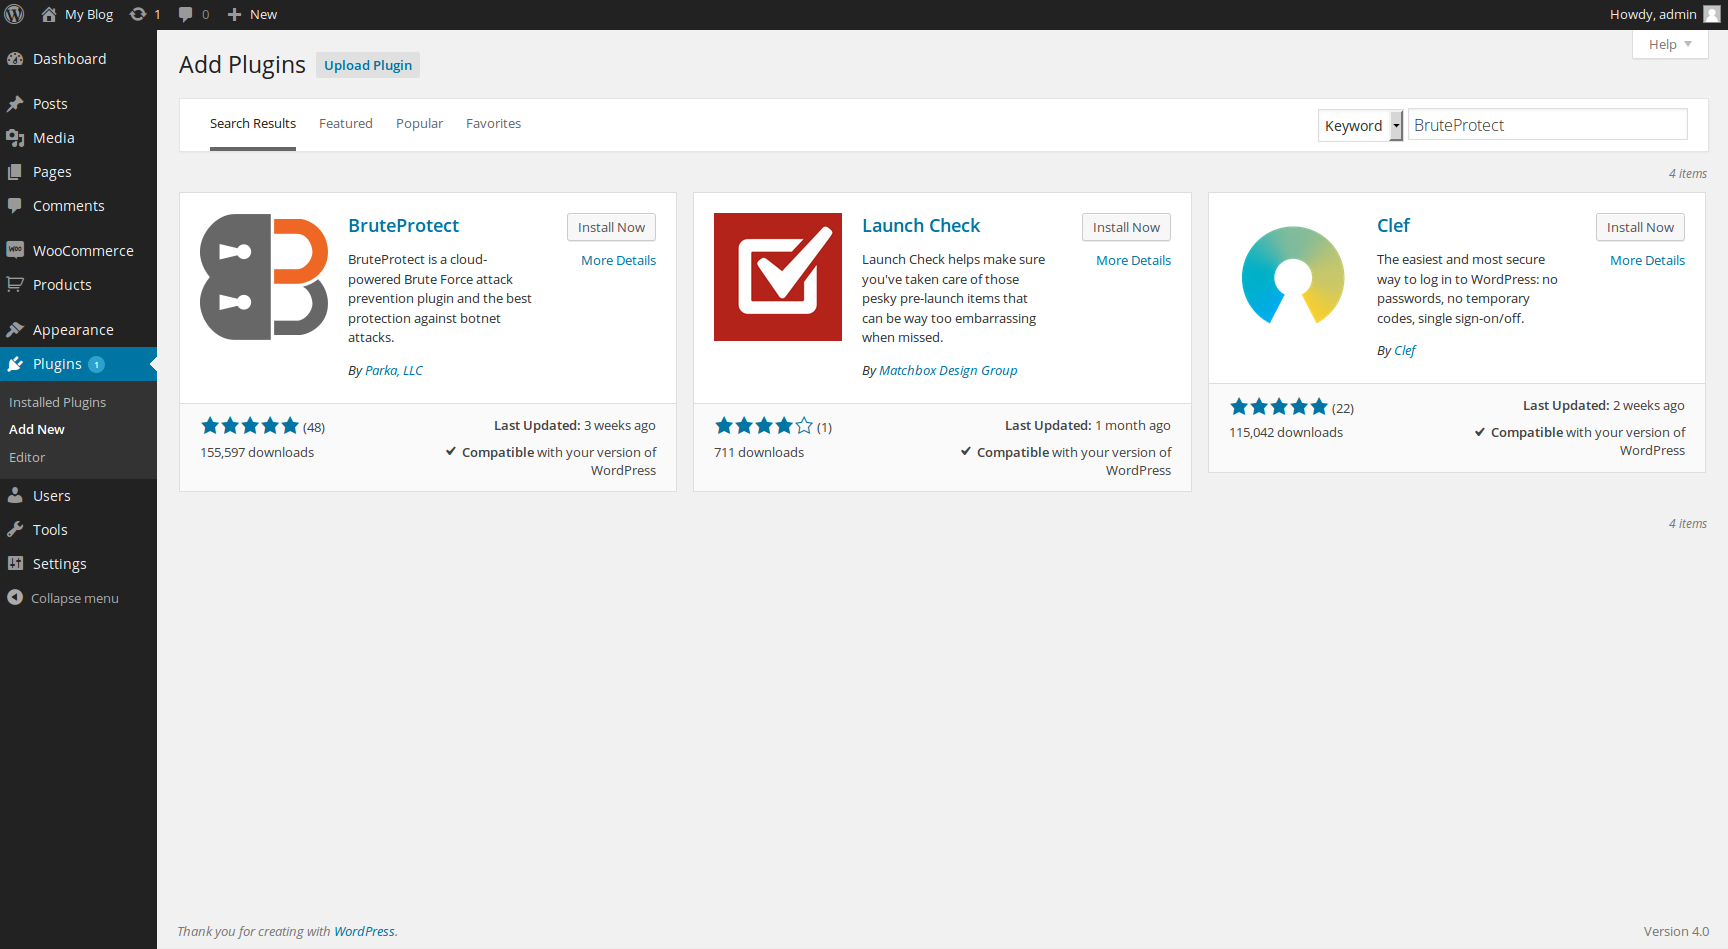
You should now see your search results. To begin installing, click the Install Now button within the BruteProtect result.

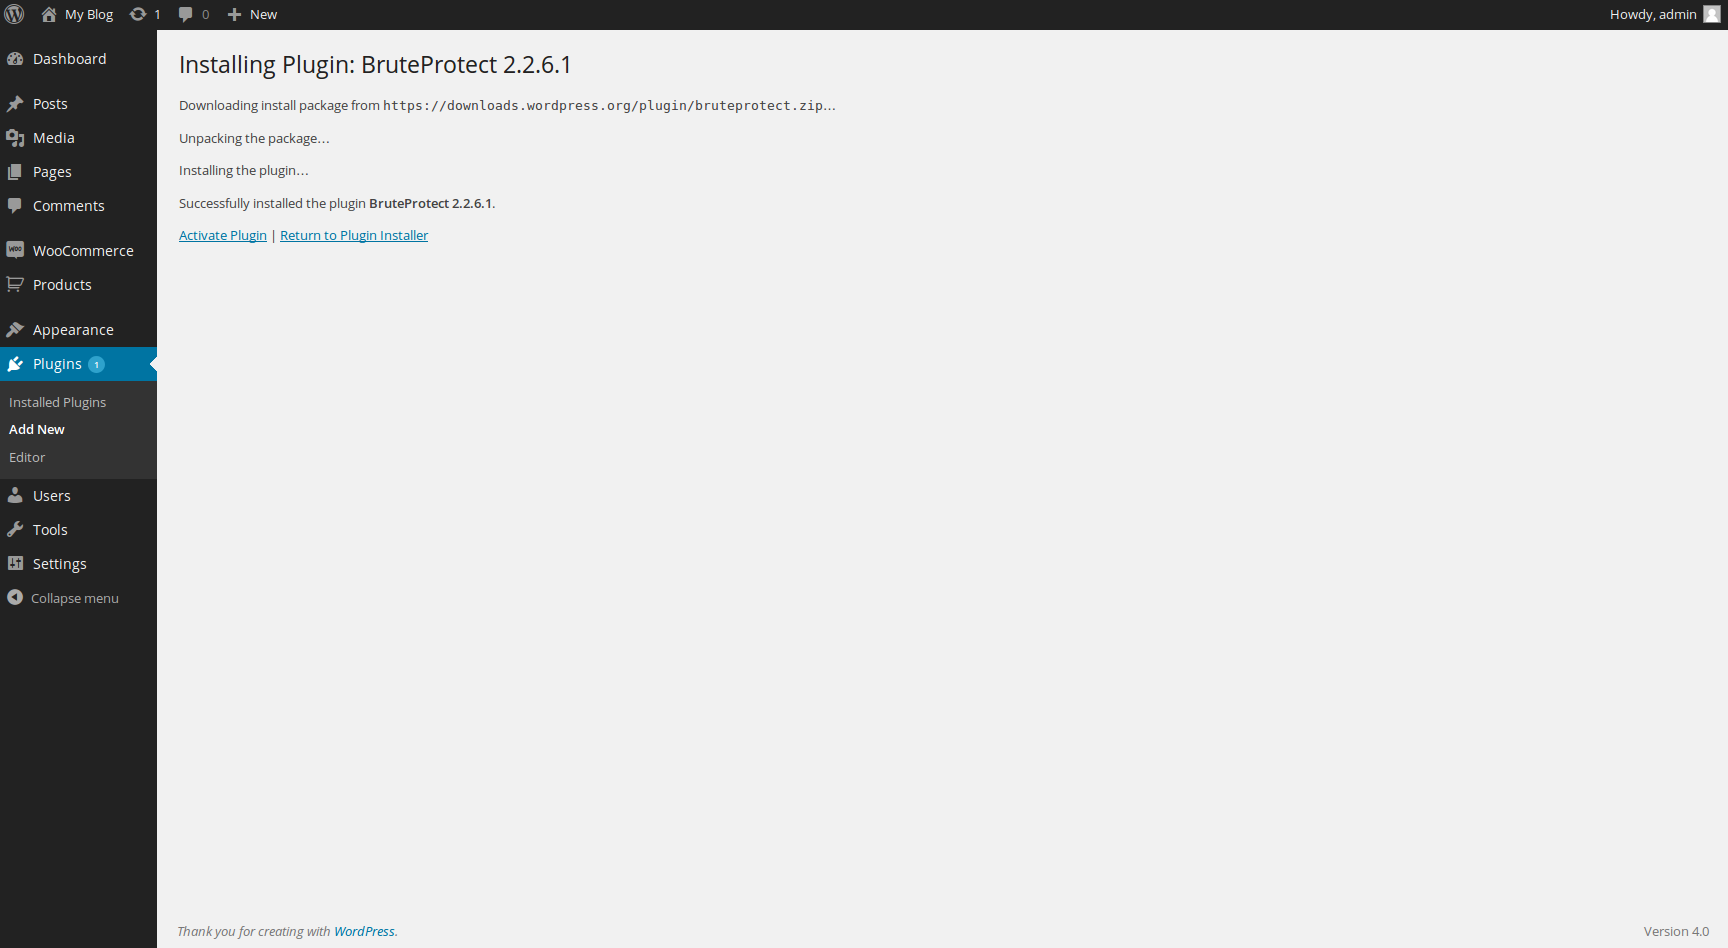
WordPress will now automatically handle the download and installation of the Brute Protect plugin. Once complete, click on Activate Plugin to ensure that the plugin is activated.
Configuring BruteProtect
BruteProtect is extremely easy to configure. In this section, we will walk you through fully configuring BruteProtect.

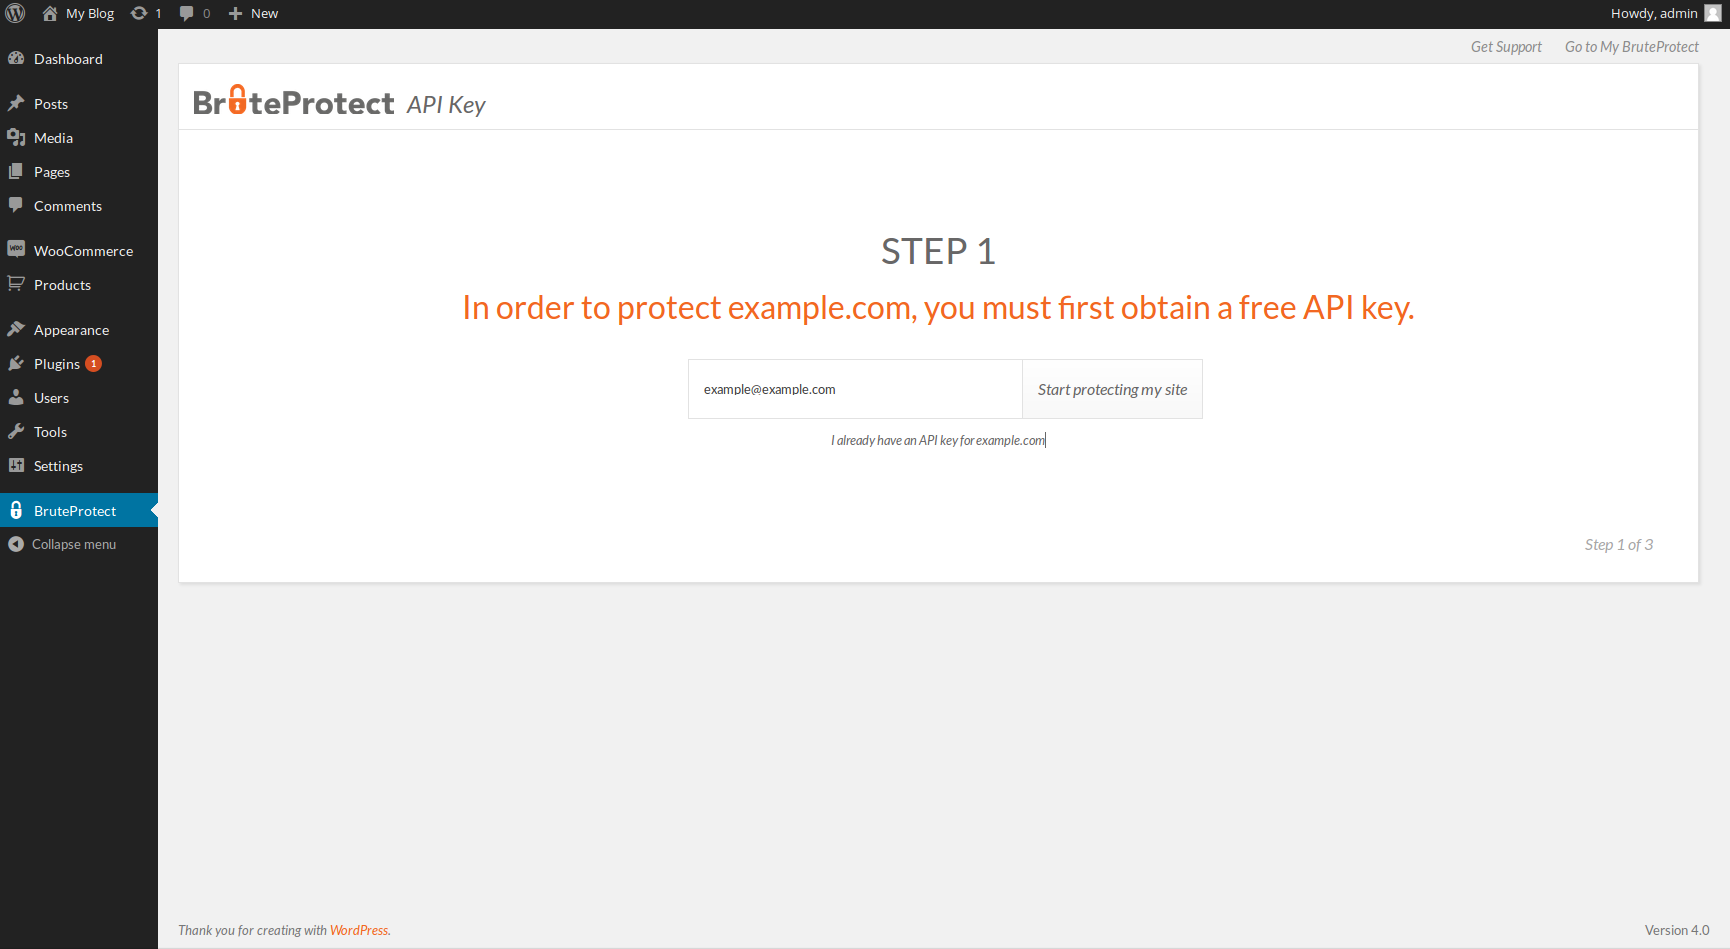
To begin configuration, click on the BruteProtect menu item to the left side of the screen. You will then be prompted to obtain an API key. Here, simply enter your email address and click Start protecting my site.

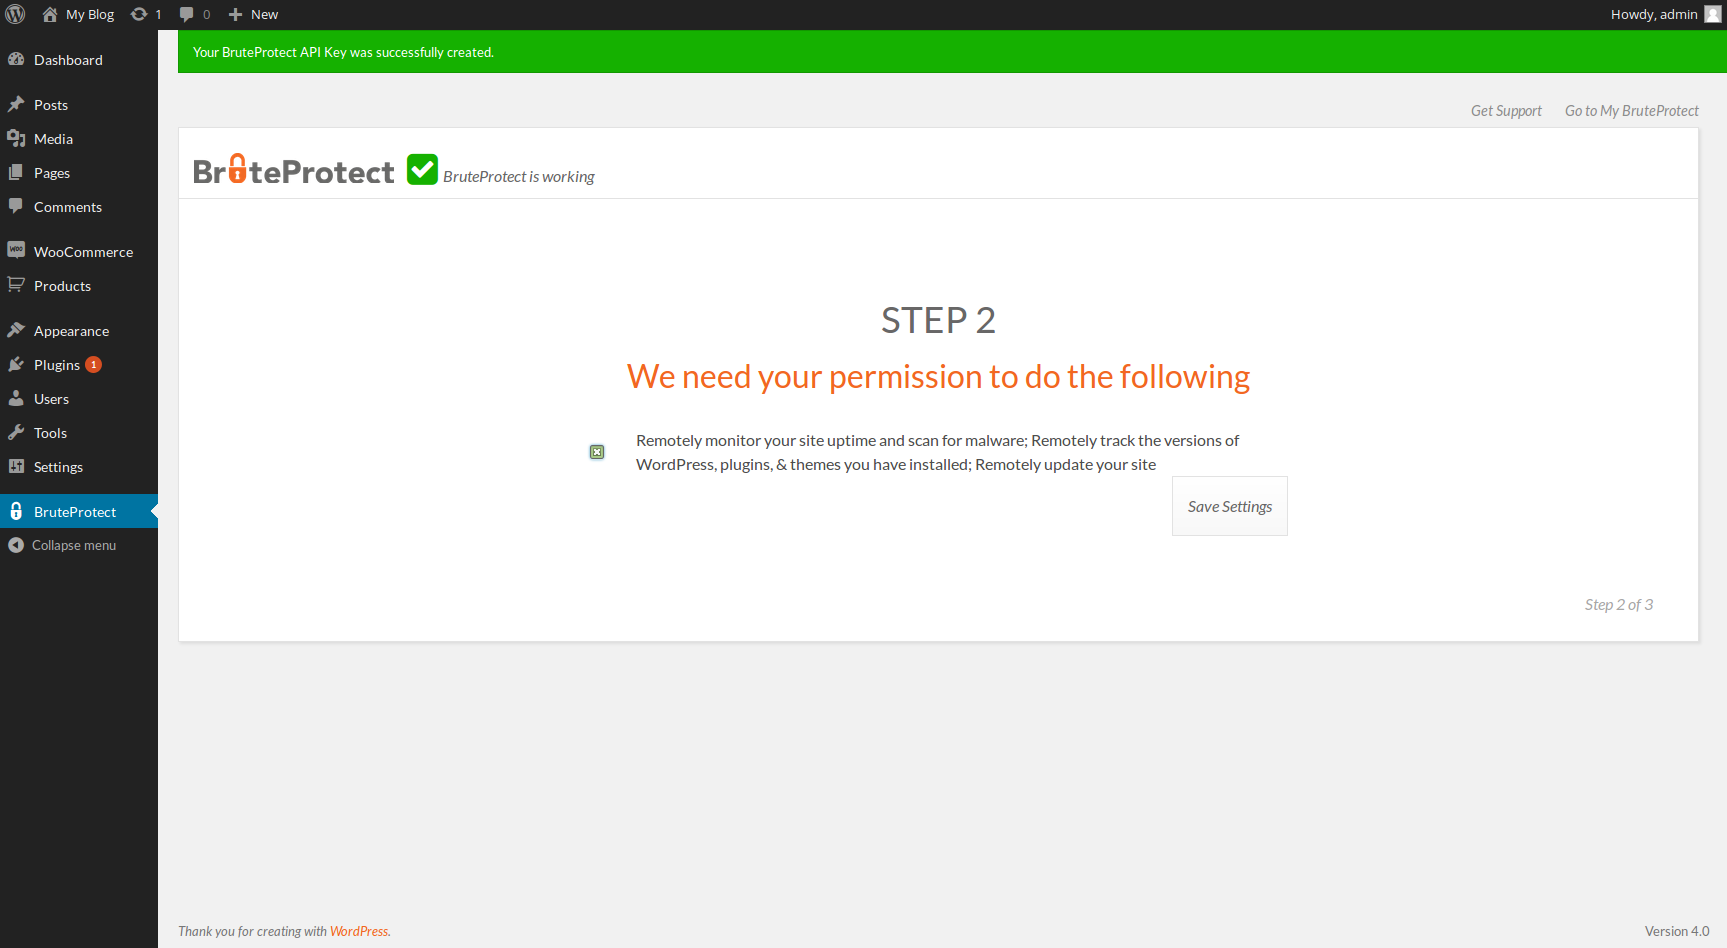
Next, BruteProtect will ask for permission to remotely update and monitor your site. Select the checkbox on this page and click Save Settings. Allowing remote access to their WordPress site can be scary for some people, but BruteProtect is owned by Automattic, the creators of WordPress, so there’s no need to worry. Your information is completely safe.

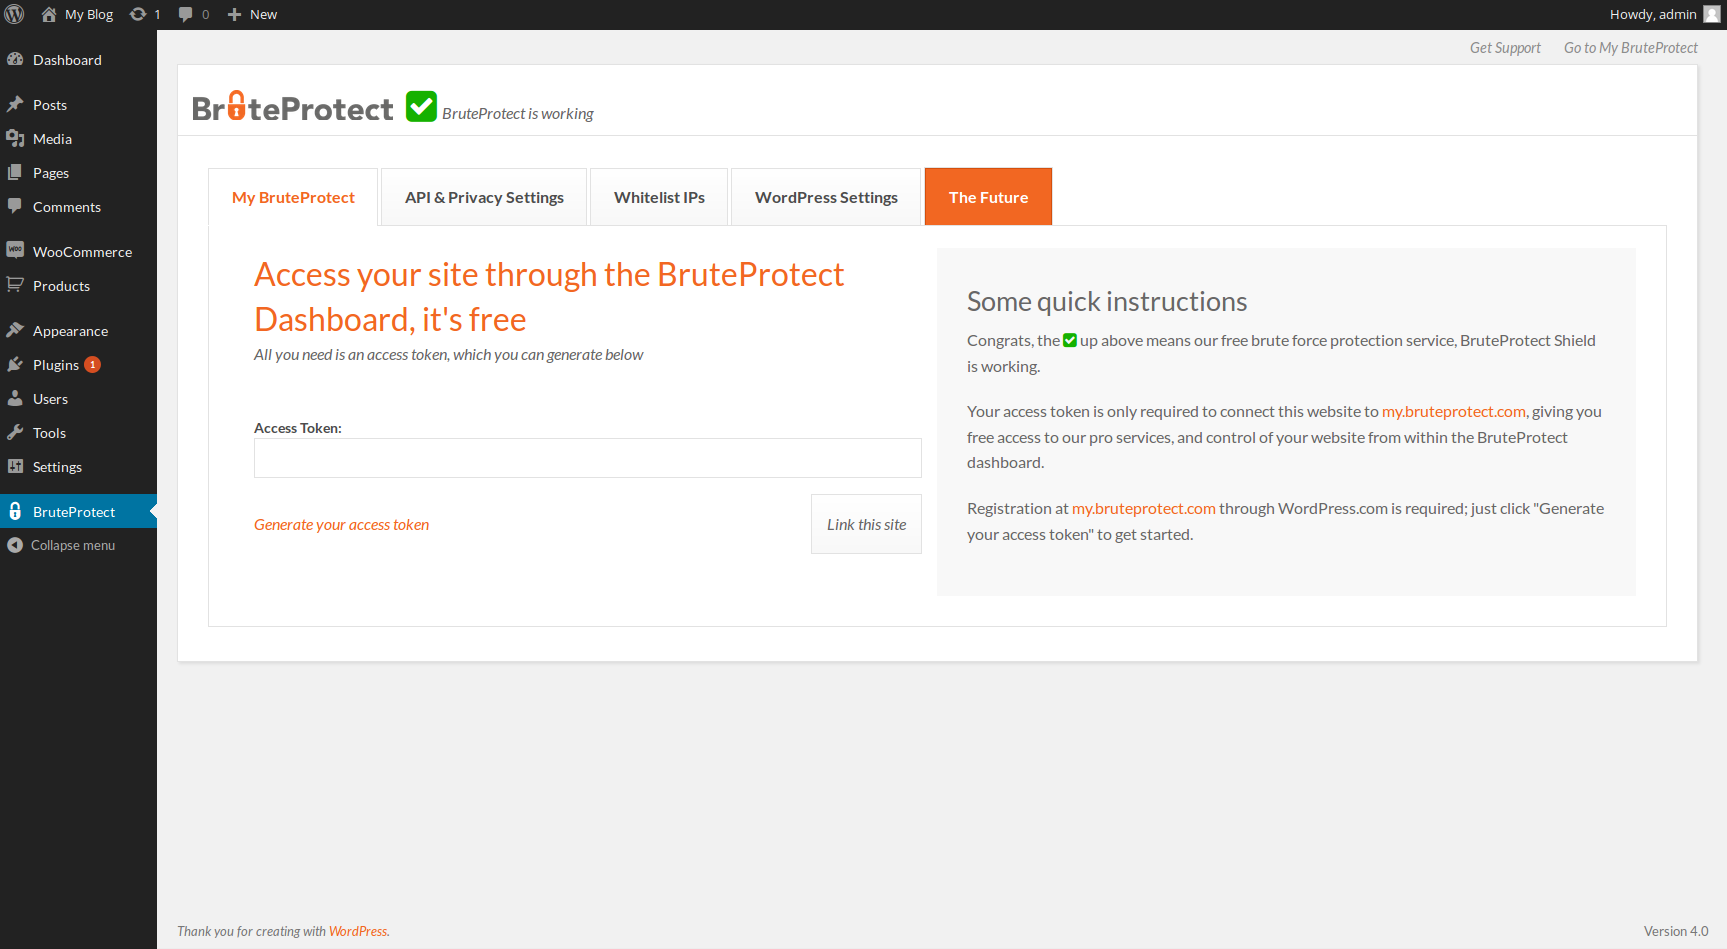
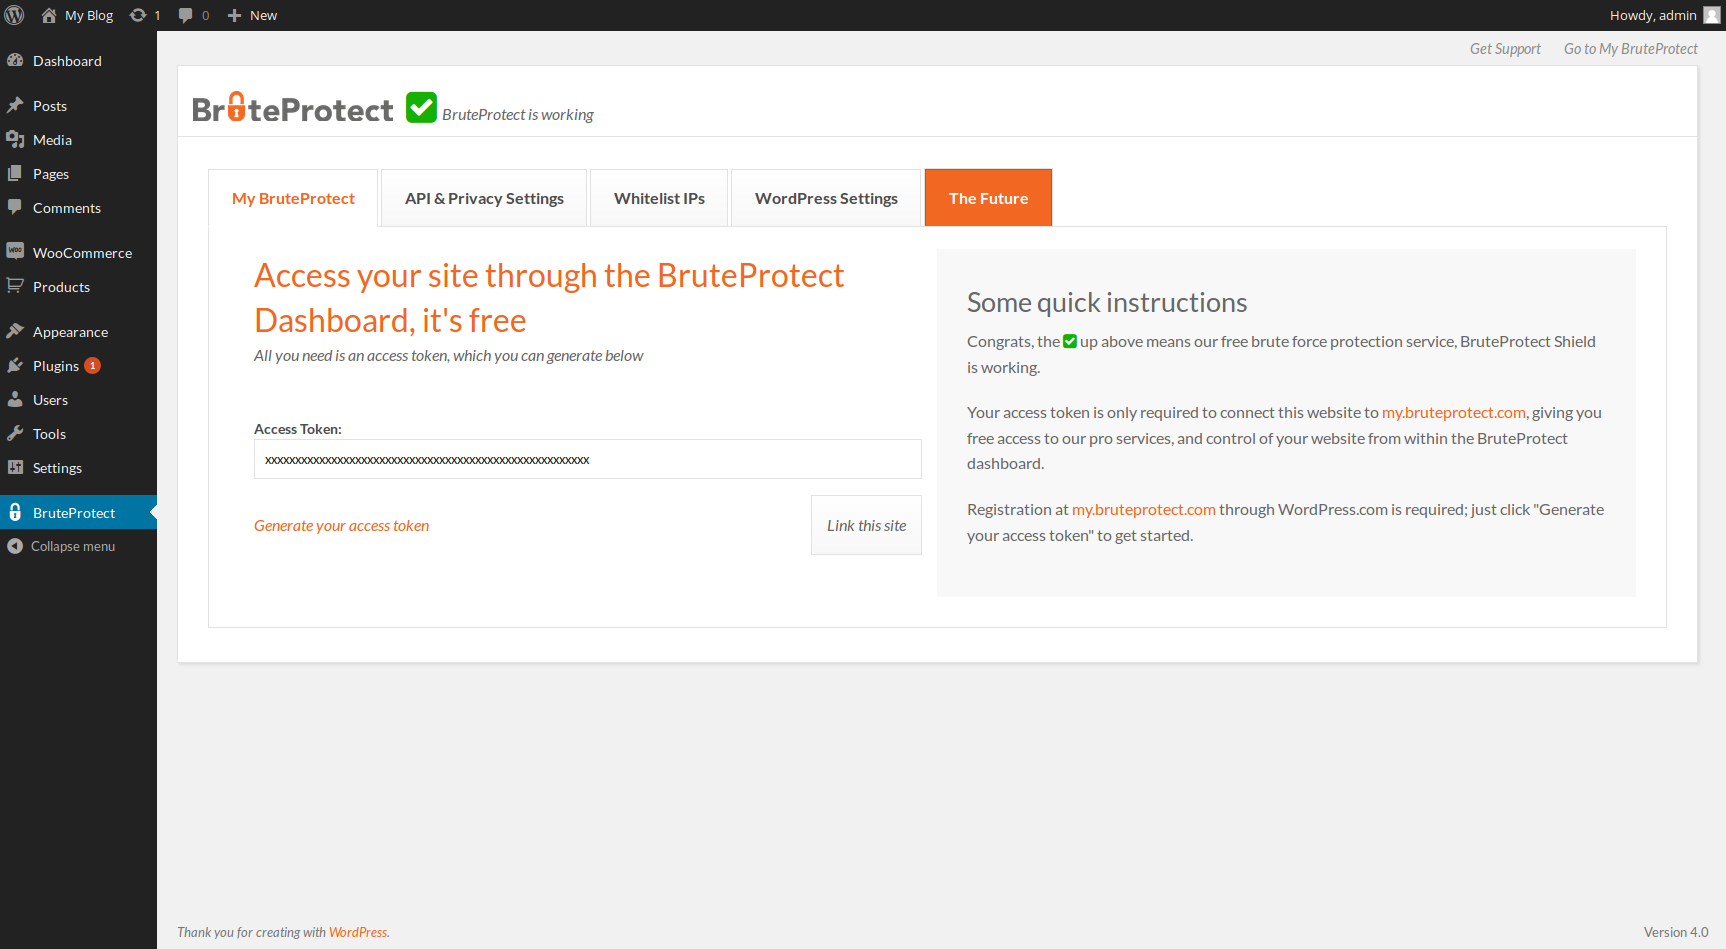
While BruteProtect is now active and protecting your site, we like to be able to see stats directly from the dashboard. To do so, on the BruteProtect configuration screen, there is an access token field. To generate an access token, click on Generate your access token directly below the entry field.

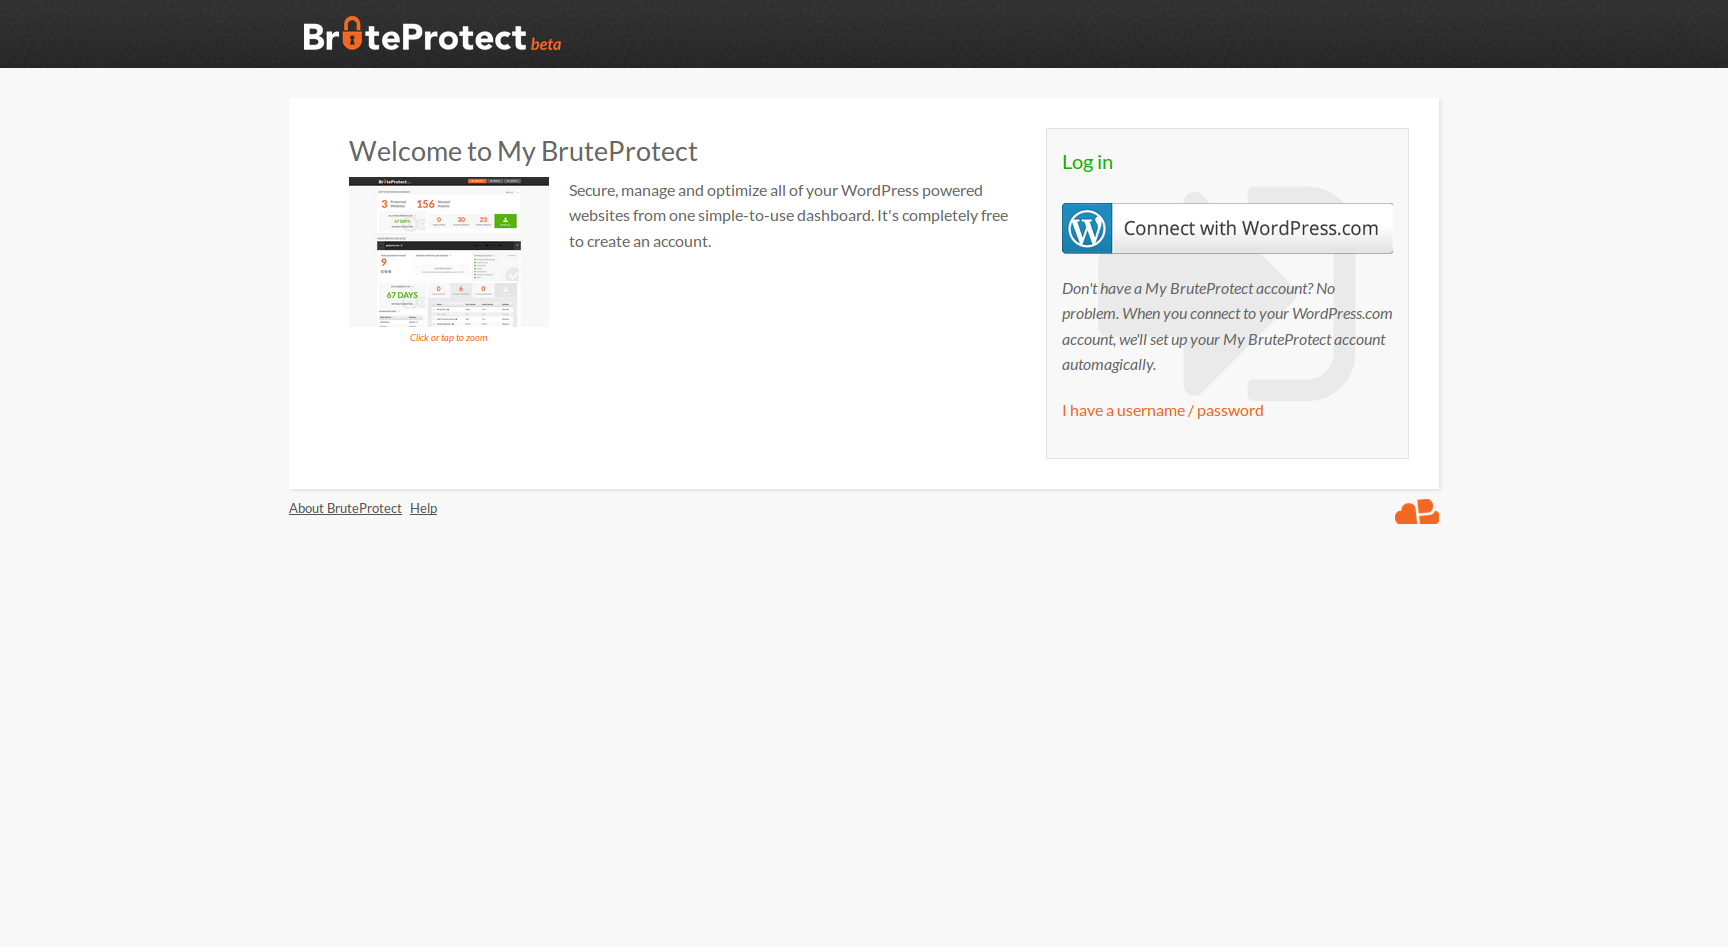
You should now see a page asking you to connect using your WordPress.com account. Click on the Connect with WordPress.com button.

You will then be prompted to authorize BruteProtect to log you in using WordPress.com. Click the Authorize button.

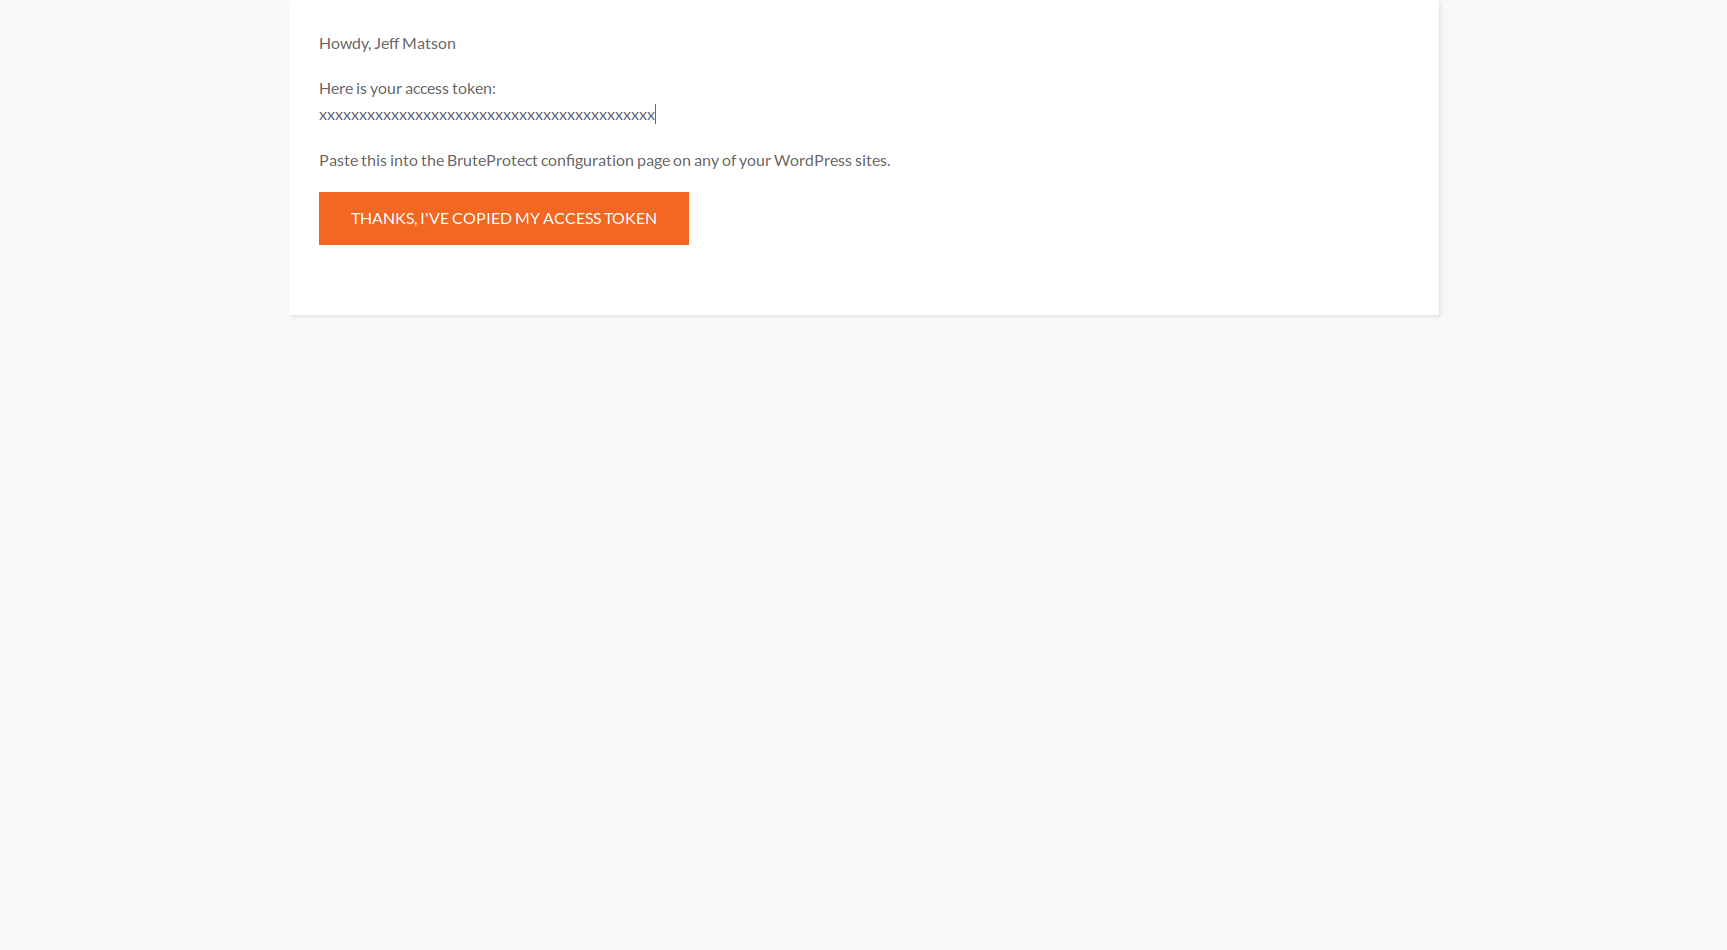
You will now be presented with your access token. Copy the access token and store it in a safe place as you will need to enter it later. Then, click the orange button that says Thanks, I’ve copied my access token.

You should have been sent back to the BruteProtect configuration page. Within the Access Token field, enter your access token that you just received, and click Link this site.
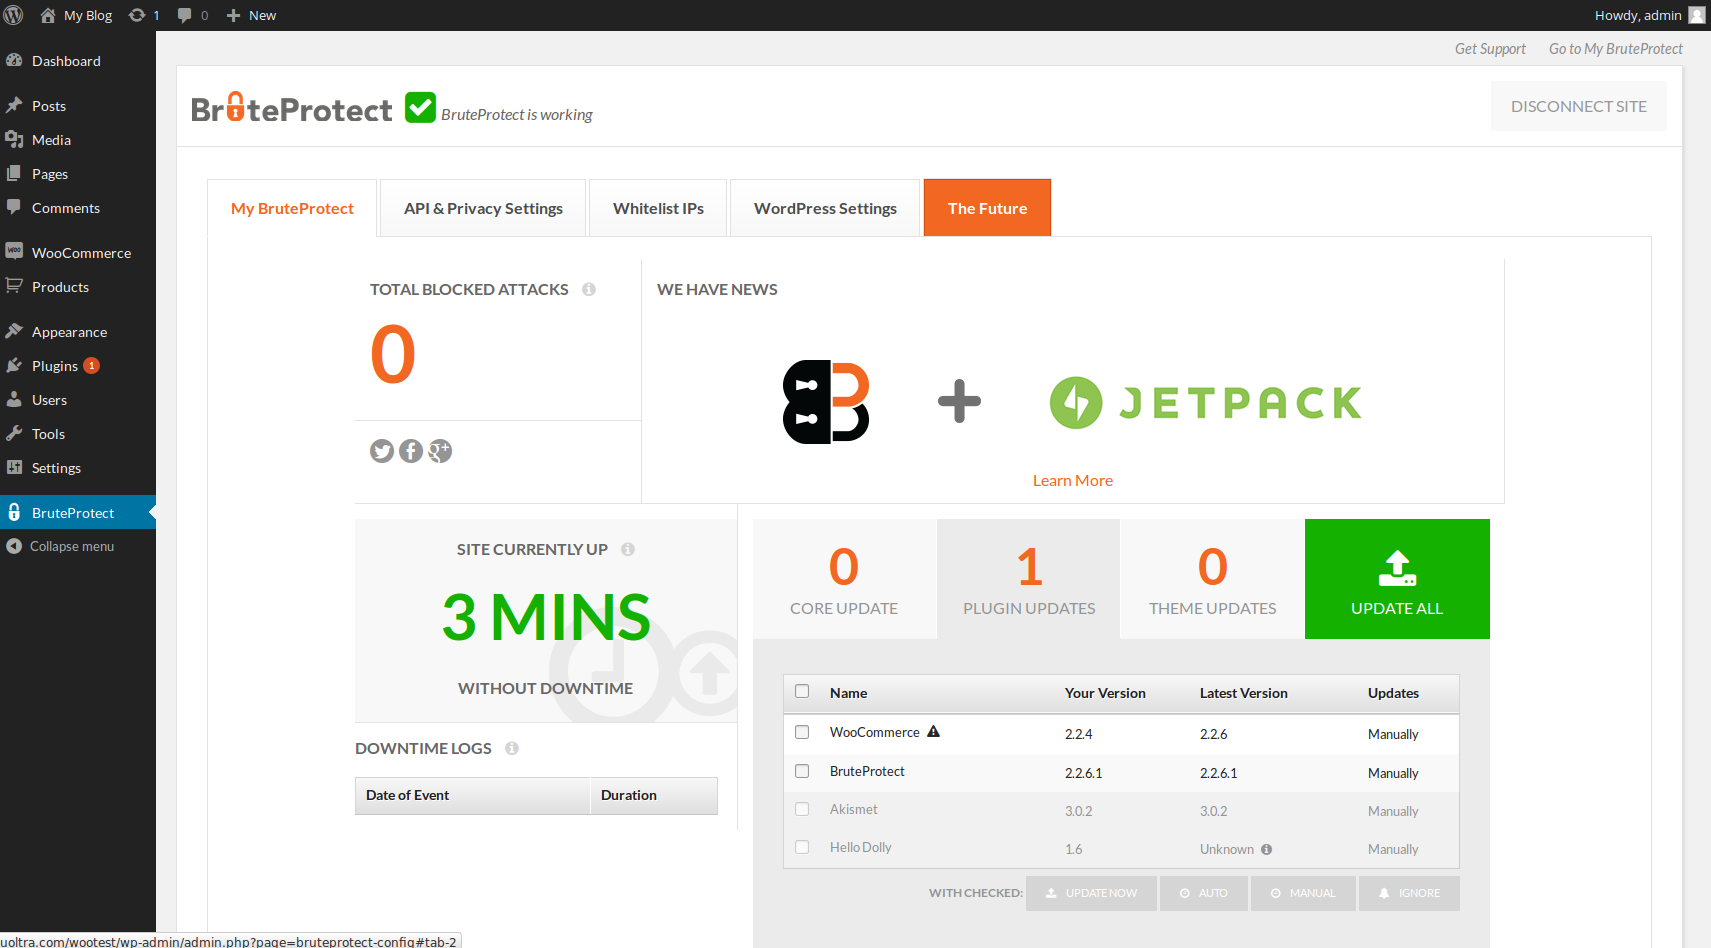
If these steps were followed correctly, you should now see that BruteProtect is fully working to prevent brute force attacks on your site, as well as statistics are being displayed.
