Backing up your WordPress site is arguably one of the most important things you should learn how to do. Even outside of website maintenance, ensuring you have a backup of files, documents, and other items is an important mitigation task for all aspects of life.
If you’re new to WordPress, the good news is you can easily create and manage backups with the All-in-One WP Migration plugin. Continue reading to learn how to:
- Install All-in-One WP Migration
- Backup WordPress with All-in-One WP Migration
- Download a WordPress Backup with All-in-One WP Migration
- Restore WordPress with All-in-One WP Migration
- Delete a WordPress Backup with All-in-One WP Migration
Improve the performance and security of your WordPress website with our Managed WordPress VPS Hosting plans.
Web Application Firewalls
Free SSL Certificates
Advanced Server Caching
Install All-in-One WP Migration Plugin
Of course, the first step to using All-in-One WP Migration is to install and activate the plugin. Follow the steps below to add All-in-One WP Migration to your WordPress website.
- Log into your WordPress Dashboard.
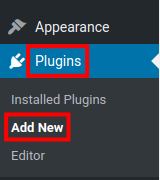
- Navigate to Plugins > Add New.
- Type ‘all in one wp migration’ in the search field.
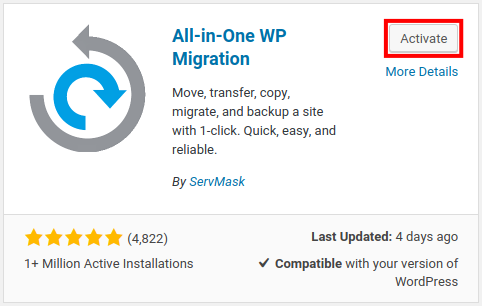
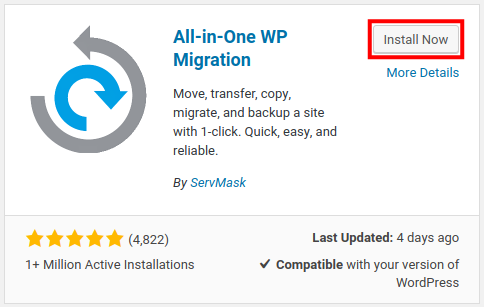
- You will see the “All-in-One WP Migration.” Click Install Now then Activate.
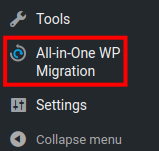
- You will now have a new menu item for All-in-One WP Migration. Click it to access the features we will be covering below.
Backup WordPress with All-in-One WP Migration
Once the plugin is installed and activated, it’s time to create a backup of your WordPress site. You can so so easily by following the steps below:
- Navigate to All-in-One WP Migration > Backups.
- Click Create Backup.
- After the backup is created, it will appear on the Backups page.
Download a WordPress Backup with All-in-One WP Migration
Once the backup is created you can download and save it to your local computer or another storage area for safekeeping. You can do this easily by following the steps below:
- Navigate to All-in-One WP Migration > Export.
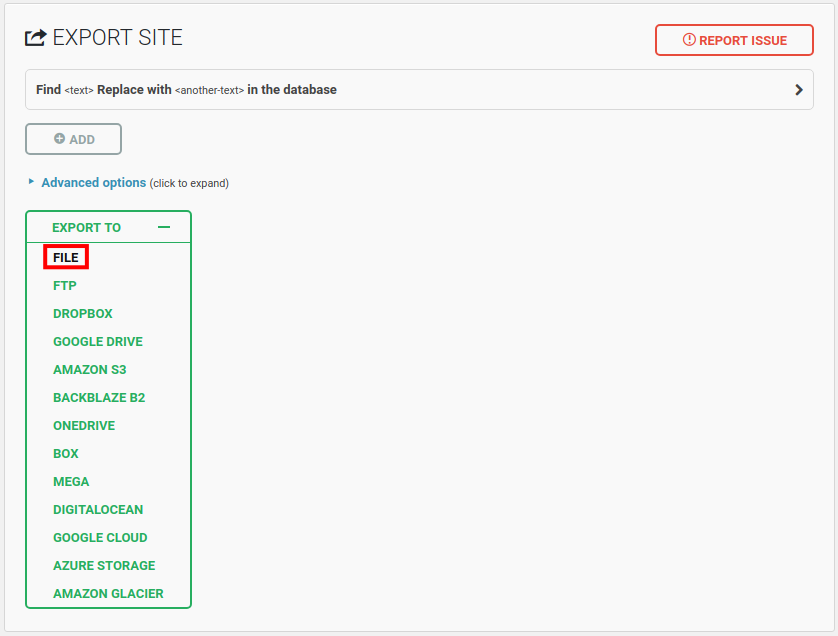
- Click Export To.
- In the drop-down menu, select File.
- It will generate a WordPress backup. Click the download link once the generation is complete.
Restore WordPress with All-in-One WP Migration
If a disaster does strike, you can quickly restore your WordPress website using the All-in-One WP Migration plugin. Follow the steps below to learn how.
Of note, you’ll need to already have a backup saved on your local computer.
- Navigate to All-in-One WP Migration > Import.
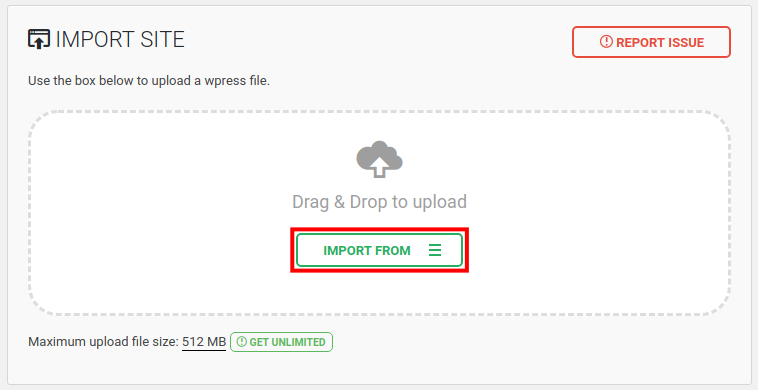
- Click the Import From.
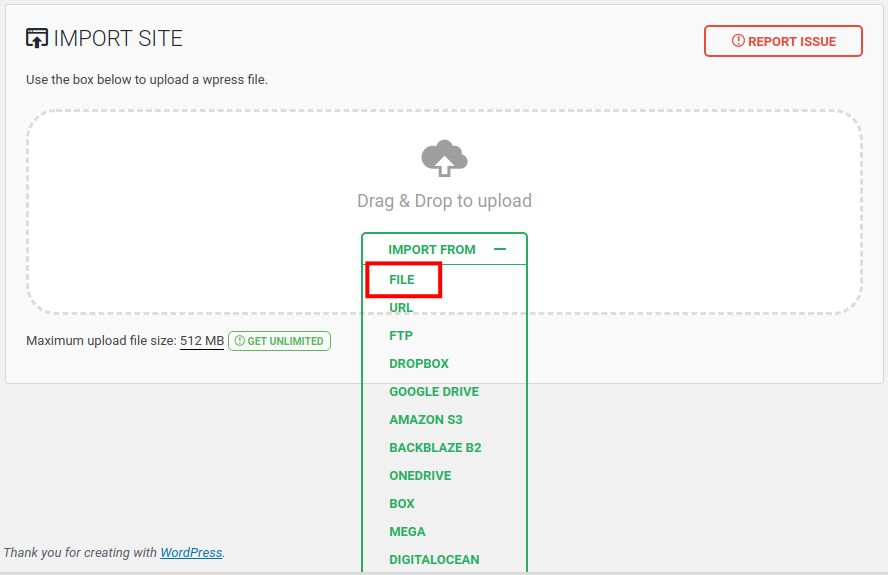
- In the drop-down menu select File.
- Locate and open the file you want to restore. It should end in a “.wpress” extension.
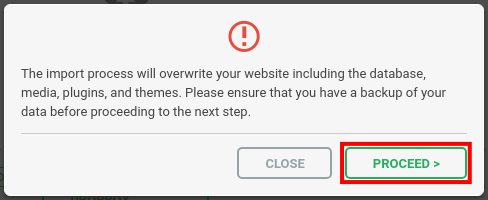
- A pop-up will state “The import process will overwrite your website including the database, media, plugins, and themes. Please ensure that you have a backup of your data before proceeding to the next step.” Click Proceed to continue.
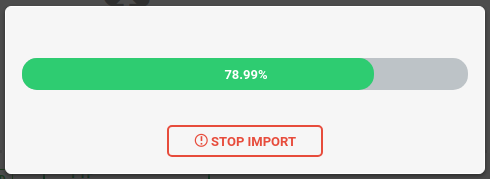
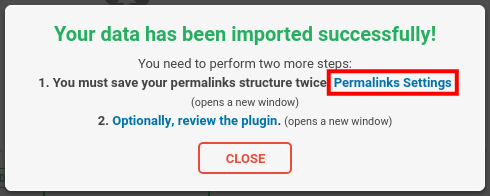
- Your backup will then restore your WordPress site. It will notify you when it is finished with a message stating “Your data has been imported successfully!”
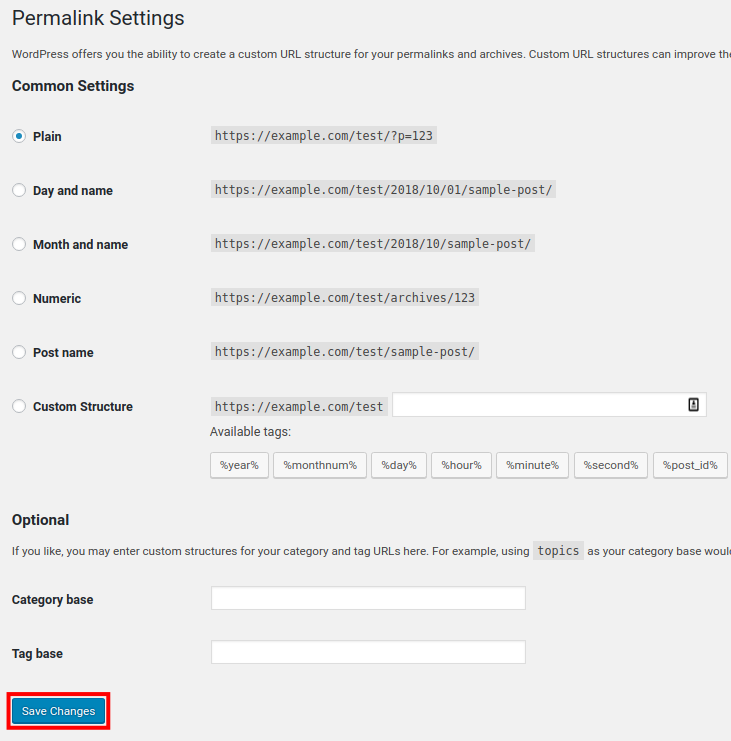
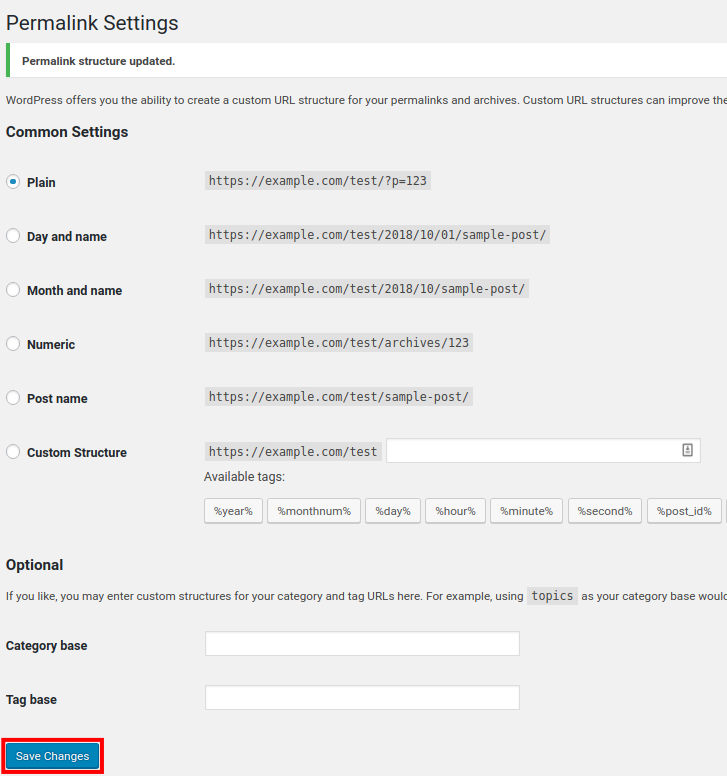
- All-in-One WP Migration recommends resetting your WordPress Permalinks at this point. Click Permalinks Settings > Save Changes.
- You will see a message stating “Permalink structure updated.” Click Save Changes again. Your site should then be successfully restored and functional.
Delete a WordPress Backup with All-in-One WP Migration
Eventually, you’ll need to delete backups to save disk space on your server. This not only is good practice, but it also assists the speed and health of your website. To delete a backup, follow the instructions below:
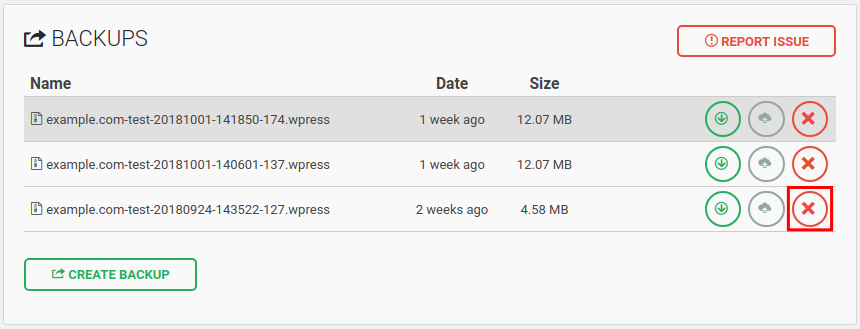
- Navigate to All-in-One WP Migration > Backups.
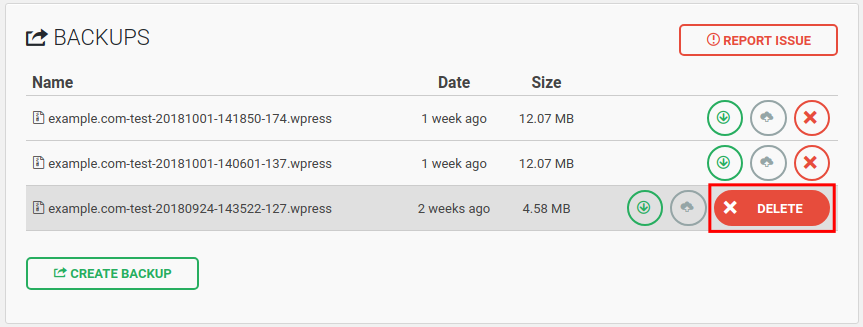
- You will see a list of your backups. Roll your mouse over the red X next to the backup you want to remove.
- Click Delete.
- A message will ask “Are you sure you want to delete this file?” Click OK to remove the backup from your server.
Learn more tips and tricks about WordPress backups to protect your website from risks!




Really helpful i just restored my wp with complete settings just wao
So glad we could help you, Samuel!
Any idea where the backups is located in the backend?
In my tests, it is saving the backups to: /wp-content/ai1wm-backups
The full path in cPanel was this: public_html/wp-content/ai1wm-backups
Thanks
You’re welcome Anno!