In order to keep multi-site WordPress installations from overwhelming a network server, it is good practice to set an upload quota so that you can predict the maximum hard drive space available to each networked site. The max file upload quota setting is located in the Network Admin settings and can be adjusted as per the needs of the hosting server. The following article explains how to find and modify the setting within the WordPress MS Network Admin interface.
How to Change the Upload Space Quota in a WordPress Multisite Website
- Login to the Network Admin interface for your WordPress Multisite installation

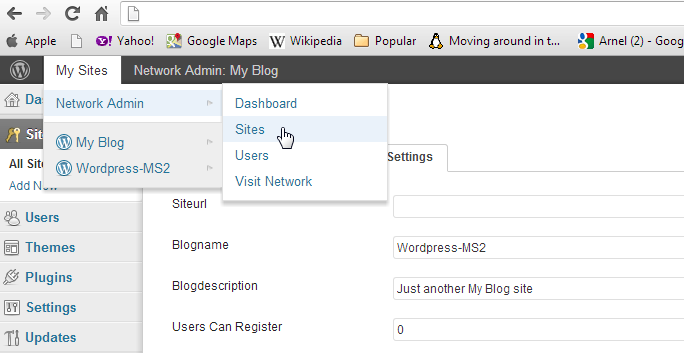
At the top of the screen hover over the menu bar where it says MY SITES. Scroll down and hover over Network Admin, then when the pop-up menu appears on right, click on SITES.

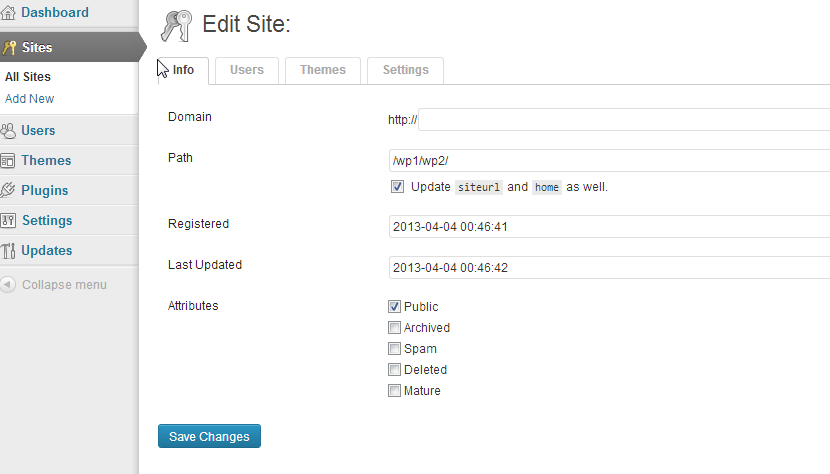
Hover over the WordPress MS site you wish to edit listed in the PATH column of the displayed table. This will bring up a menu directly under the path name. Click on EDIT.

Click on the SETTINGS tab, then scroll until you find the setting labeled SITE UPLOAD SPACE QUOTA (it’s at the bottom).
- Click in the field and make the change to it or add a limit if nothing is set there. The number is in megabytes.
- Click on SAVE CHANGES in order to save your entry.
This completes the changes needed to set the WordPress Upload quota for a WordPress Multisite site. In some cases, this change must be made in conjunction with the Setting Up the Max Upload File Size for a WordPress Multisite installation. Please refer to that article for further information.


