Table of Contents
The sidebar is a wonderful piece of real estate on your site to place relevant content that may not fit directly on a page or post. Most content in a sidebar is text, however you can certainly add some diversity by making some of those text links into buttons or image links. Adding an image link to your WordPress sidebar is not much different than adding any other meta data. Below is a quick tutorial on how to add image links to your sidebar in your WordPress site.
Adding image links to your sidebar in WordPress
- Log into your WordPress Admin dashboard.
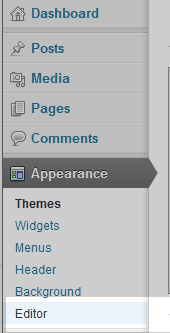
- Once logged into the Admin area, look to the left hand menu and click on the Appearance menu category. From there, click on the Editor sub-option to continue.
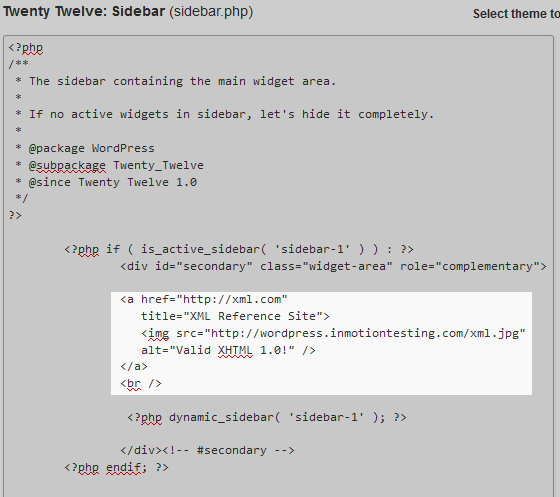
- This brings you to the main Editor page for all php and css files for your current theme. Look to the menu on the right-hand side and scroll down until you see the Sidebar option. Click on that link to open the sidebar.php file in the editor.

- With the sidebar.php file open in the editor, you can edit the code and add your image. The snippet of code below is an image link that points to the XML reference site. Notice the <img> tag uses the URL of an image on the test site. This is an image that was uploaded to the hosting account, which you can do either with the cPanel File Manager or by FTP. You can also point it to a location on another site if they allow you to do so.
     <a href="https://xml.com"

             title="XML Reference Site">

             <img src="https://wordpress.inmotiontesting.com/xml.jpg"

             alt="Valid XHTML 1.0!" />

        </a>

        <br />

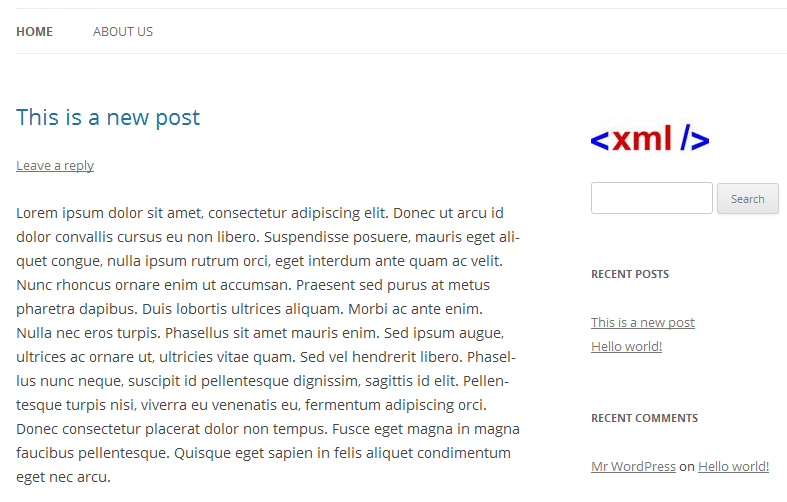
- Once you have entered the code and ensured your image is in the right location, click on the Update File button to save the change and activate the code. Below is a shot of the test site with the XML image link pointing to the XMP site.


