Table of Contents
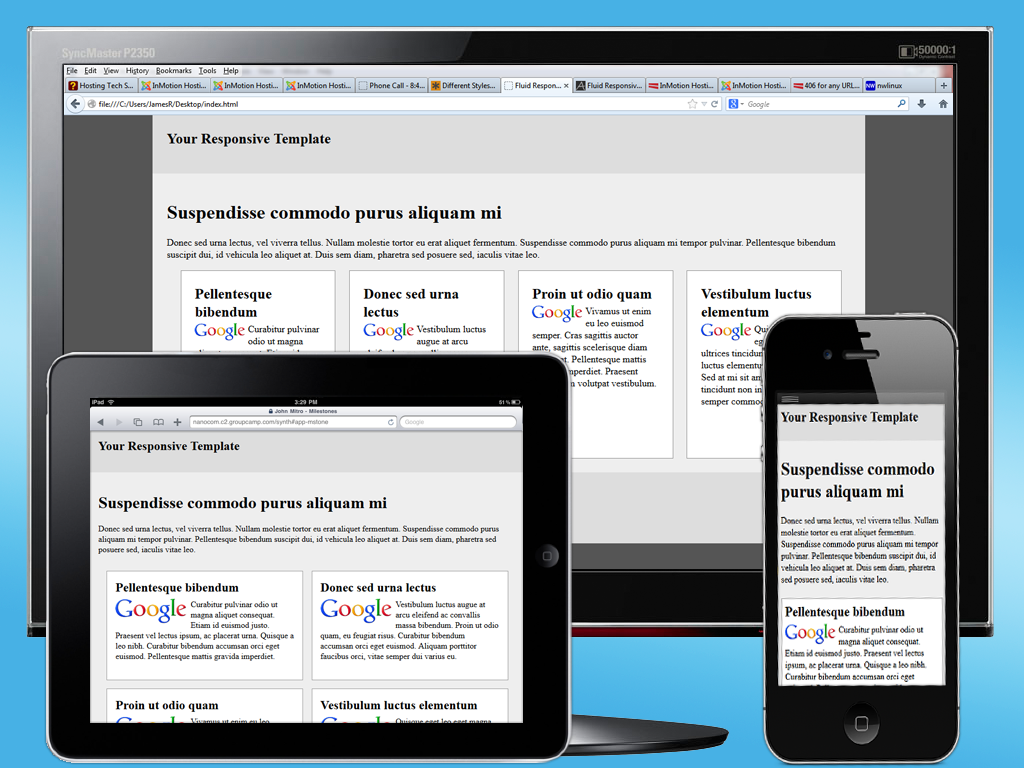
Now that you have your responsive template, you have the Theme from Theme Roller, you can style your theme and make it look professional. This article is written so you can follow through the HTML of the Responsive Template and create the look and feel your want for your site. Please download the files for the Responsive Template Below.
Theme Roller Responsive Template Demo
NOTE! This tutorial is assuming you followed the previous tutorials for Creating Responsive Templates. The Template Code in this tutorial is an altered version of the previous tutorials.
Adding the CSS from Theme Roller to your Responsive Template
After you download the files for the template, you can follow the steps below to see what code changes were made in the HTML code.
- Download a theme from Theme Roller.

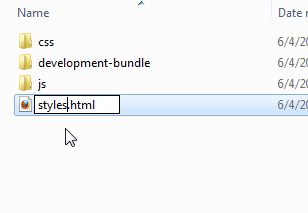
Extract the Theme Roller files to your computer. Rename the index.html file in the Theme Roller folder to styles.html.

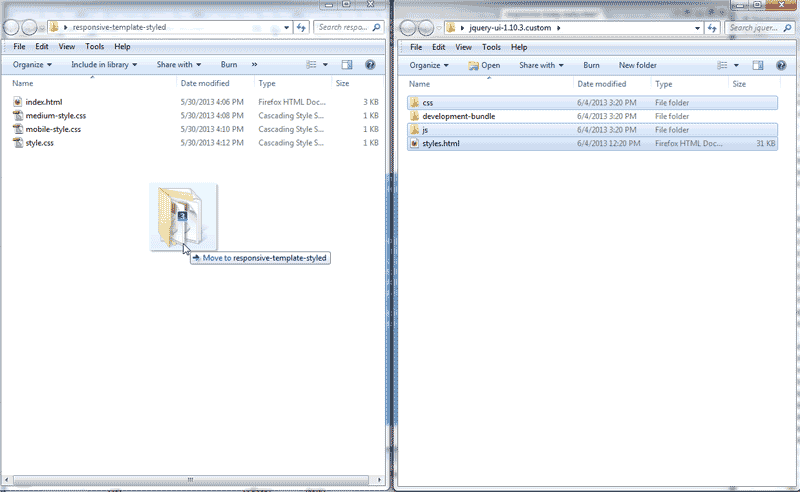
Copy the styles.html file, js folder and the css folder to your Responsive Template folder.

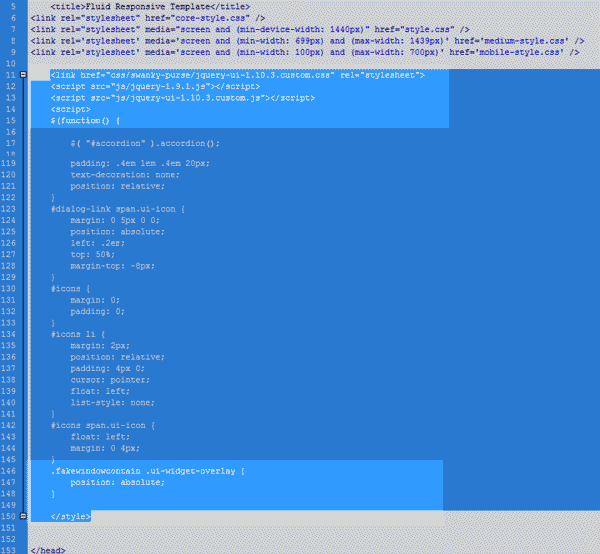
Open the styles.html file in your Text editor or HTML editor. Copy the links to the css files, the JavaScript and Styles in the head section and paste them into your Responsive template index.html file head section.
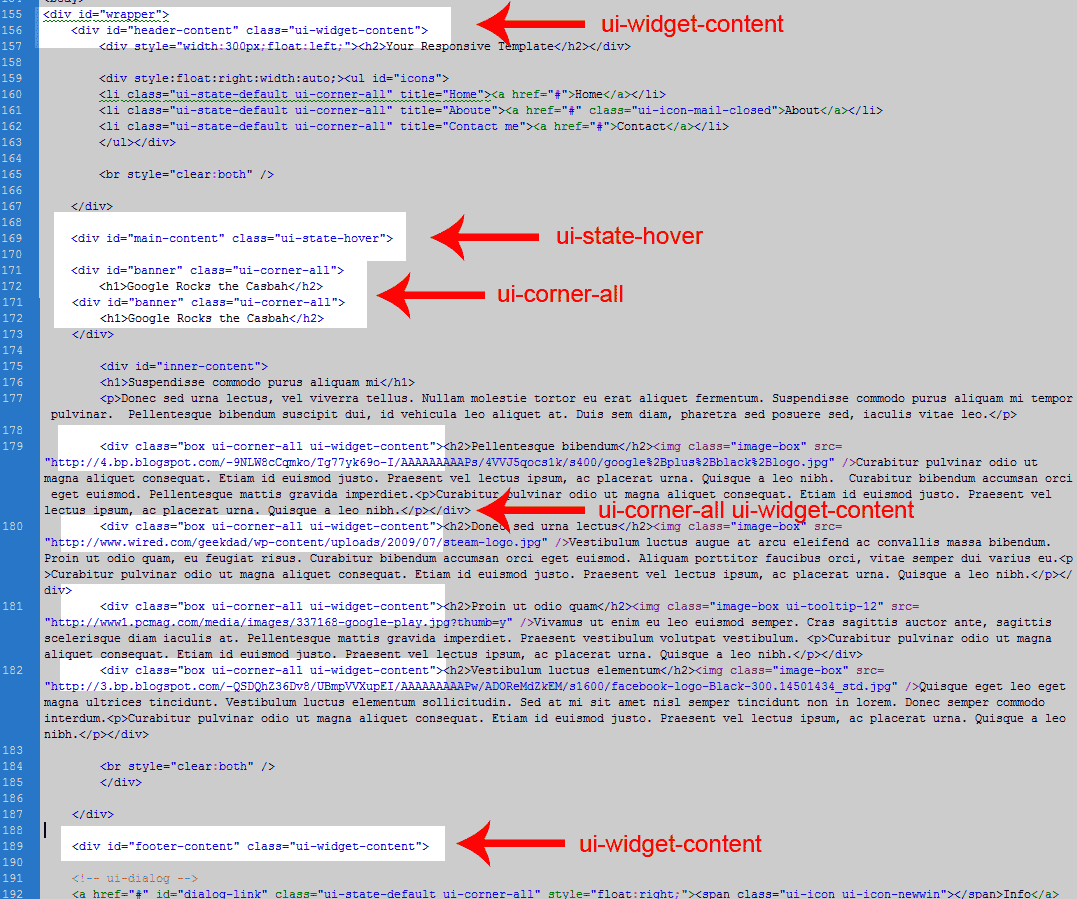
- Theme Roller creates classes for your site with the styles set up in the CSS stylesheet. You simply need to apply the styles to your website. Edit the HTML code for your index.html. We will add the following classes to the HTML.
Premade jQuery Theme Roller Classes
Add the following classes to the code.
To learn more about CSS classes, check out our tutorial on CSS.
When done you should see your code look like the snapshot to the right.
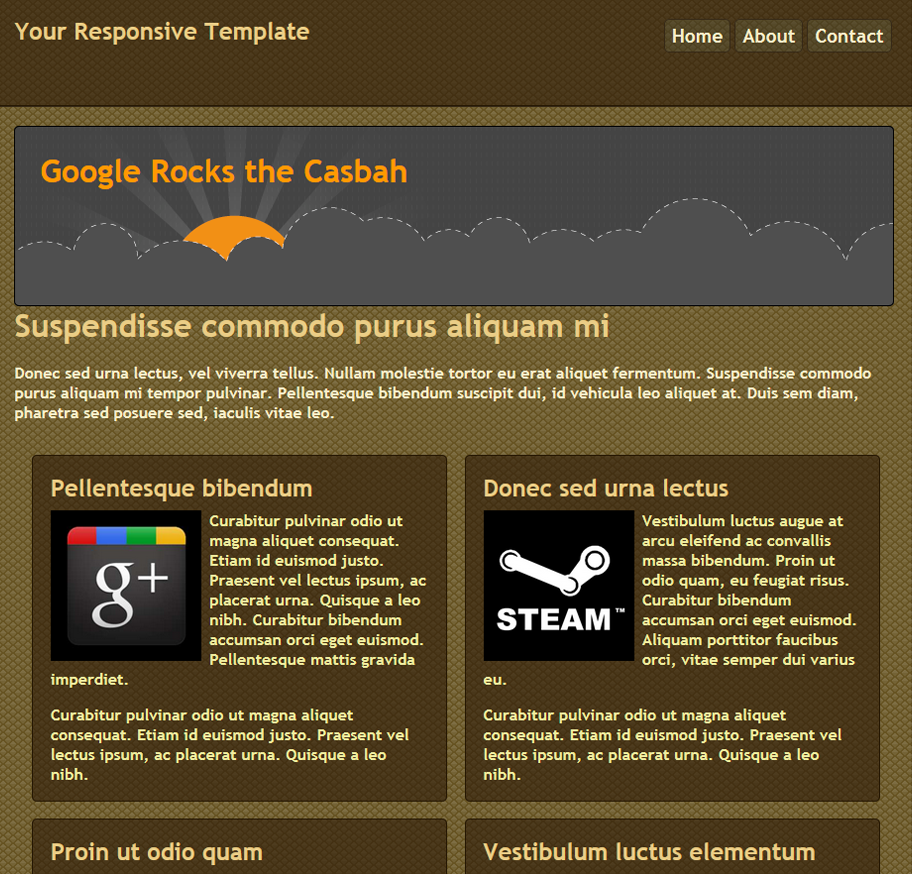
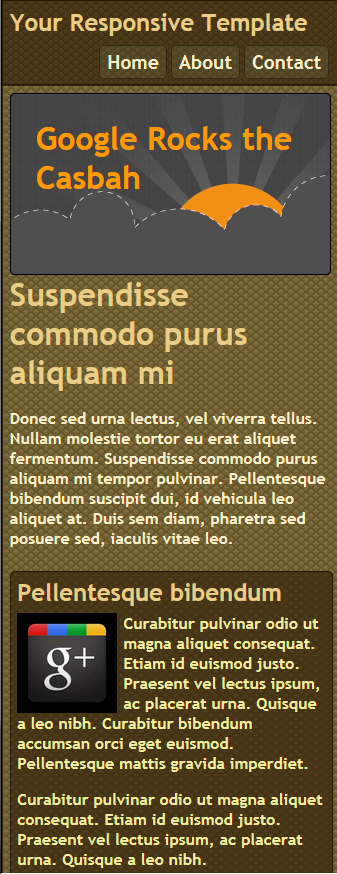
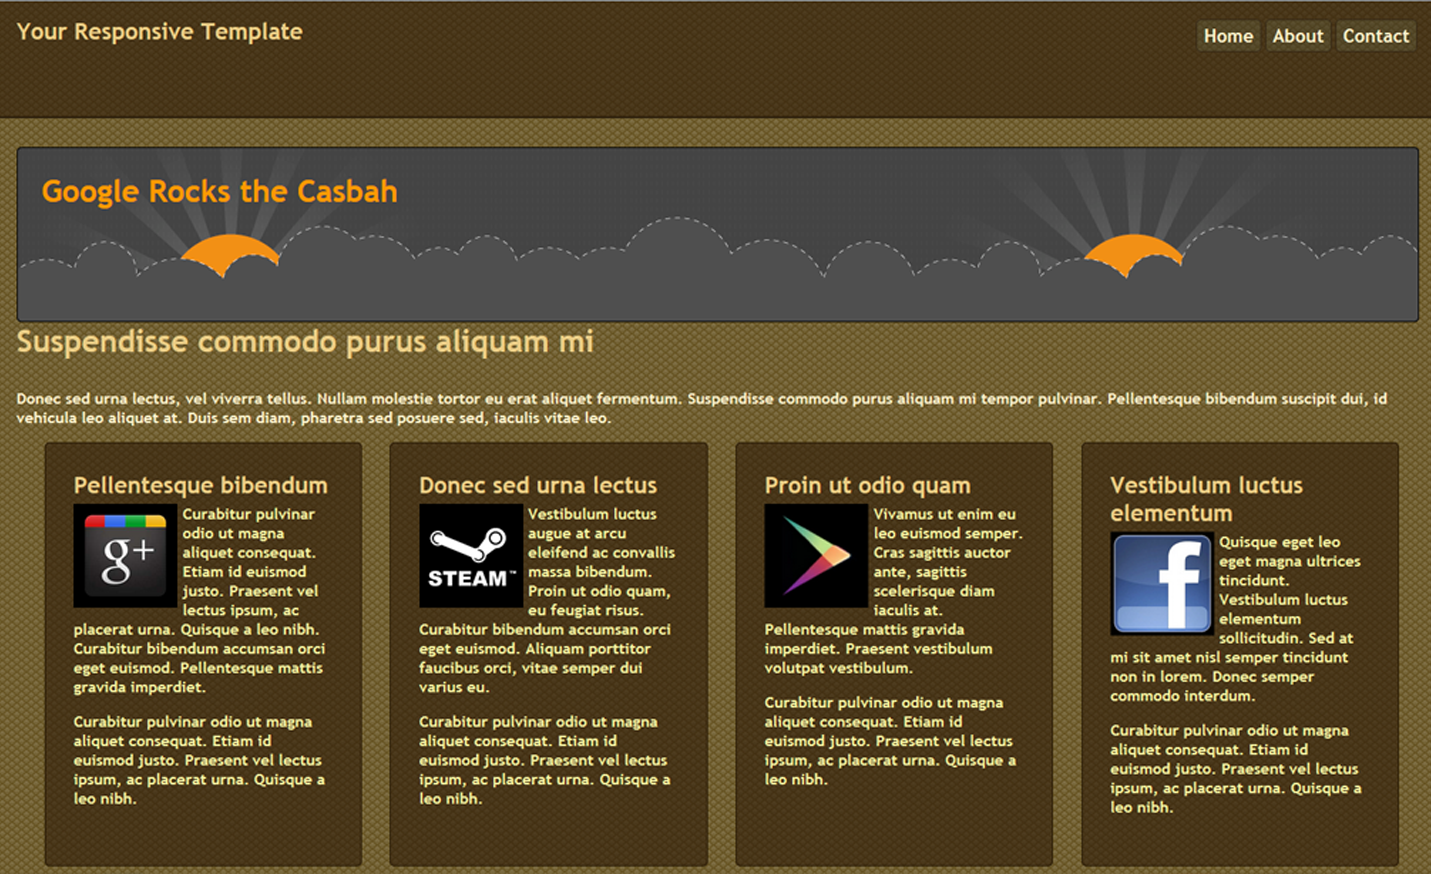
- Save the file and look at your Responsive Template. You should see the theme look like the snapshot to the right.
