Table of Contents
In this article:
The Horde webmail client provides an address book where you can save information on your contacts. You can populate the address book one address at a time or you can use the import function. This tutorial will walk you through the steps to import addresses in the Horde webmail client.
Looking for a host that includes email and an affordable space for your WordPress site? Search no further than InMotion’s WordPress Hosting solutions! You get secure, scalable and budget-minded solutions that will fit your website needs.
Starting the Import Process
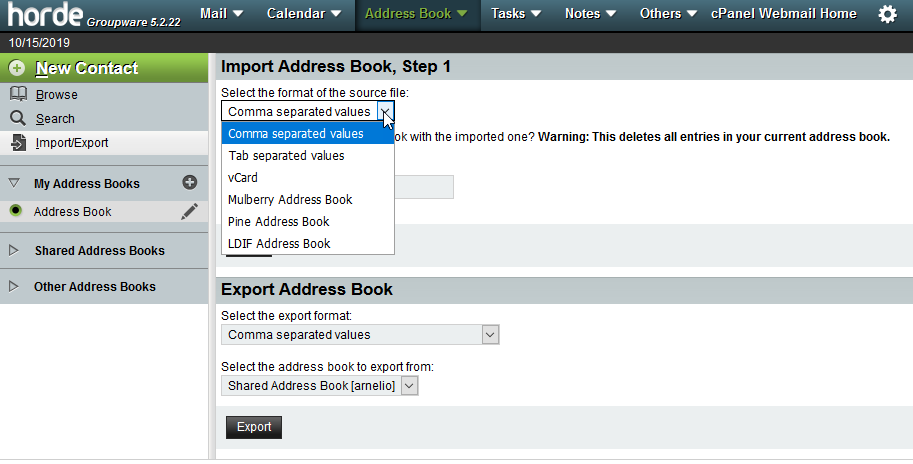
This import procedure is based on an existing address book. Generally, this data may come from an older email client like Outlook or an exported file. Many clients will often have the option to export the address book. Horde supports multiple types of files for import that include:
- Comma separated values (CSV)
- Tab separated values
- vCard
- Mulberry Address Book
- Pine Address Book
- LDIF Address Book
Regardless of the format that you select, Horde will walk you through mapping the data from your old address book to the format that Horde uses. To start the process of importing your address book, export your address book from your old email client. Make sure to save it in a format that Horde will be able to use.
Importing the Address Book
Once you have your exported address book file, you can then follow the directions below to bring your contacts to the Horde webmail client.
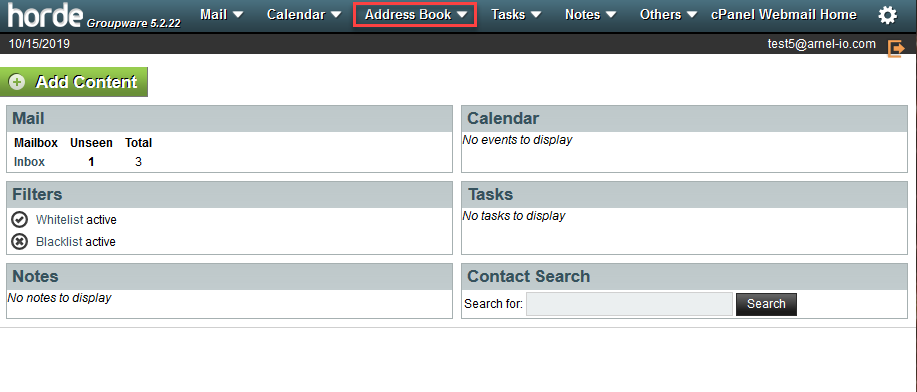
Step 1. Log in to Horde and then select the Address book.
Step 2. In the menu at left, click on Import/export.
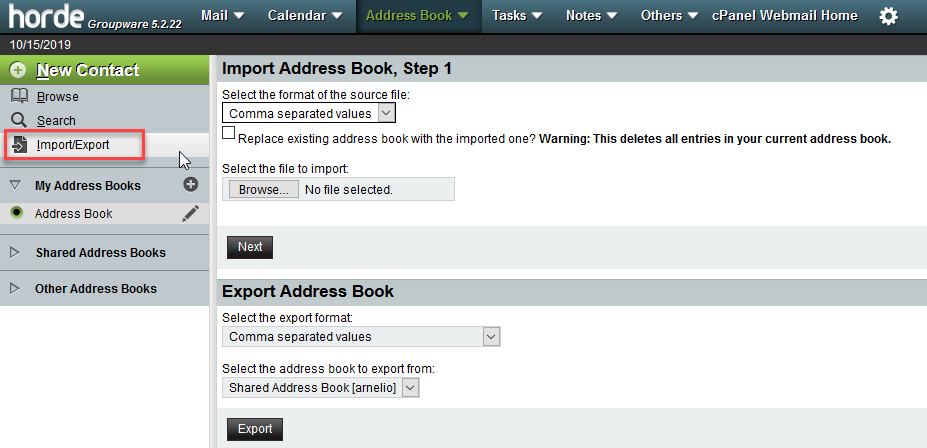
Step 3. Select the format of the file that you’re importing. Note that you can select to replace the existing address book.
Step 4. Select the file that want to import.

Step 5. Click on Next to start the next part of the import.
Step 6. You will see the start of your exported file. Some files may contain the field labels. If that’s okay, click on the check box so that these entries don’t get imported. You can also select the character dividing the values in your import file.
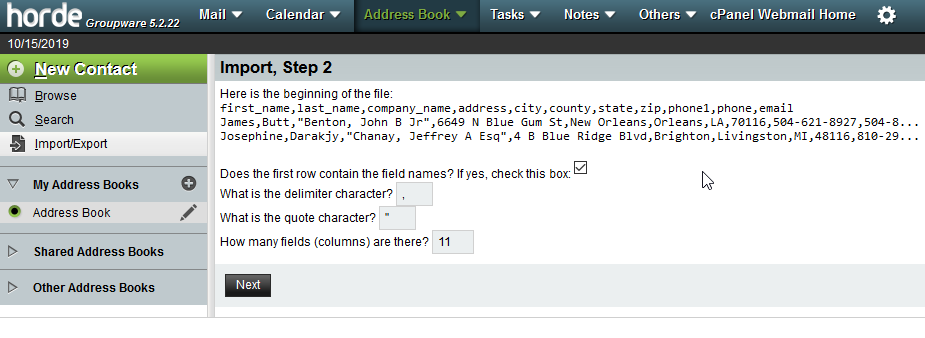
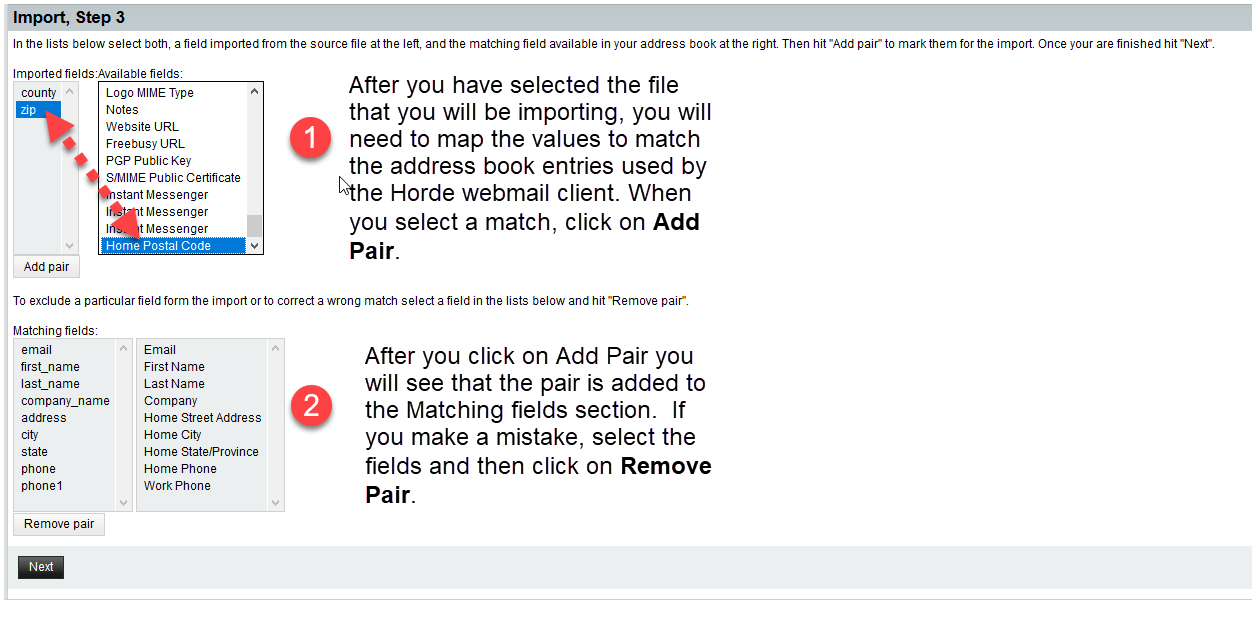
Step 7. The next step requires you to map your import file fields to the Horde Address book values. These values may not always match, but you get the choice to select the values that will transfer. Once you match a pair, click on Add pair and then it will be added to the next field. If you make a mistake, simply click on Remove pair.
Step 8. Click on Next to finish the import. Once the import completes, you’ll see a green notification pop-up confirming that the addresses have been imported.
Congratulations! You now know how to import an old address book into the Horde Address book. To learn more about the Horde webmail client, check out How to Backup Emails with Horde.