If you’ve been following along in our tutorial series, we have already installed phpList, created a mailing list, and created a way for users to subscribe to our mailing list. At this time, we now want to send a message to our mailing list!
To send a message to your mailing list:
- Log into your phpList admin page
- Click “send a message” in the right sidebar
- Under the “Content Tab”, fill in the details of your new message. Here is our example below:

- Click “Save Changes”.
- Click the “Lists” tab.
- You are now viewing a page that displays all of your mailing lists. Select the mailing lists that you want to send the message to, and then click, “Send Message to the Selected Mailing Lists”
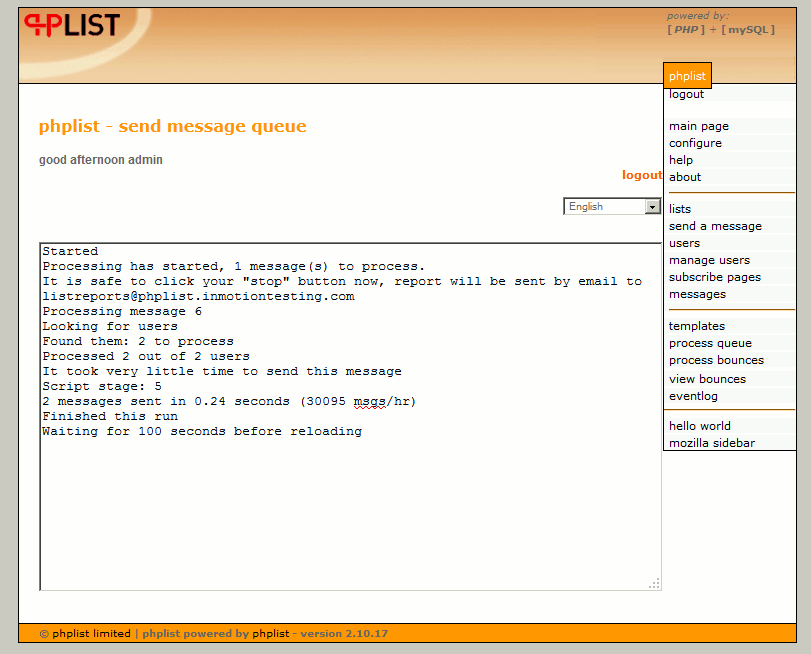
- The next page will show a confirmation that your new message has been added to the message queue. Click “process the message queue” to actually send out your message.
- When your messages are being sent you, phpList will print data to the screen showing information such as how many emails it has sent out and how long it took:

