During our testing of phpList and the rate limiting feature it has available, we had the need to import a large number of email addresses into a mailing list. Just like us, if you already have a list of email addresses and you need to import them into phpList, you’ll need to also know how to import email addresses in bulk.
In our example, we imported a CSV file with almost 400 email addresses in it. This is what part of our CSV file looked like:
[email protected],[email protected],[email protected],[email protected]
As you can see, it is a simple text file full of email address, and each email address is separated by a comma.
To import a CSV file into phpList:
- Log into your phpList Admin (if you’re following along with our example, we visited phplist.inmotiontesting.com/phplist/admin)
- Click “Manage Users” in the right menu
- Click “Import Users”
- Click the link, “import emails with the same values for attributes.”
- At the top of the page you’ll see a list of your mailing lists. Check the lists that you would like to import the email addresses to.
- Next to “File containing emails”, click browse and select the CSV file on your computer
- For “Record Delimiter”, enter a comma ,
- If you want all of the email addresses to be sent a confirmation message before they are subscribed, select the “Send Notification email” option. Otherwise, to automatically subscribe each user, click “Make confirmed immediately”
- Click “Import”

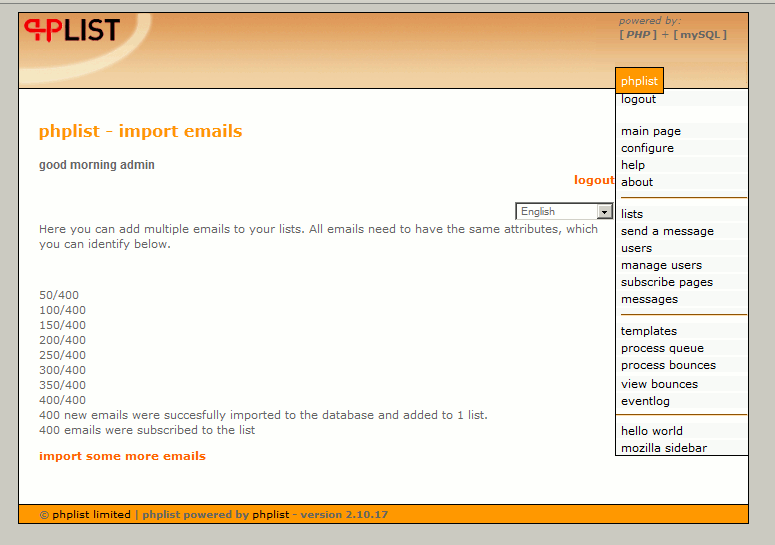
- When the import has been successful, you should see a page similar to the below:

To confirm that you have imported the users, click “lists” in the right menu. The list you subscribed your users to should have increased:

